About This Project

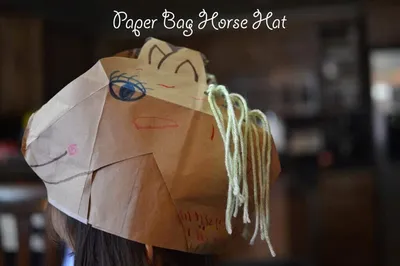
A 10–25 minutes craft for ages 3–10, using supplies you likely already have — Yarn, Paper Bags, and Scissors.
GlueStick supports kids from setup to cleanup. After they choose a project, we guide them through gathering the supplies, making it, and cleaning up when they're done. We'll even help them share it safely with trusted family and friends.

Ad-free and kid-safe library — designed by a mom who wants kids to explore and create independently.

Project Tags
  1. 1

    Find Supplies

    Do you have everything you need?
    Create a free GlueStick account to track supplies and see if you have what you need at a glance. Leave your kids tips about where supplies are stored in your household so they can set up and clean up their creative spaces independently.
    00:00
    A cartoon of Yarn
    Unknown cupboard quantity You have: unknown
    A cartoon of Paper Bags
    Unknown cupboard quantity You have: unknown
    A cartoon of Scissors
    Unknown cupboard quantity You have: unknown
    A cartoon of Pencils
    Unknown cupboard quantity You have: unknown
    A cartoon of Googly Eyes
    Unknown cupboard quantity You have: unknown
    A cartoon of Canning Jar Lids
    Unknown cupboard quantity You have: unknown
    A cartoon of Cupcake / Muffin Liners
    Unknown cupboard quantity You have: unknown
    A cartoon of Tissue Paper
    Unknown cupboard quantity You have: unknown
    A cartoon of Paper
    Unknown cupboard quantity You have: unknown
    A cartoon of Glue Sticks
    Unknown cupboard quantity You have: unknown
  2. 2

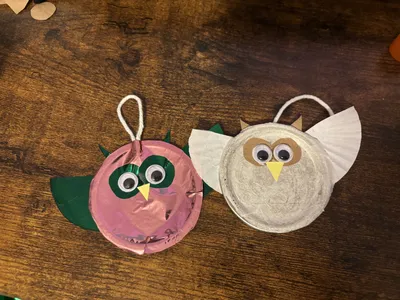
    Make Canning Jar Lid Owl Ornaments

    Your creative buddy says:
    "Are you as excited to make this as I am?"

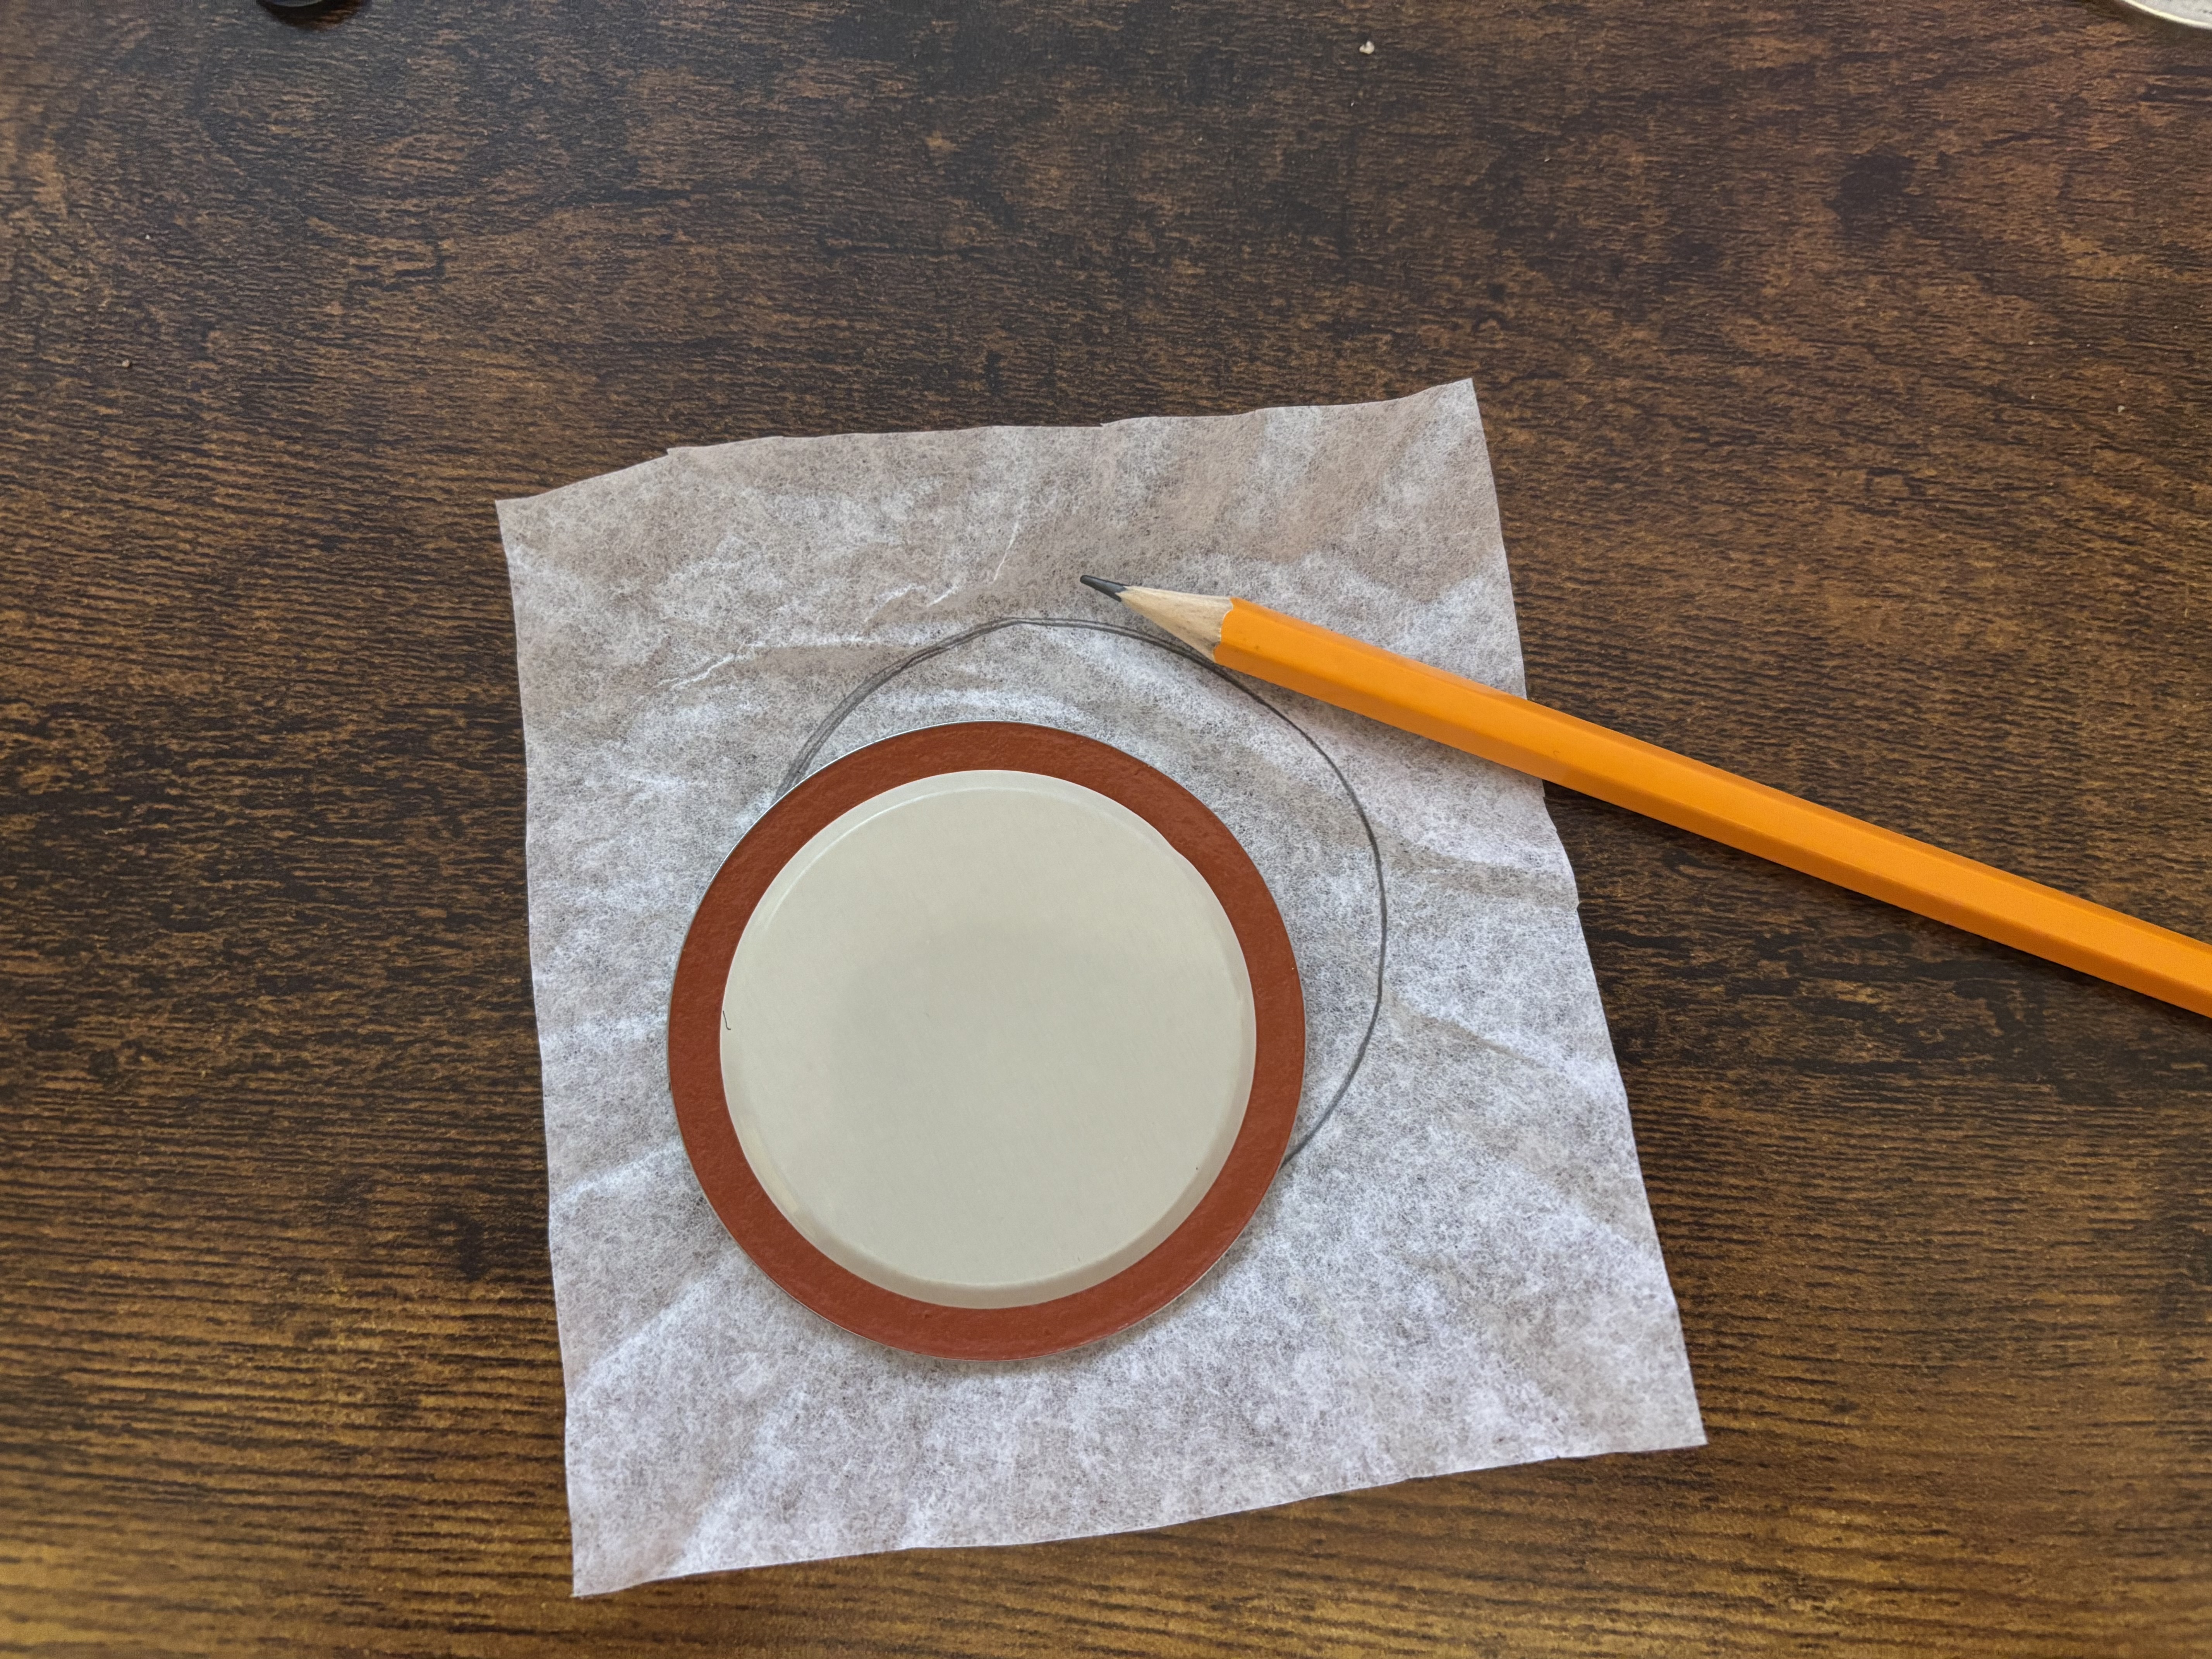
    Step 1: Trace your lid

    Use a pencil to trace your canning jar lid on to your tissue paper.

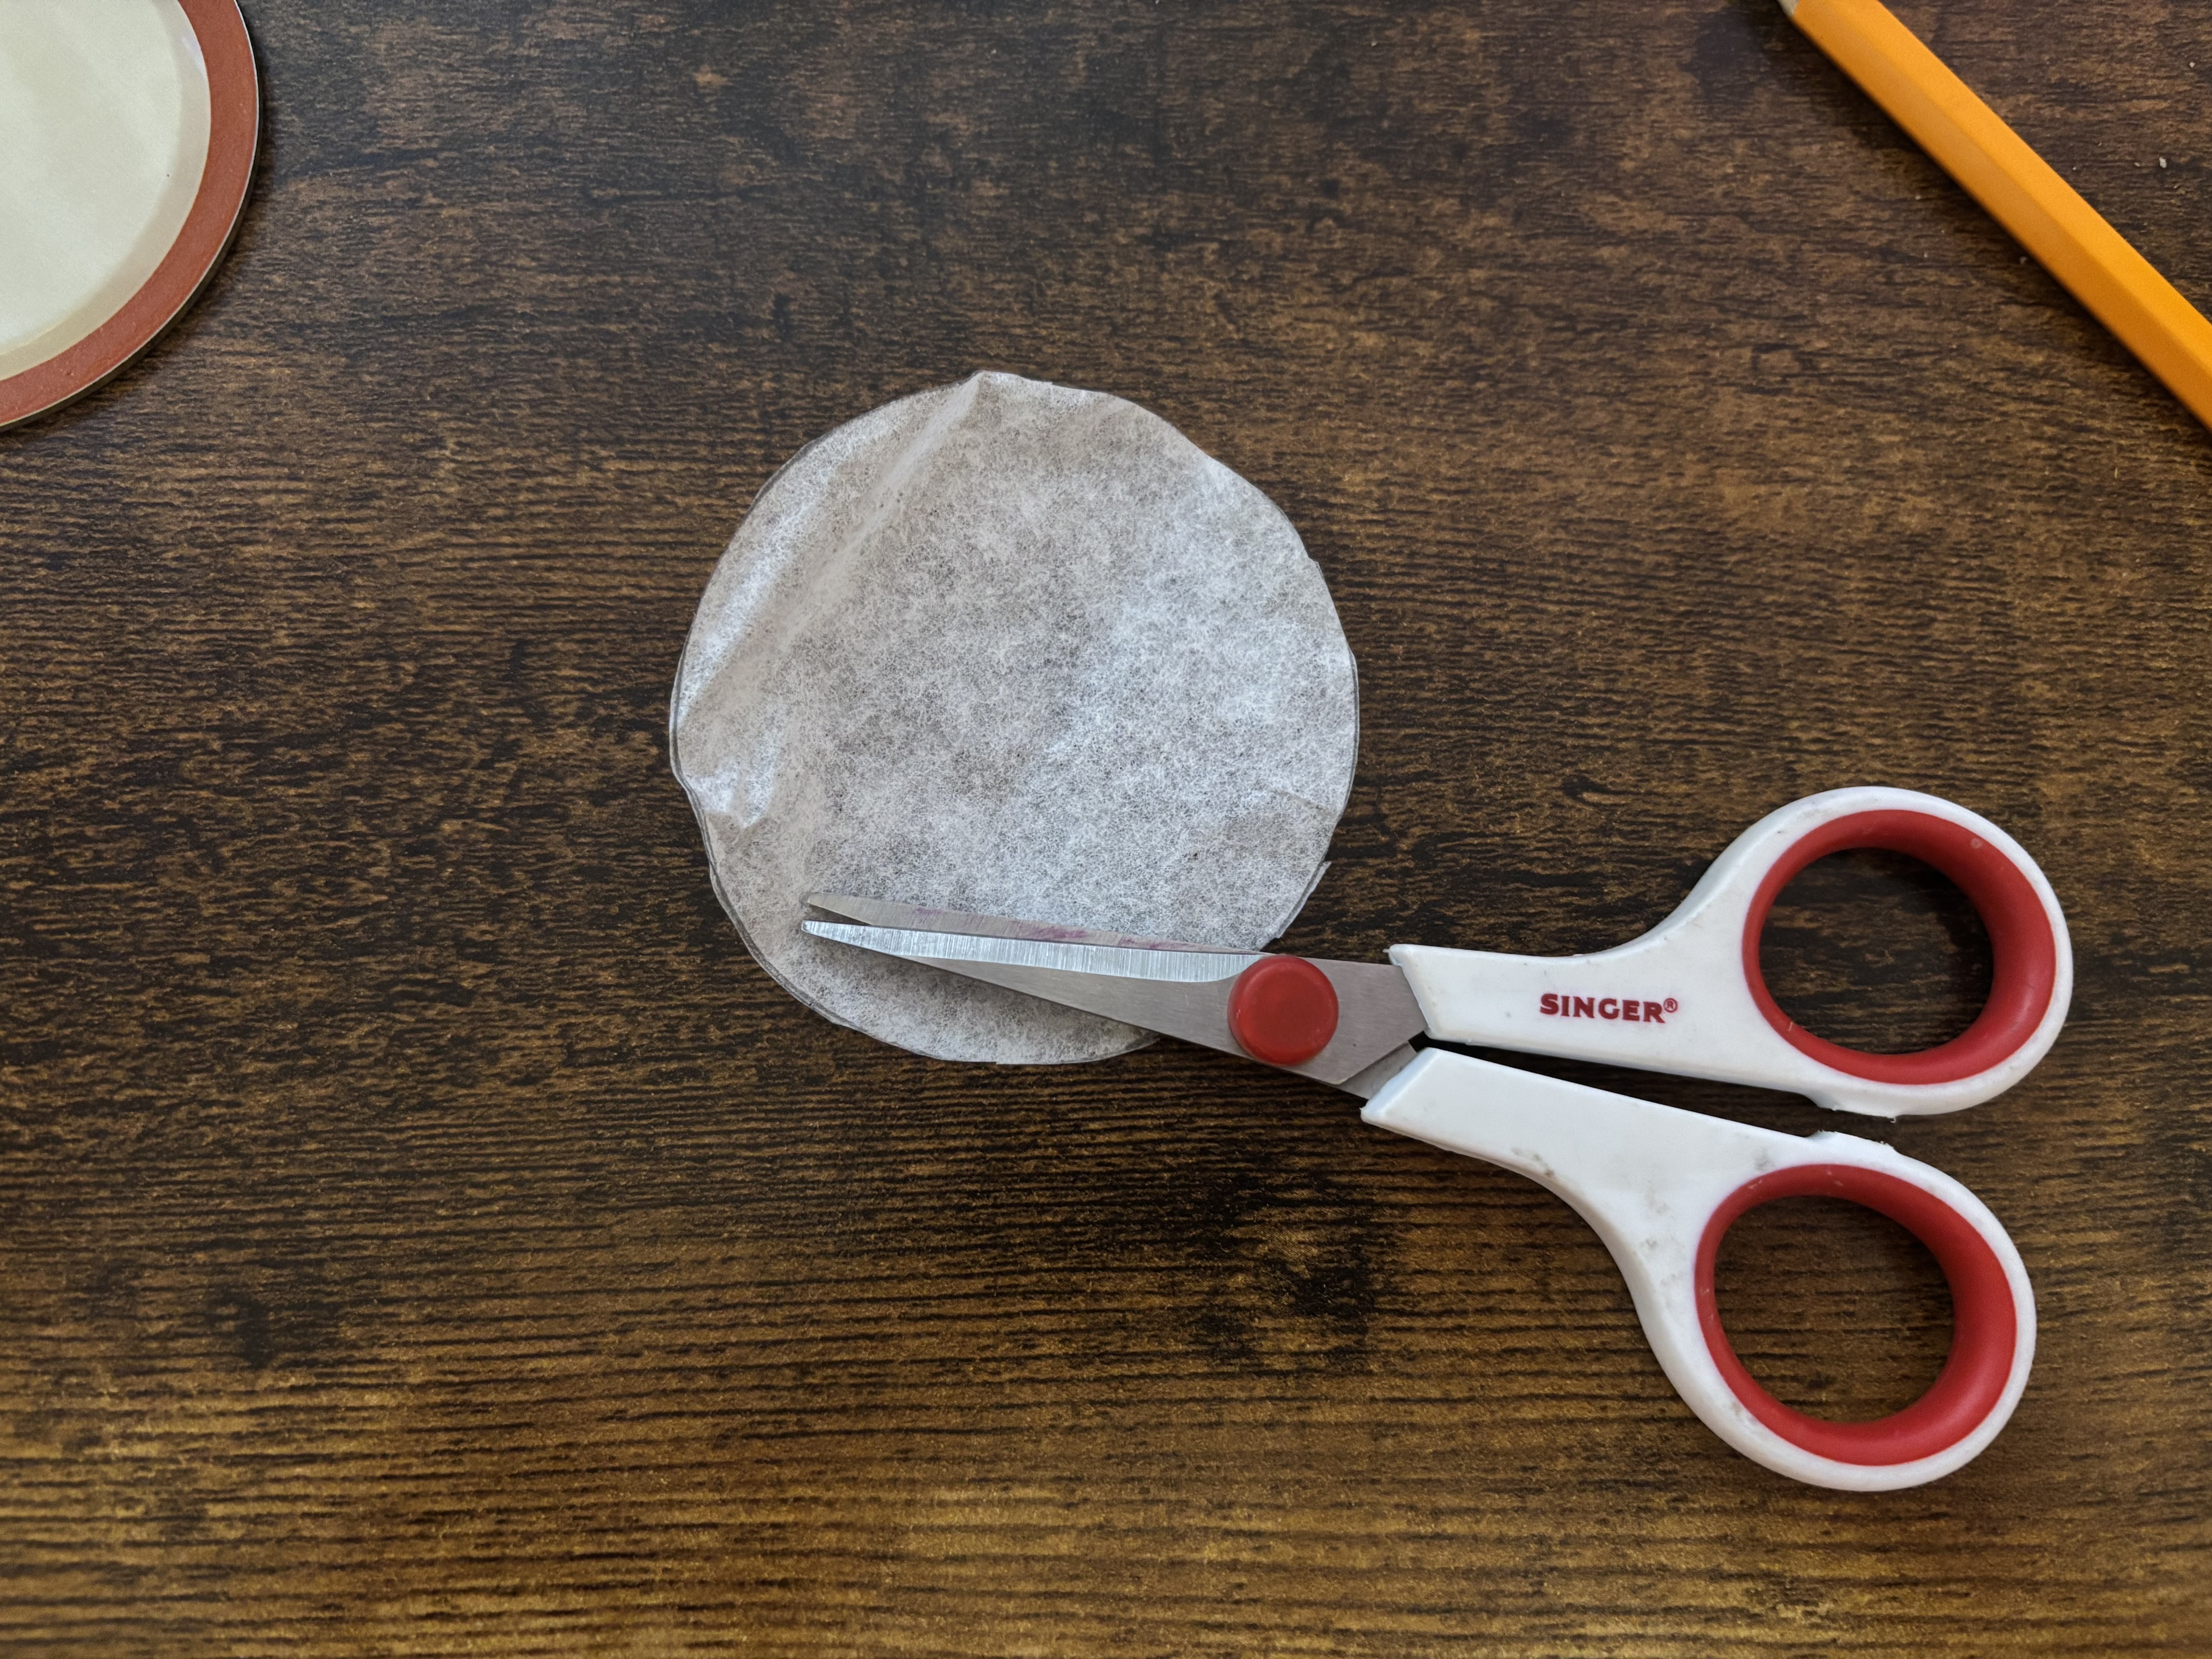
    Step 2: Cut out the circle

    Carefully cut out the circle you traced.

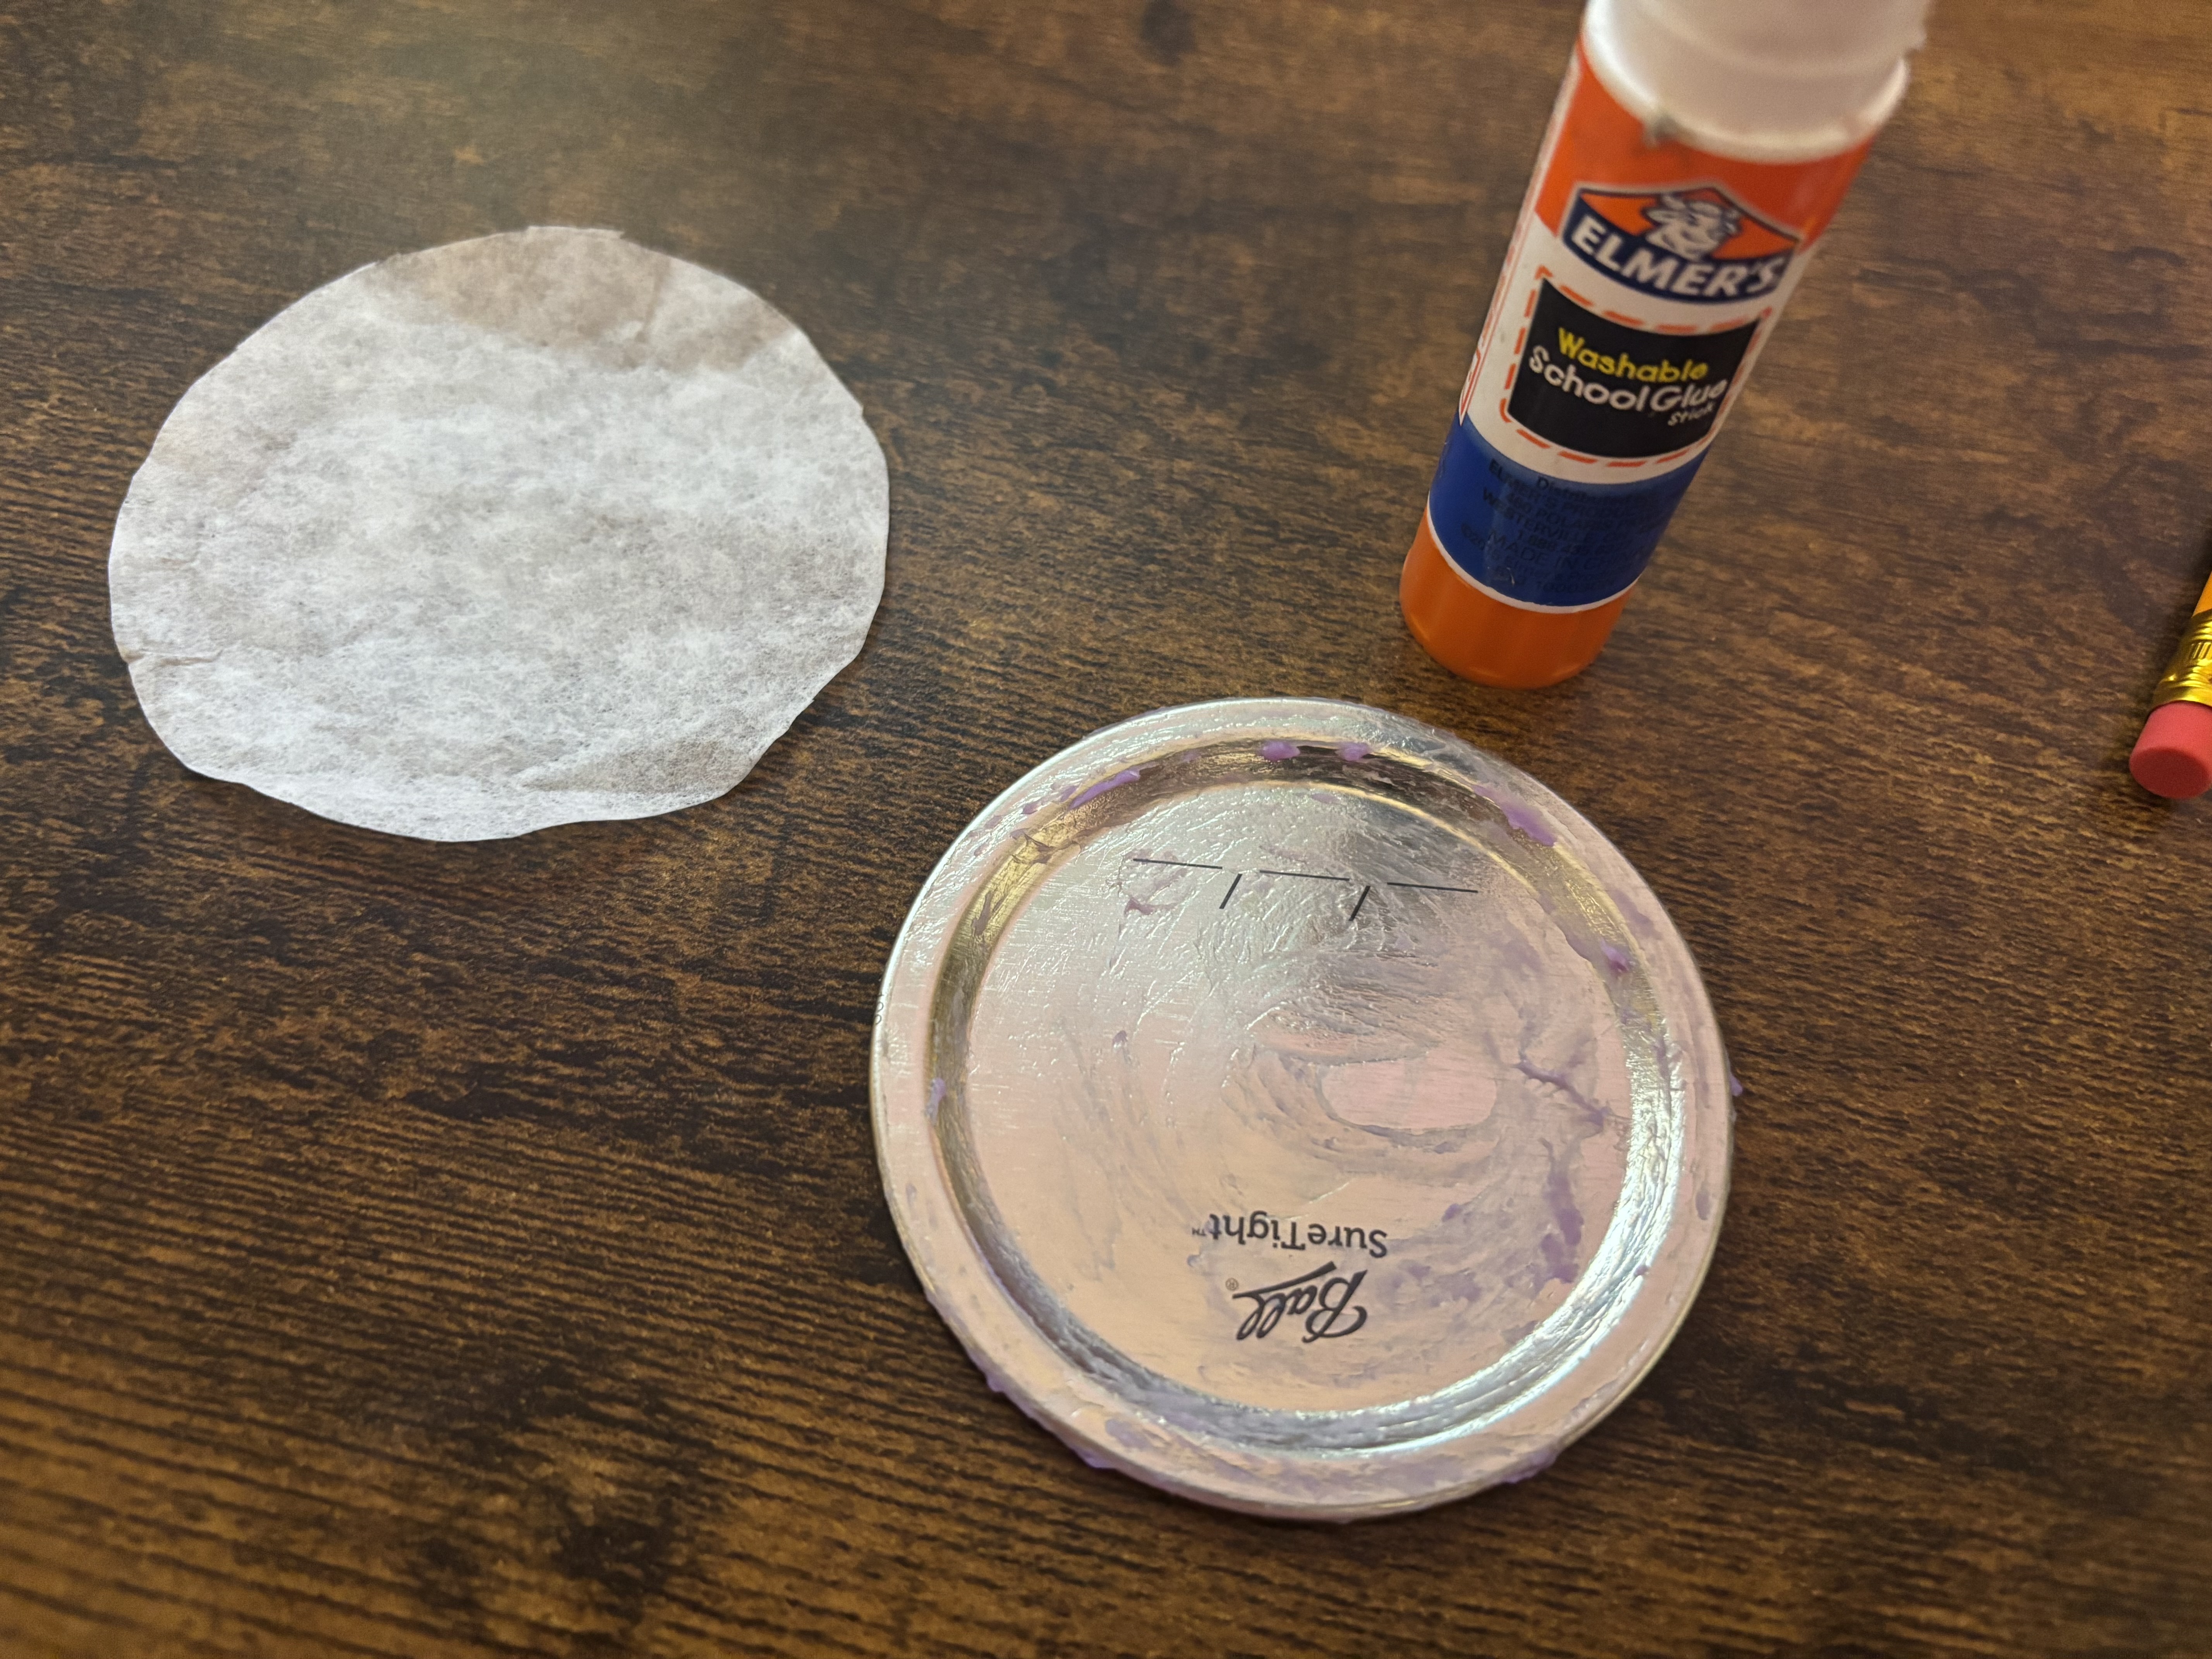
    Step 3: Put glue on the canning jar lid

    Add glue to the top of your canning jar lid. You want to cover the shiny side in glue, including the ridges around the outside.

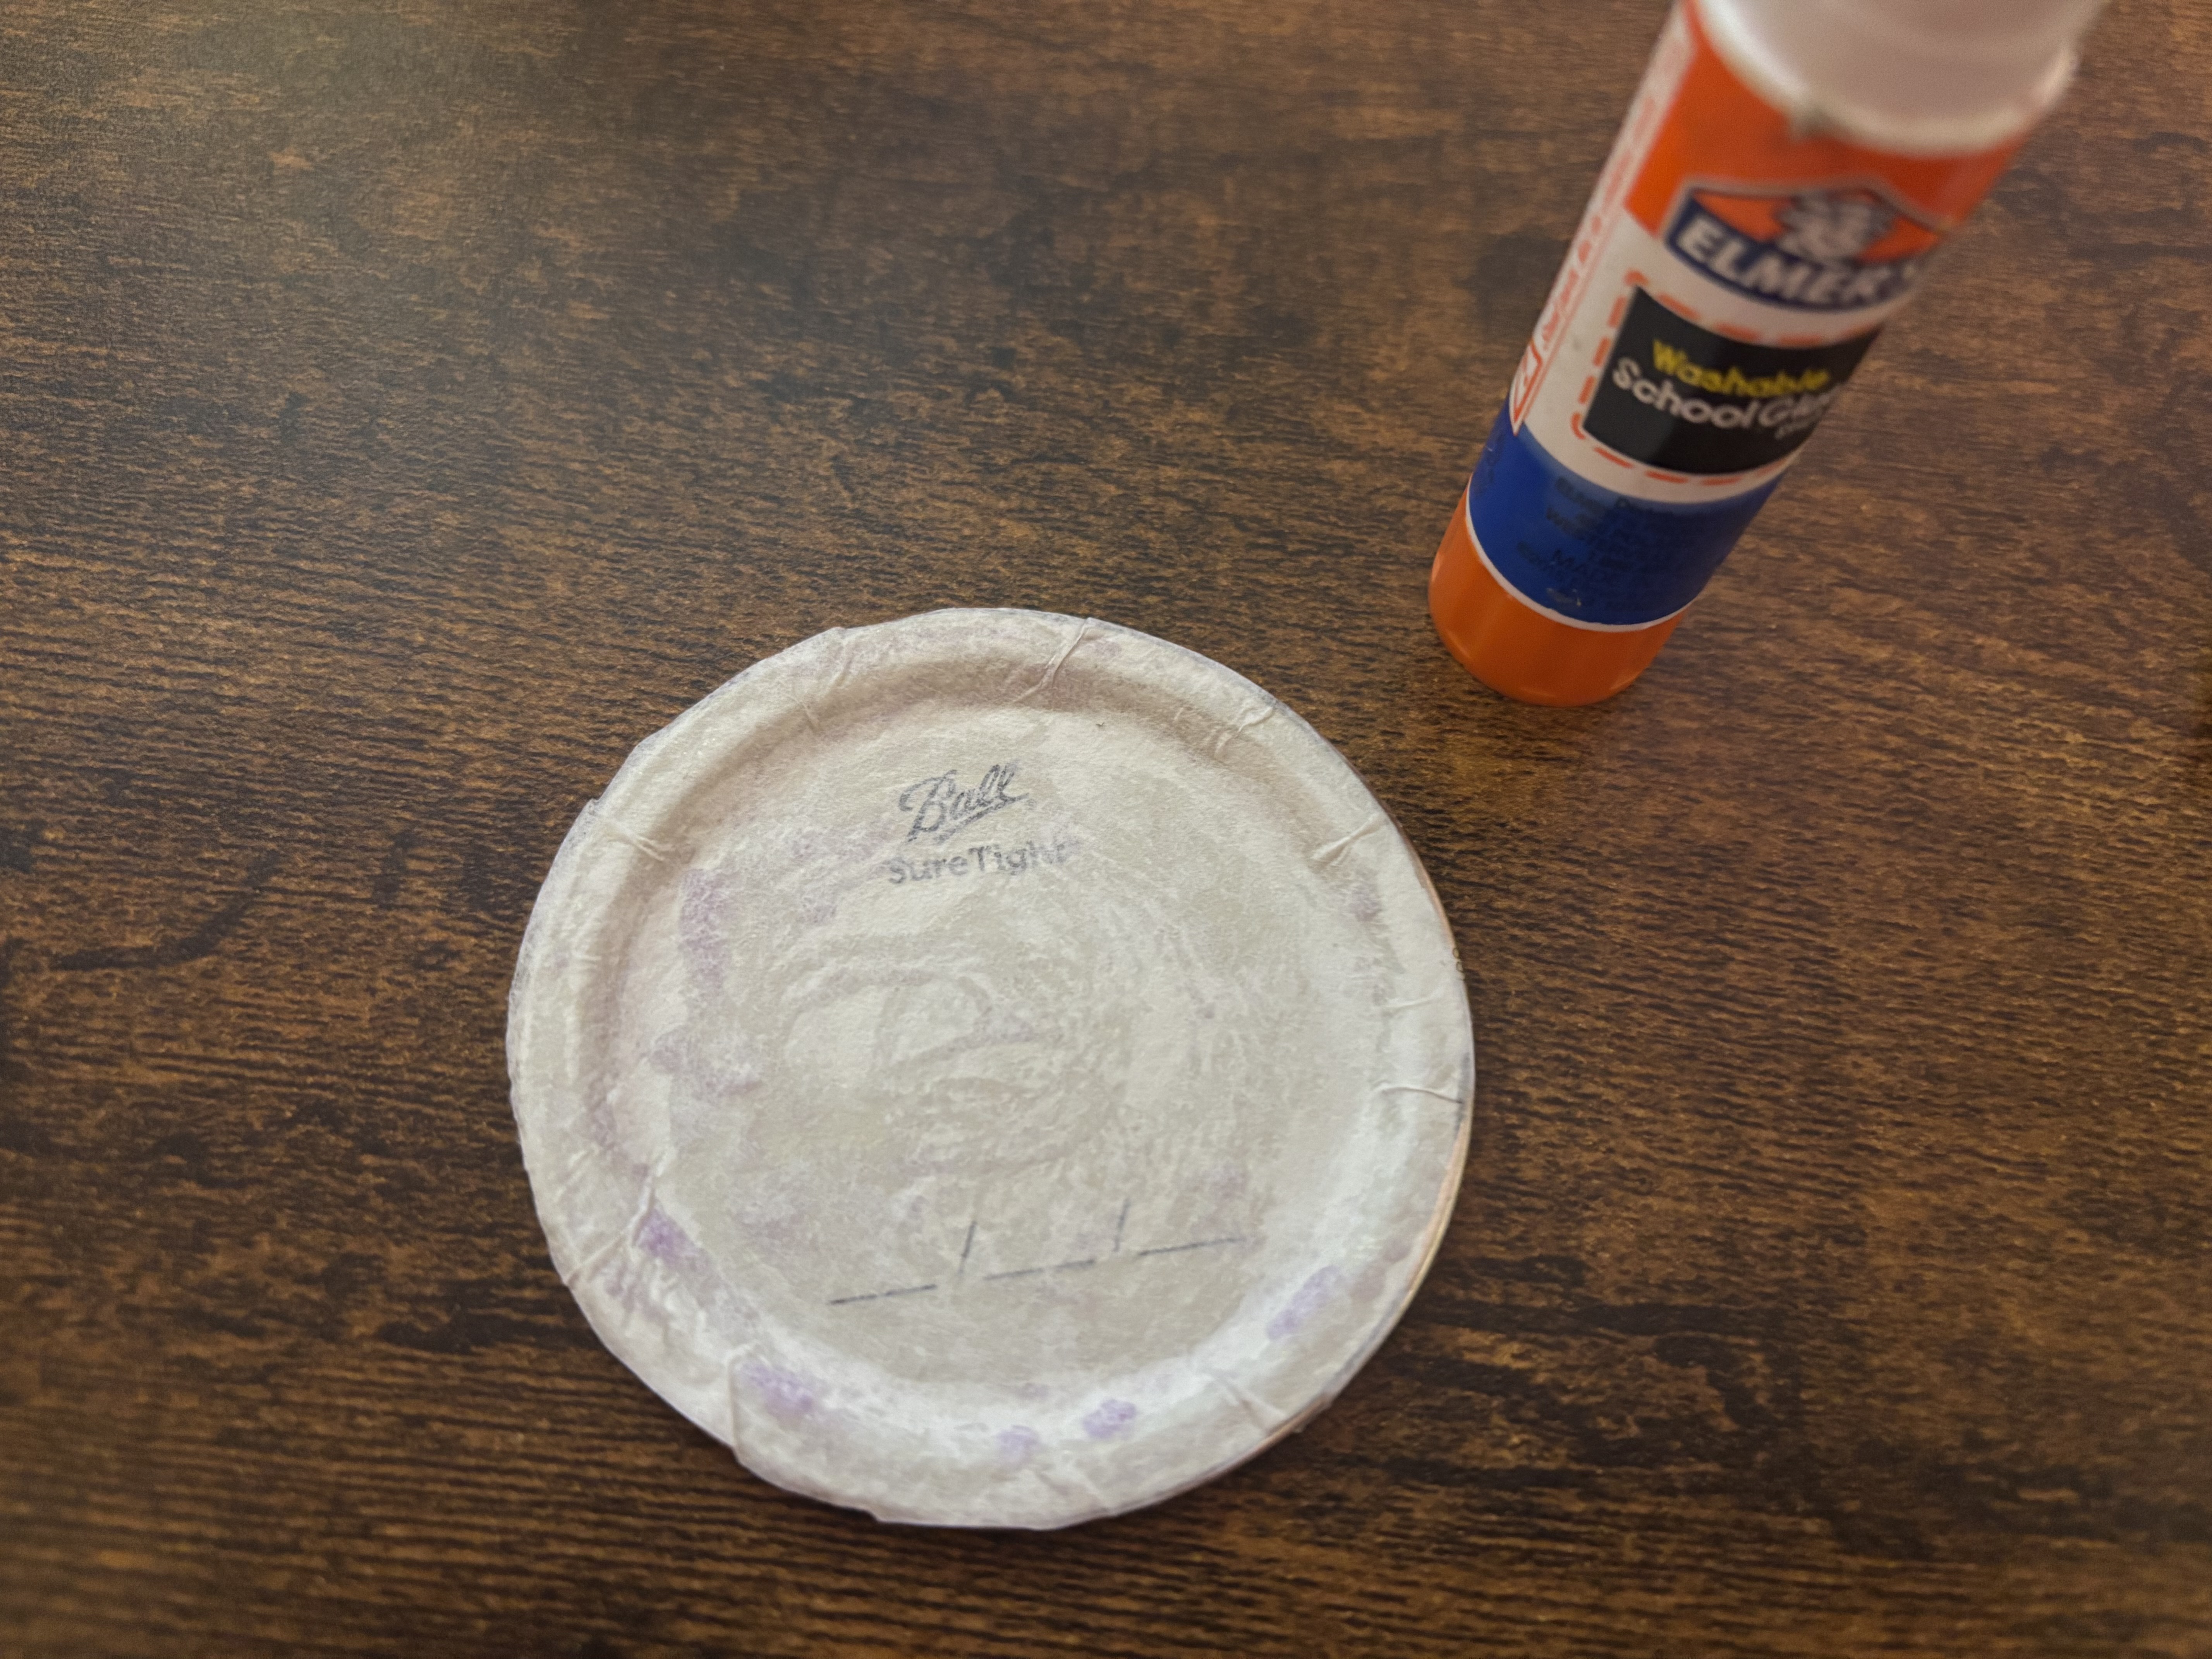
    Step 4: Glue on the tissue paper body

    Add your tissue paper body and press it down firmly. DID YOU KNOW: Most owls are territorial and stay in the same forest all year round. Thick, fluffy feathers keep them warm in the winter.

    Step 5: Make the eyes

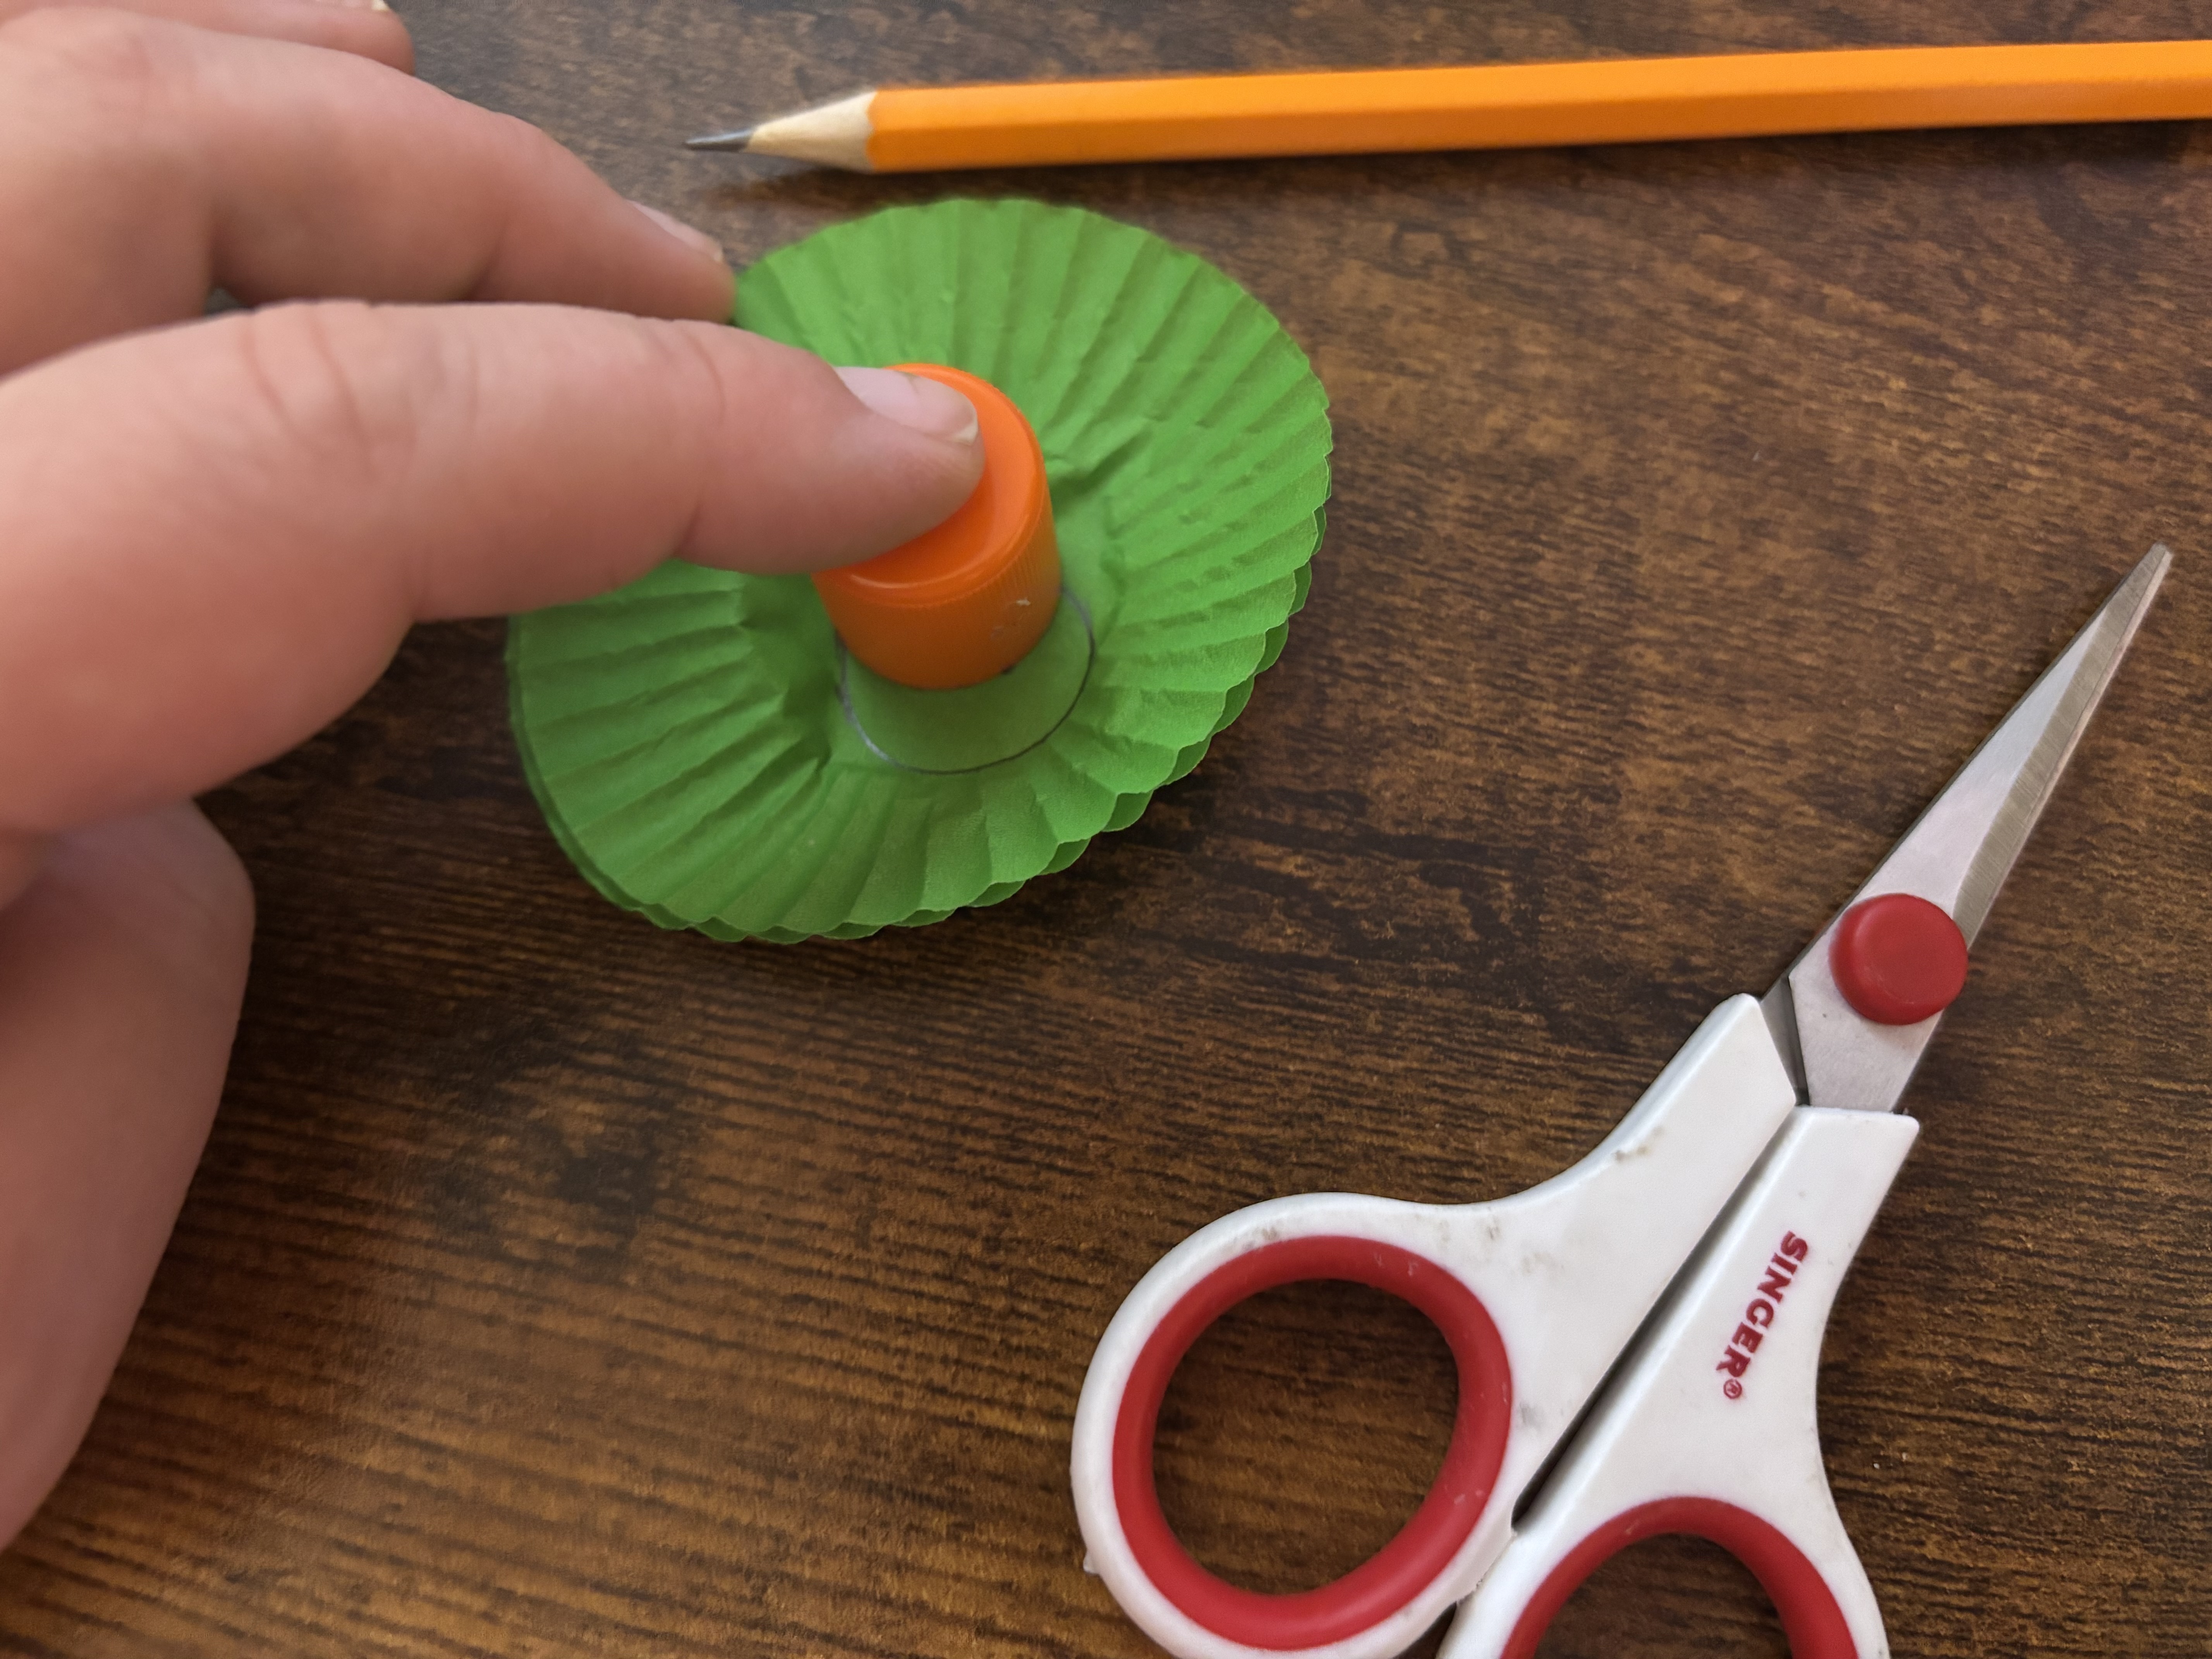
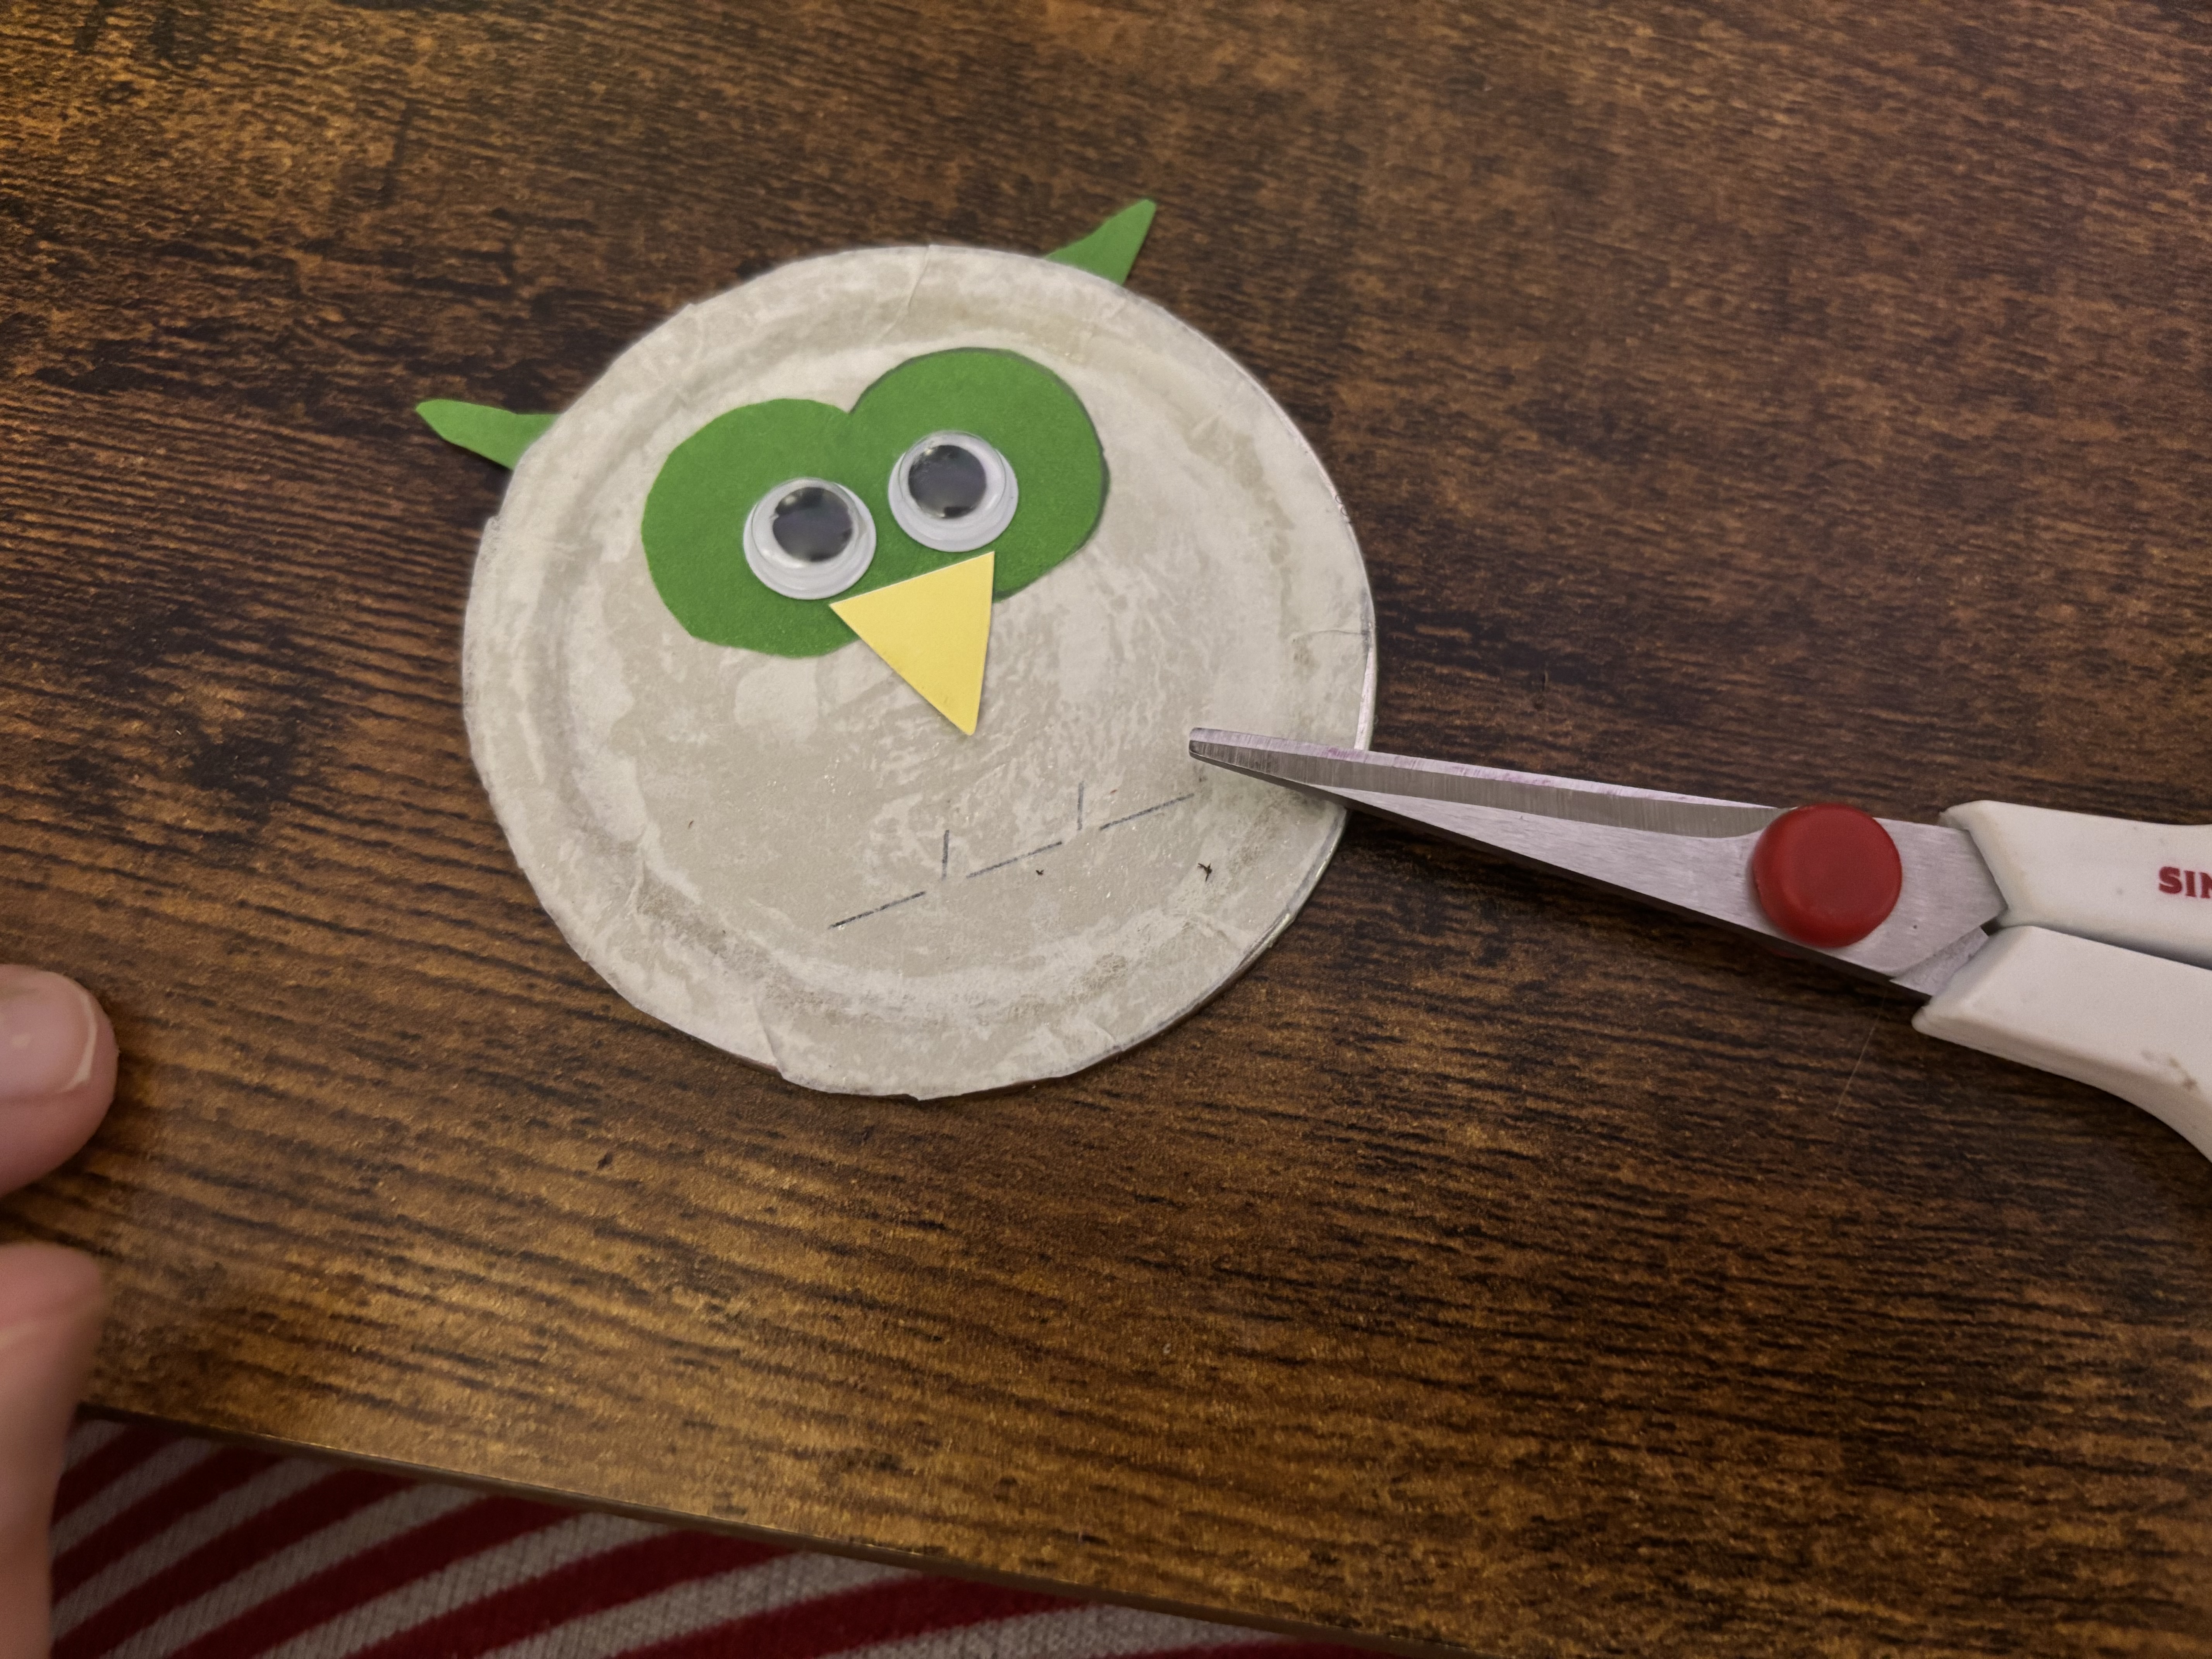
    Decide what you will use for your owl's eyes. You can use an old brown paper bag, two muffin liners stacked together, or a folded sheet of tissue or regular paper. It's easiest if your chosen material has two layers. That way, your eyes will be exactly the same size. Or, you can do the next step twice to make two eyes. Trace your glue stick's cap on your layered paper. Carefully cut out the circle you just drew.

    Step 6: Glue on the eyes

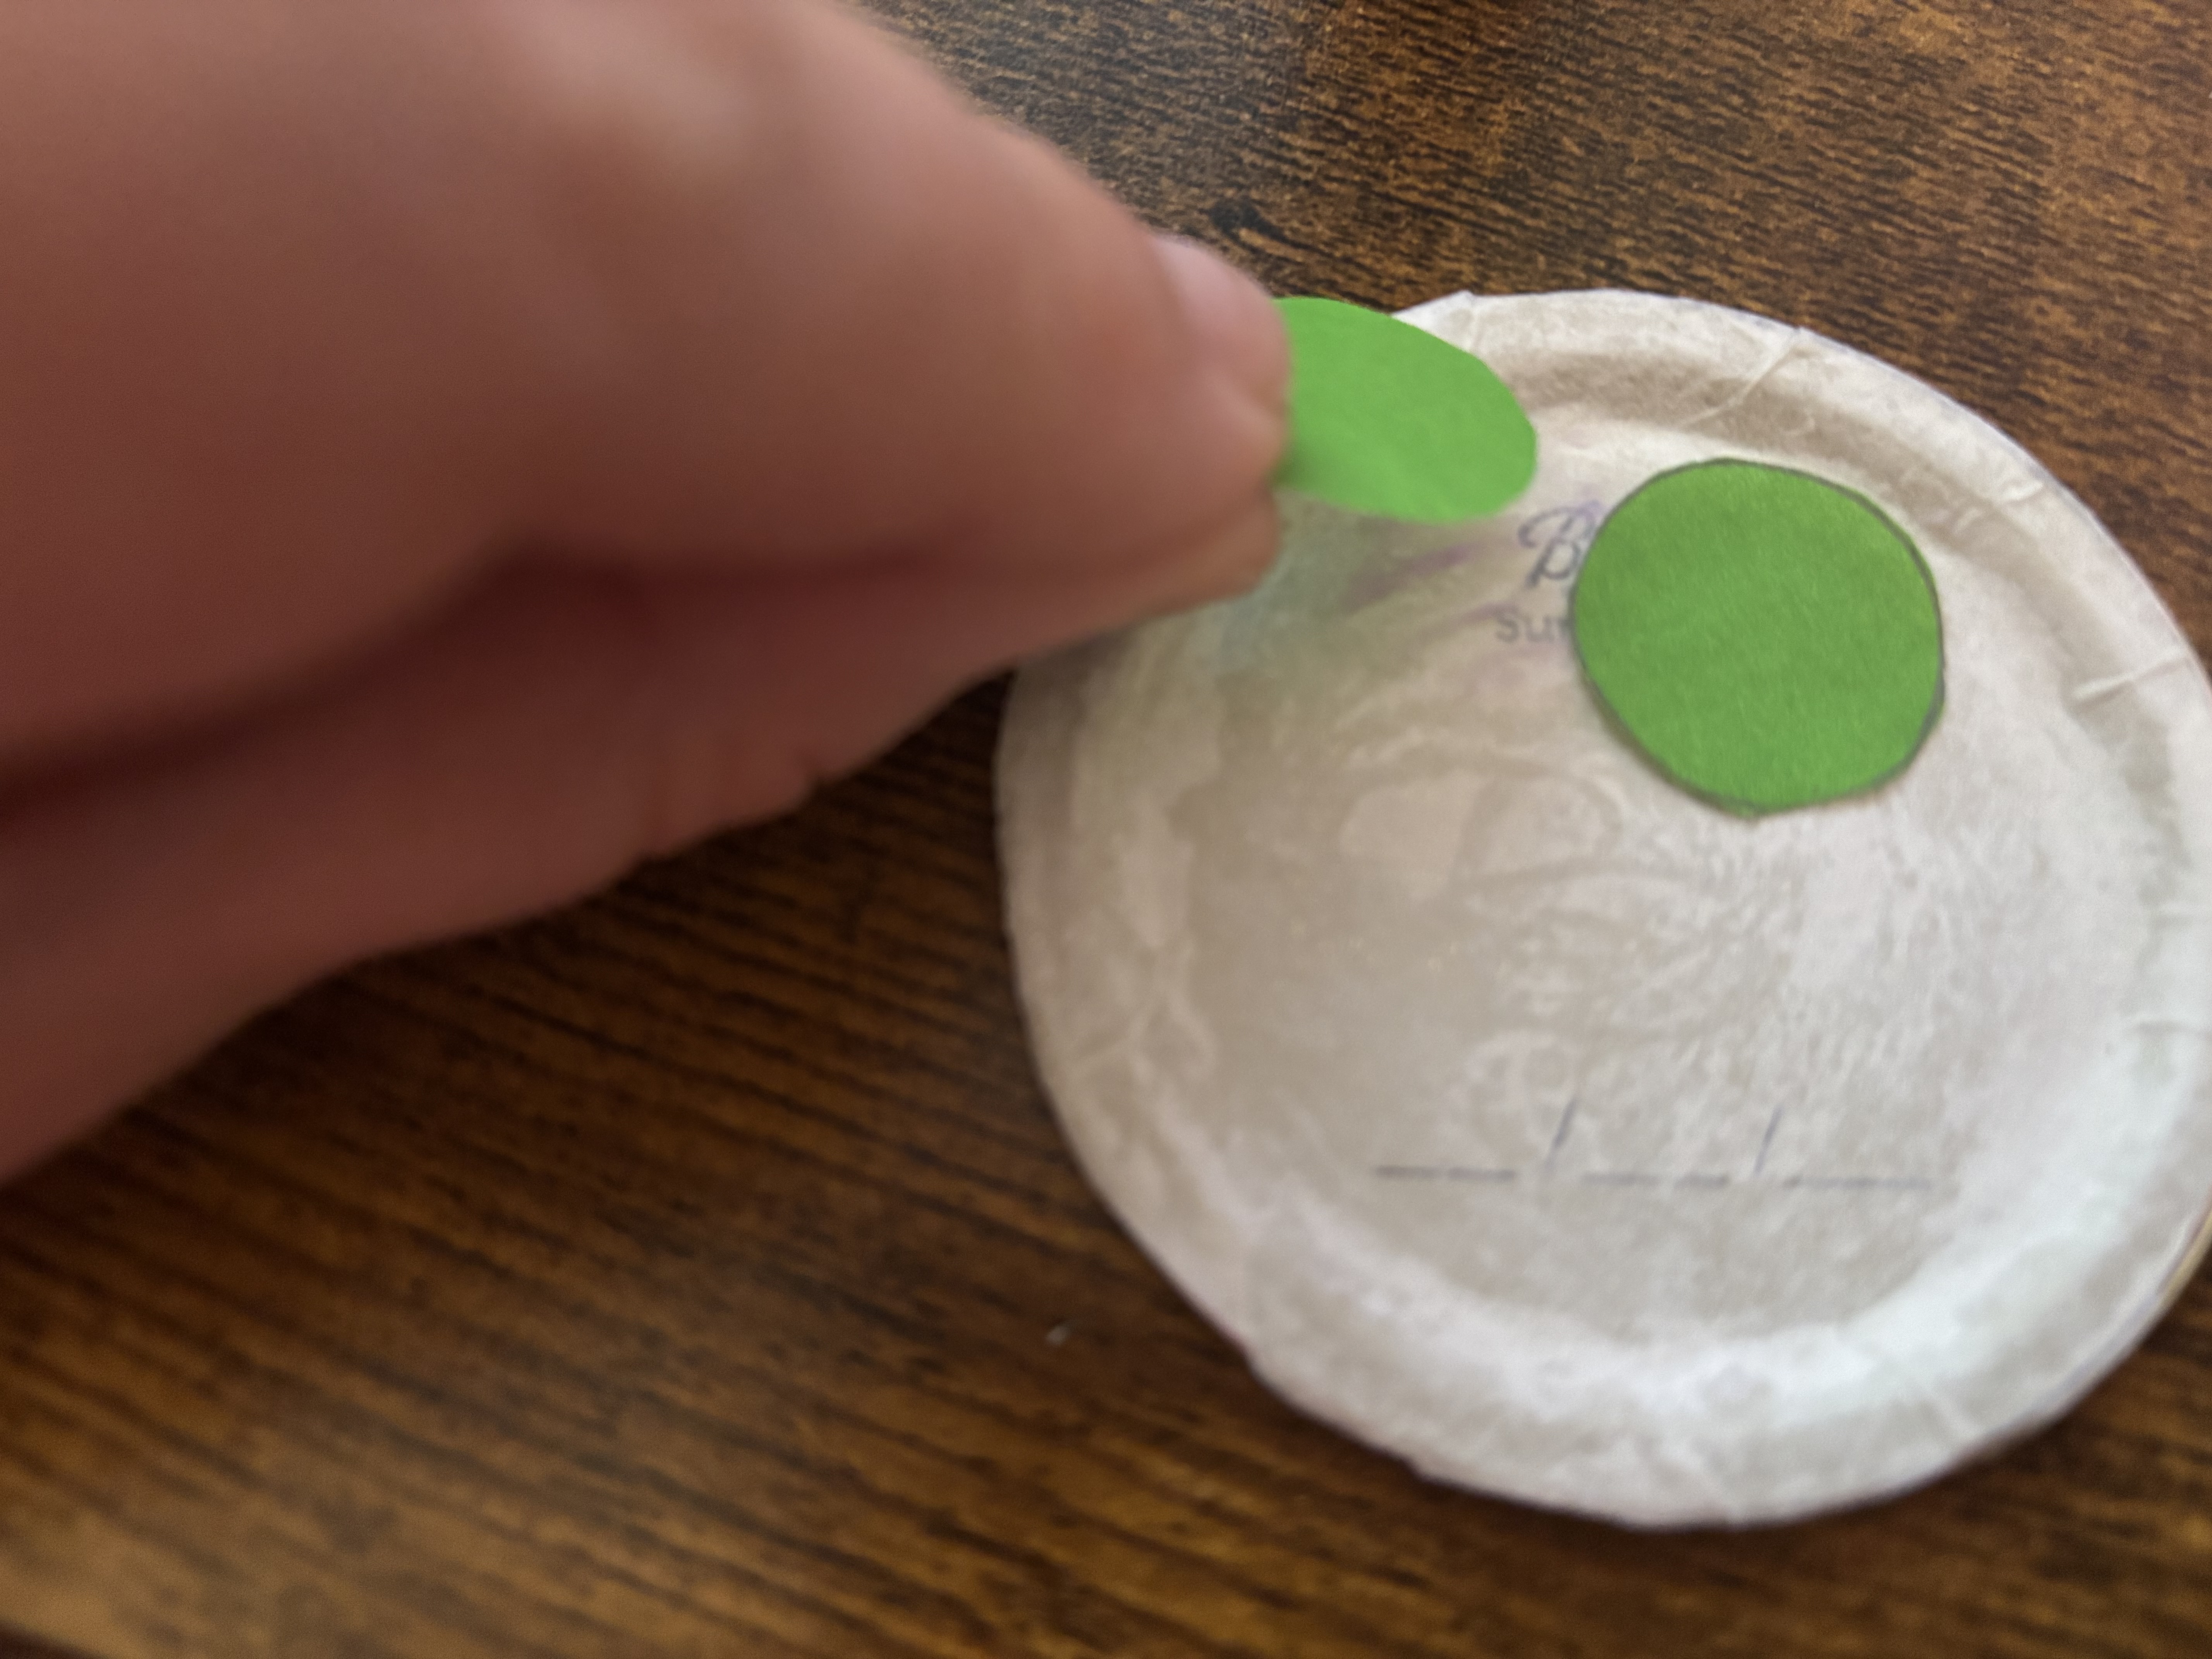
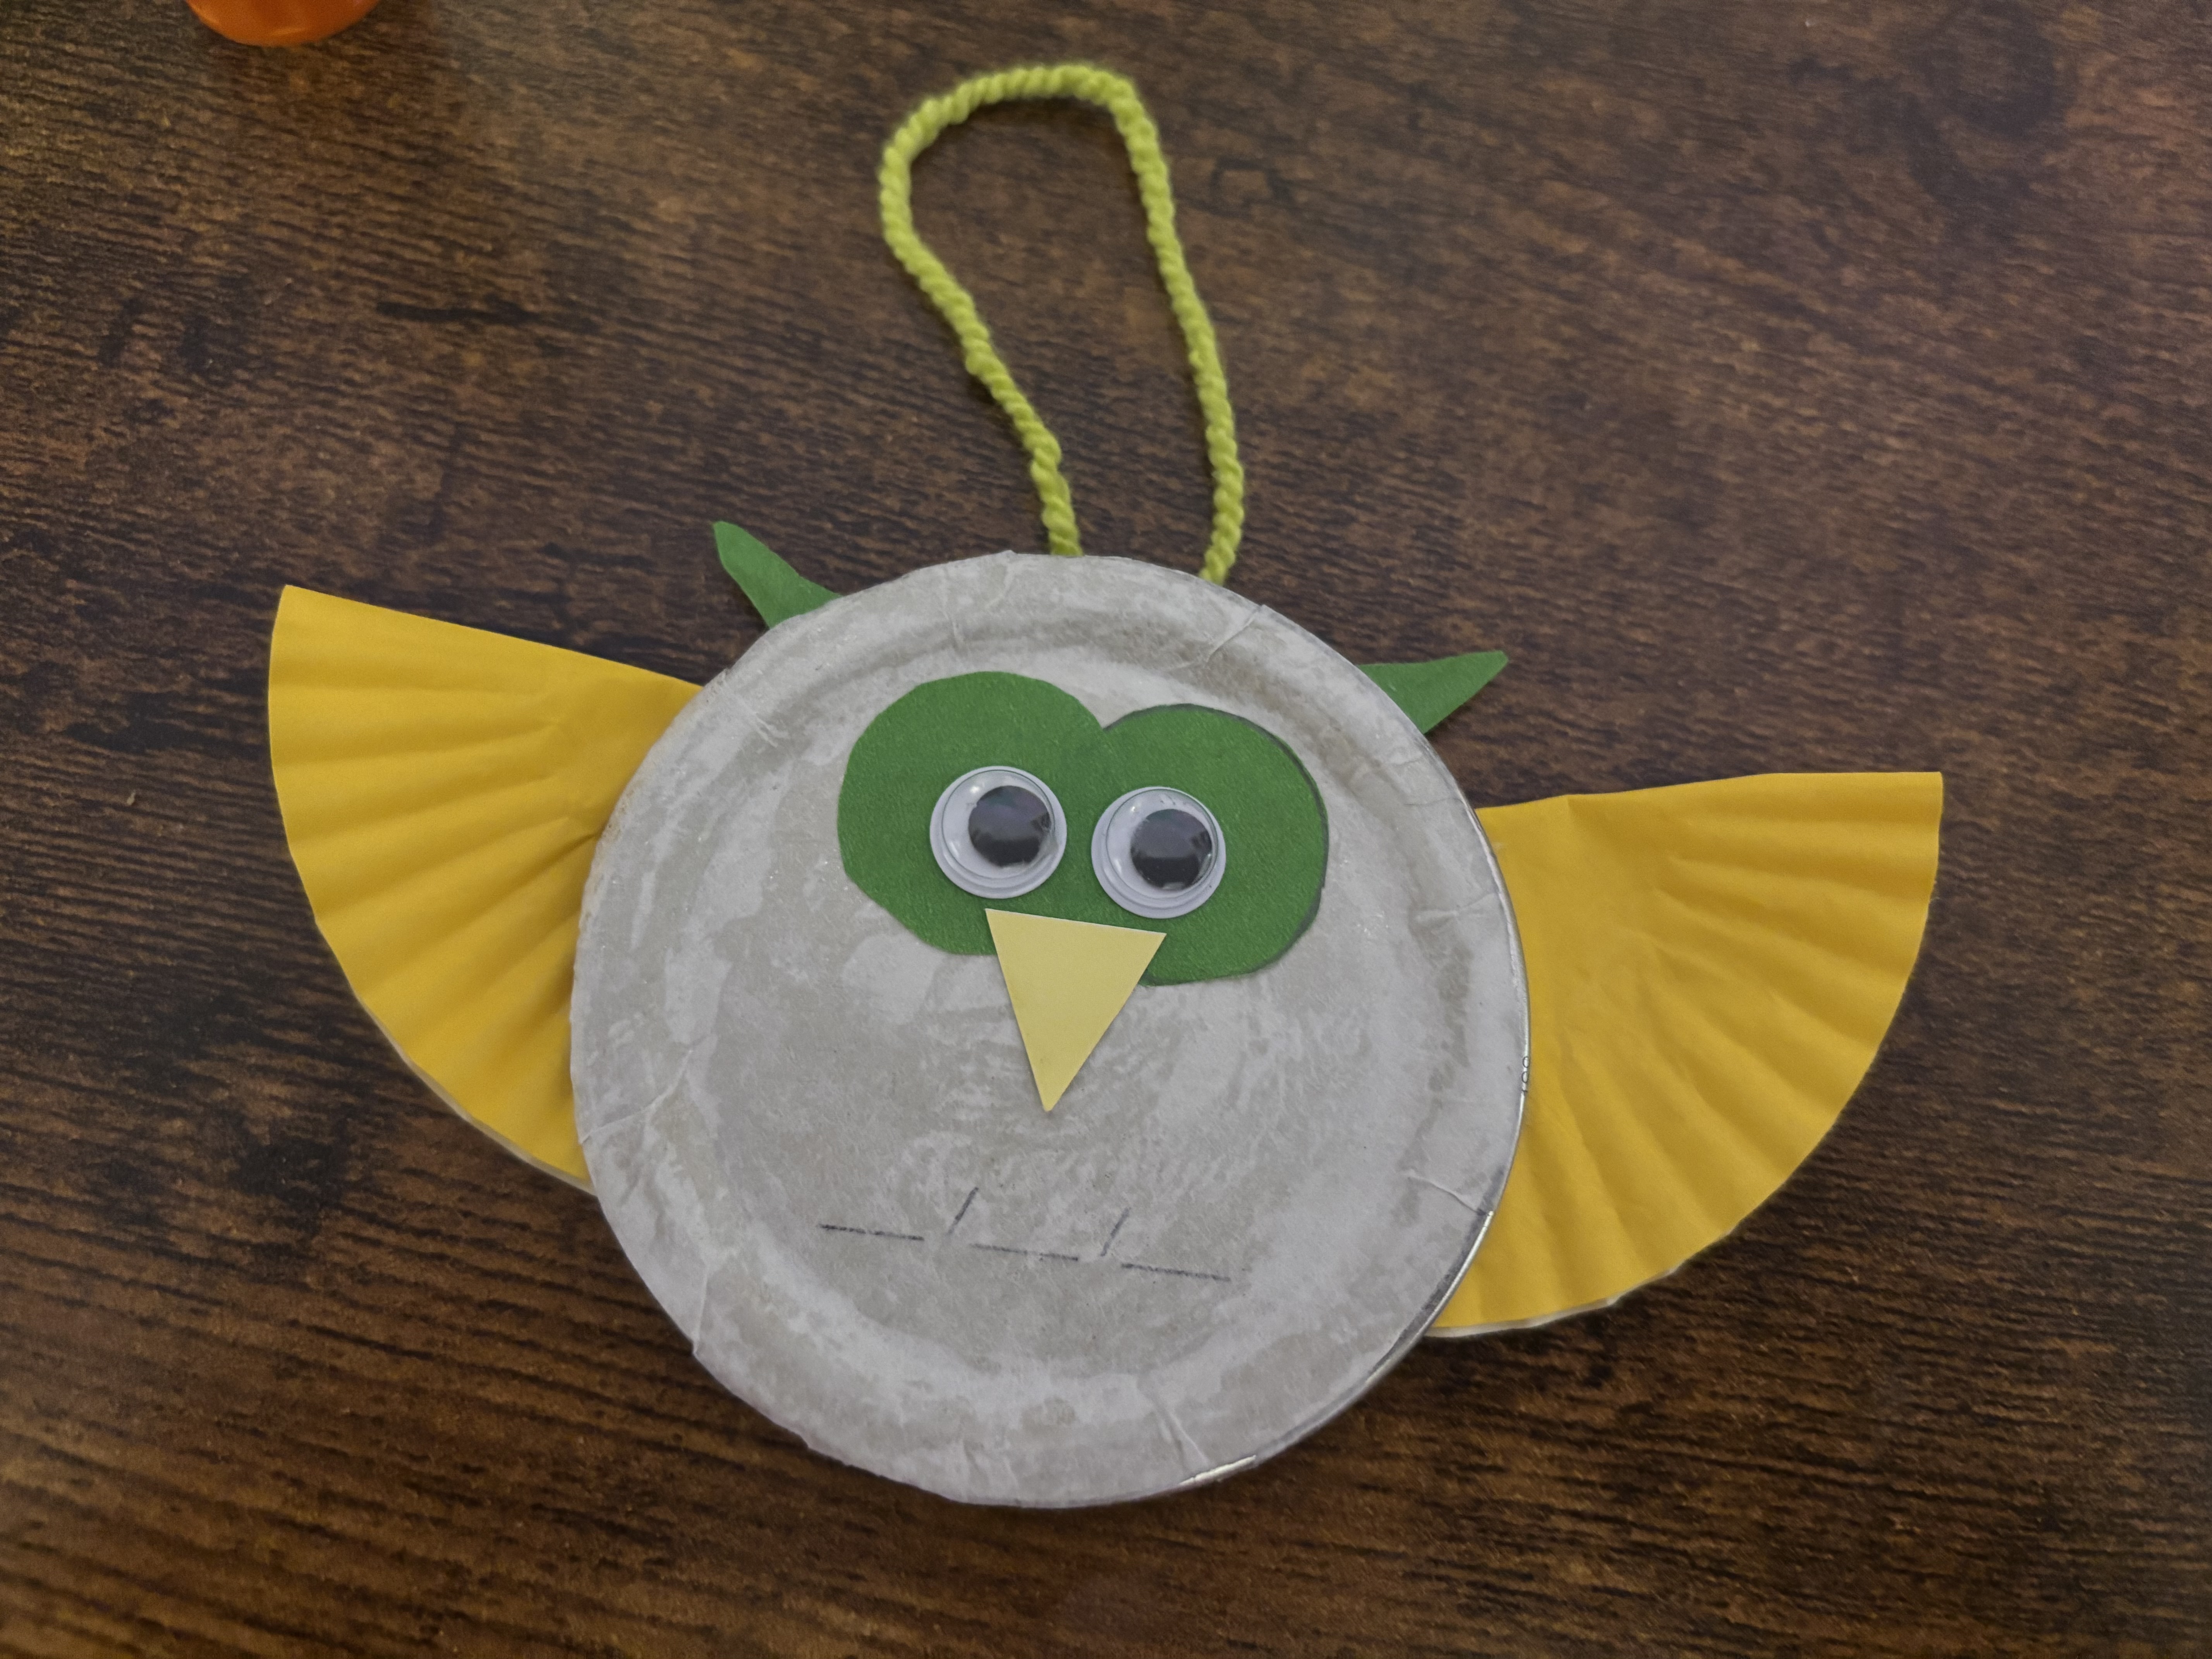
    Use your glue stick to add the eyes. We like to glue our eyes over the top of the logo on the canning jar lid.

    Step 7: Add the googly eyes

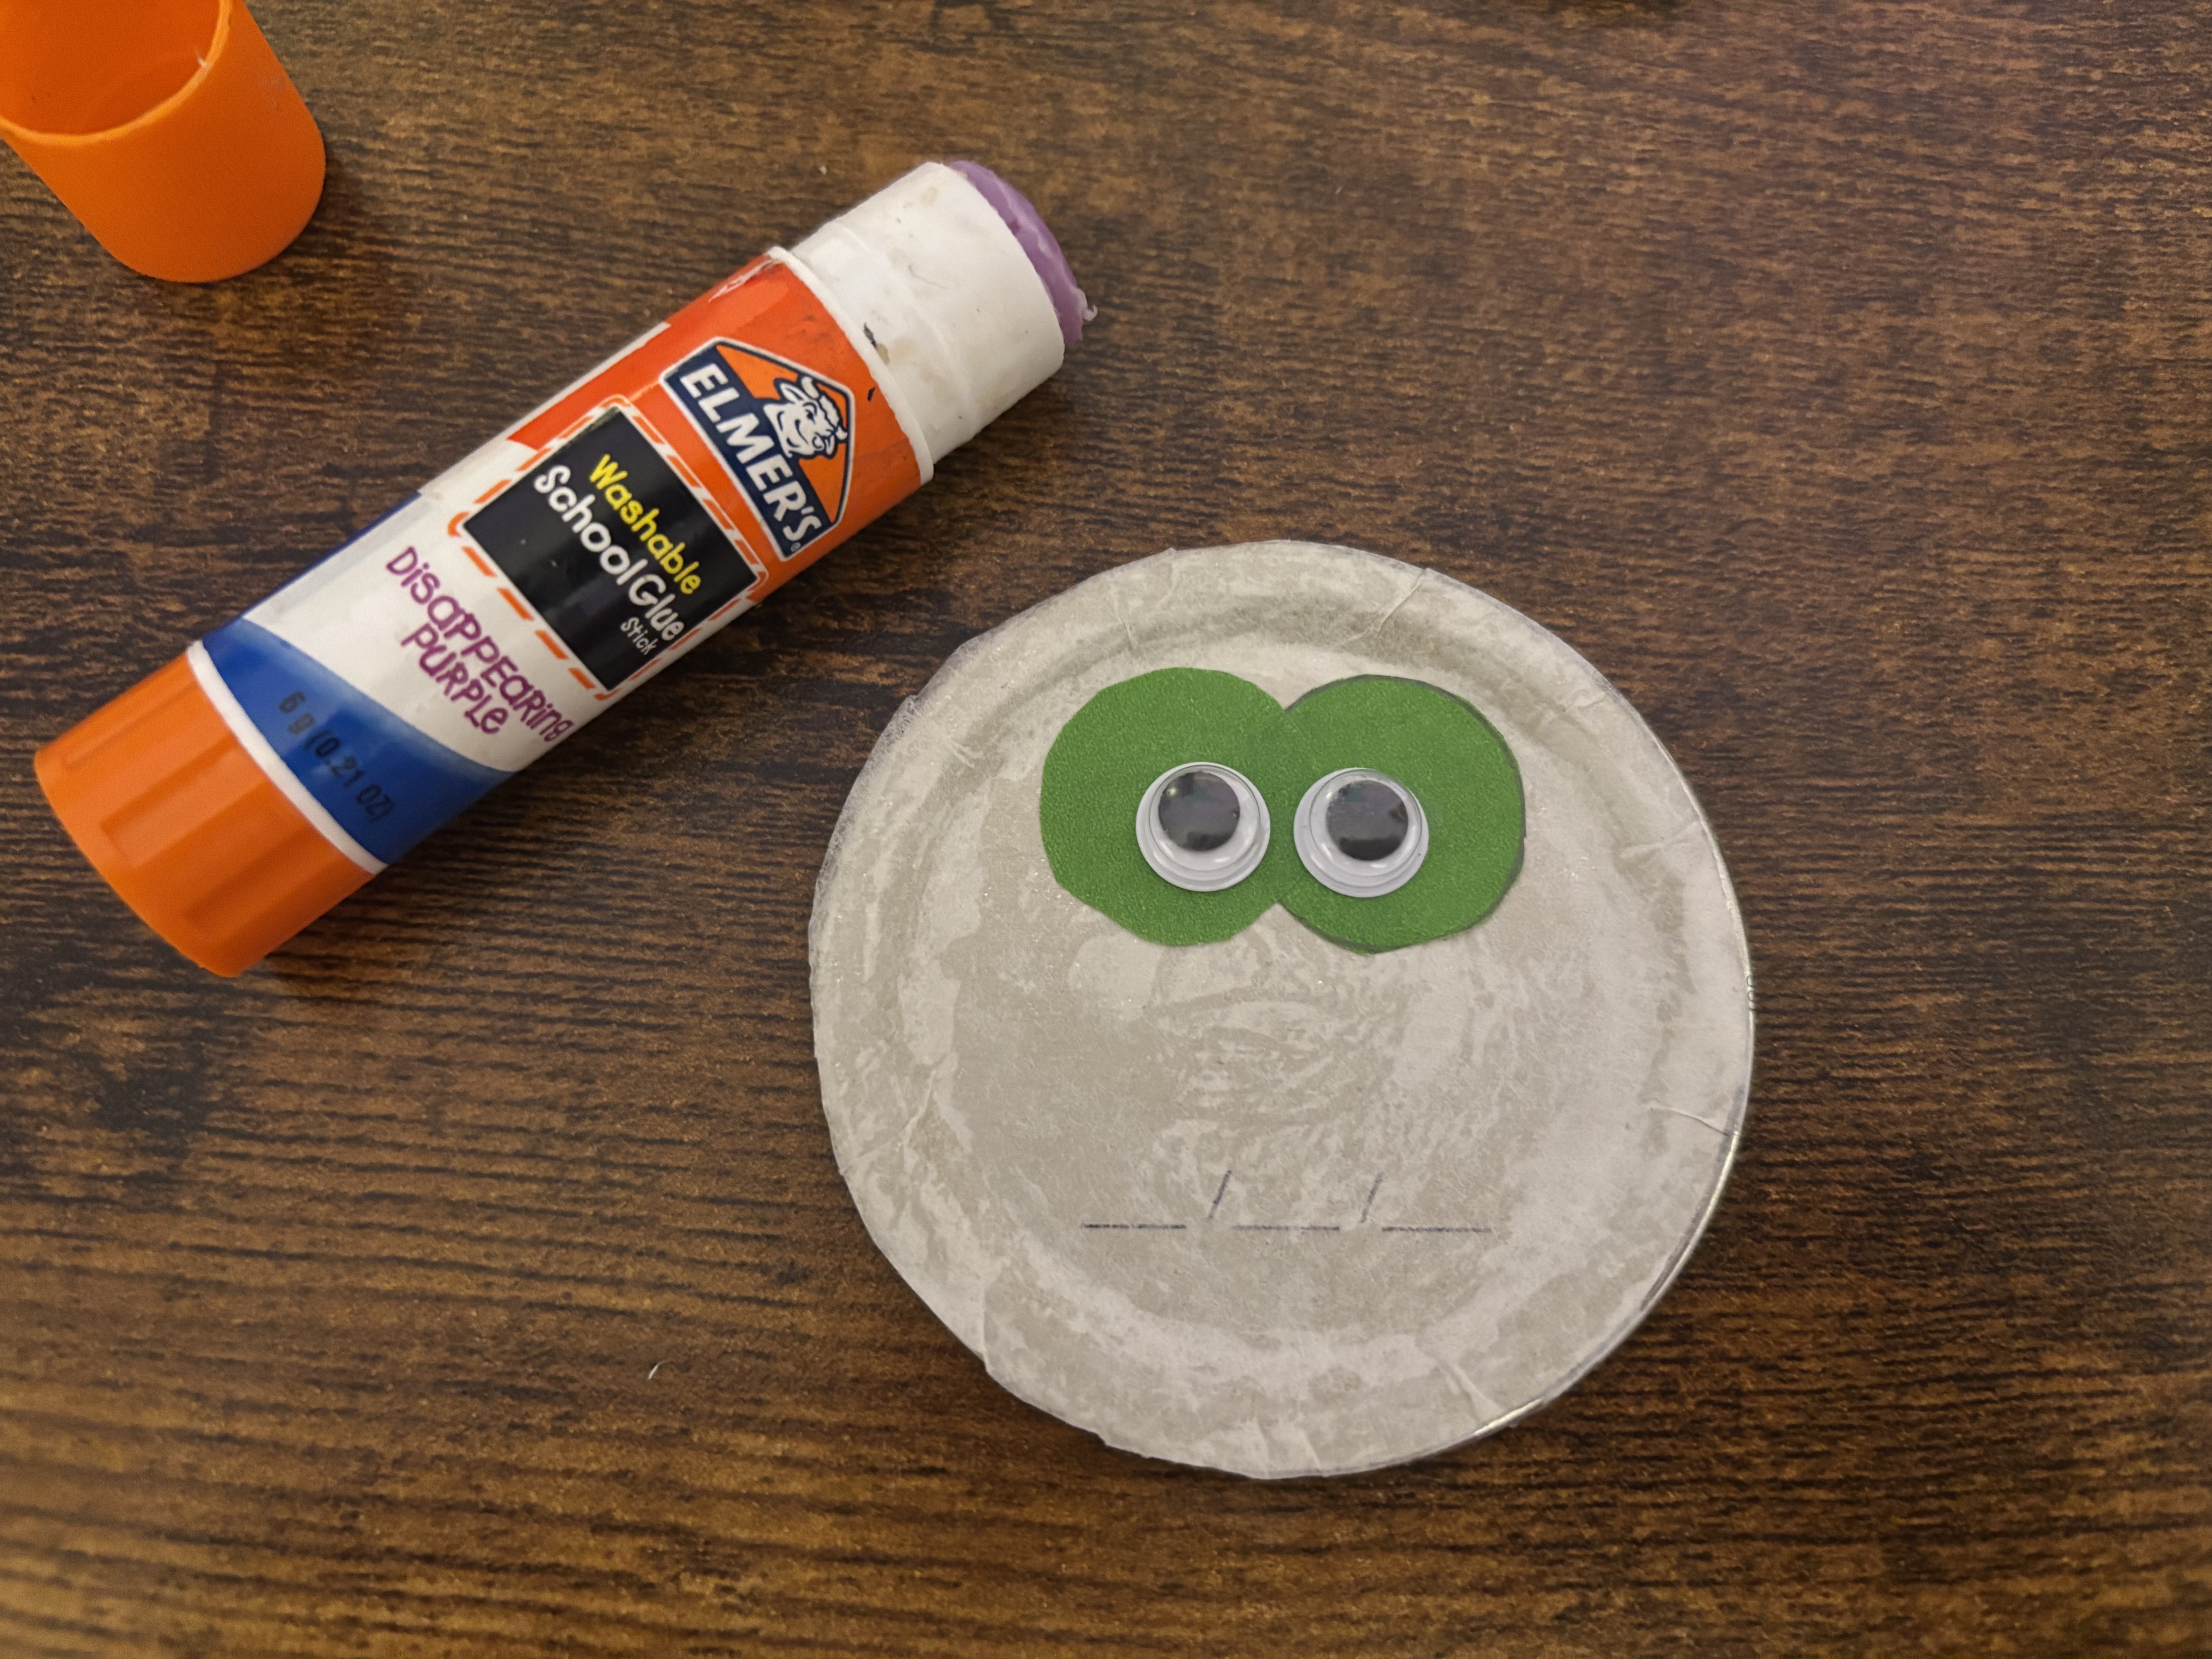
    Use your glue stick to add one googly eye to each circle. Use lots of glue to make sure they stay on tight. DID YOU KNOW: Owls have large eyes that help them see at night.

    Step 8: Add the ears

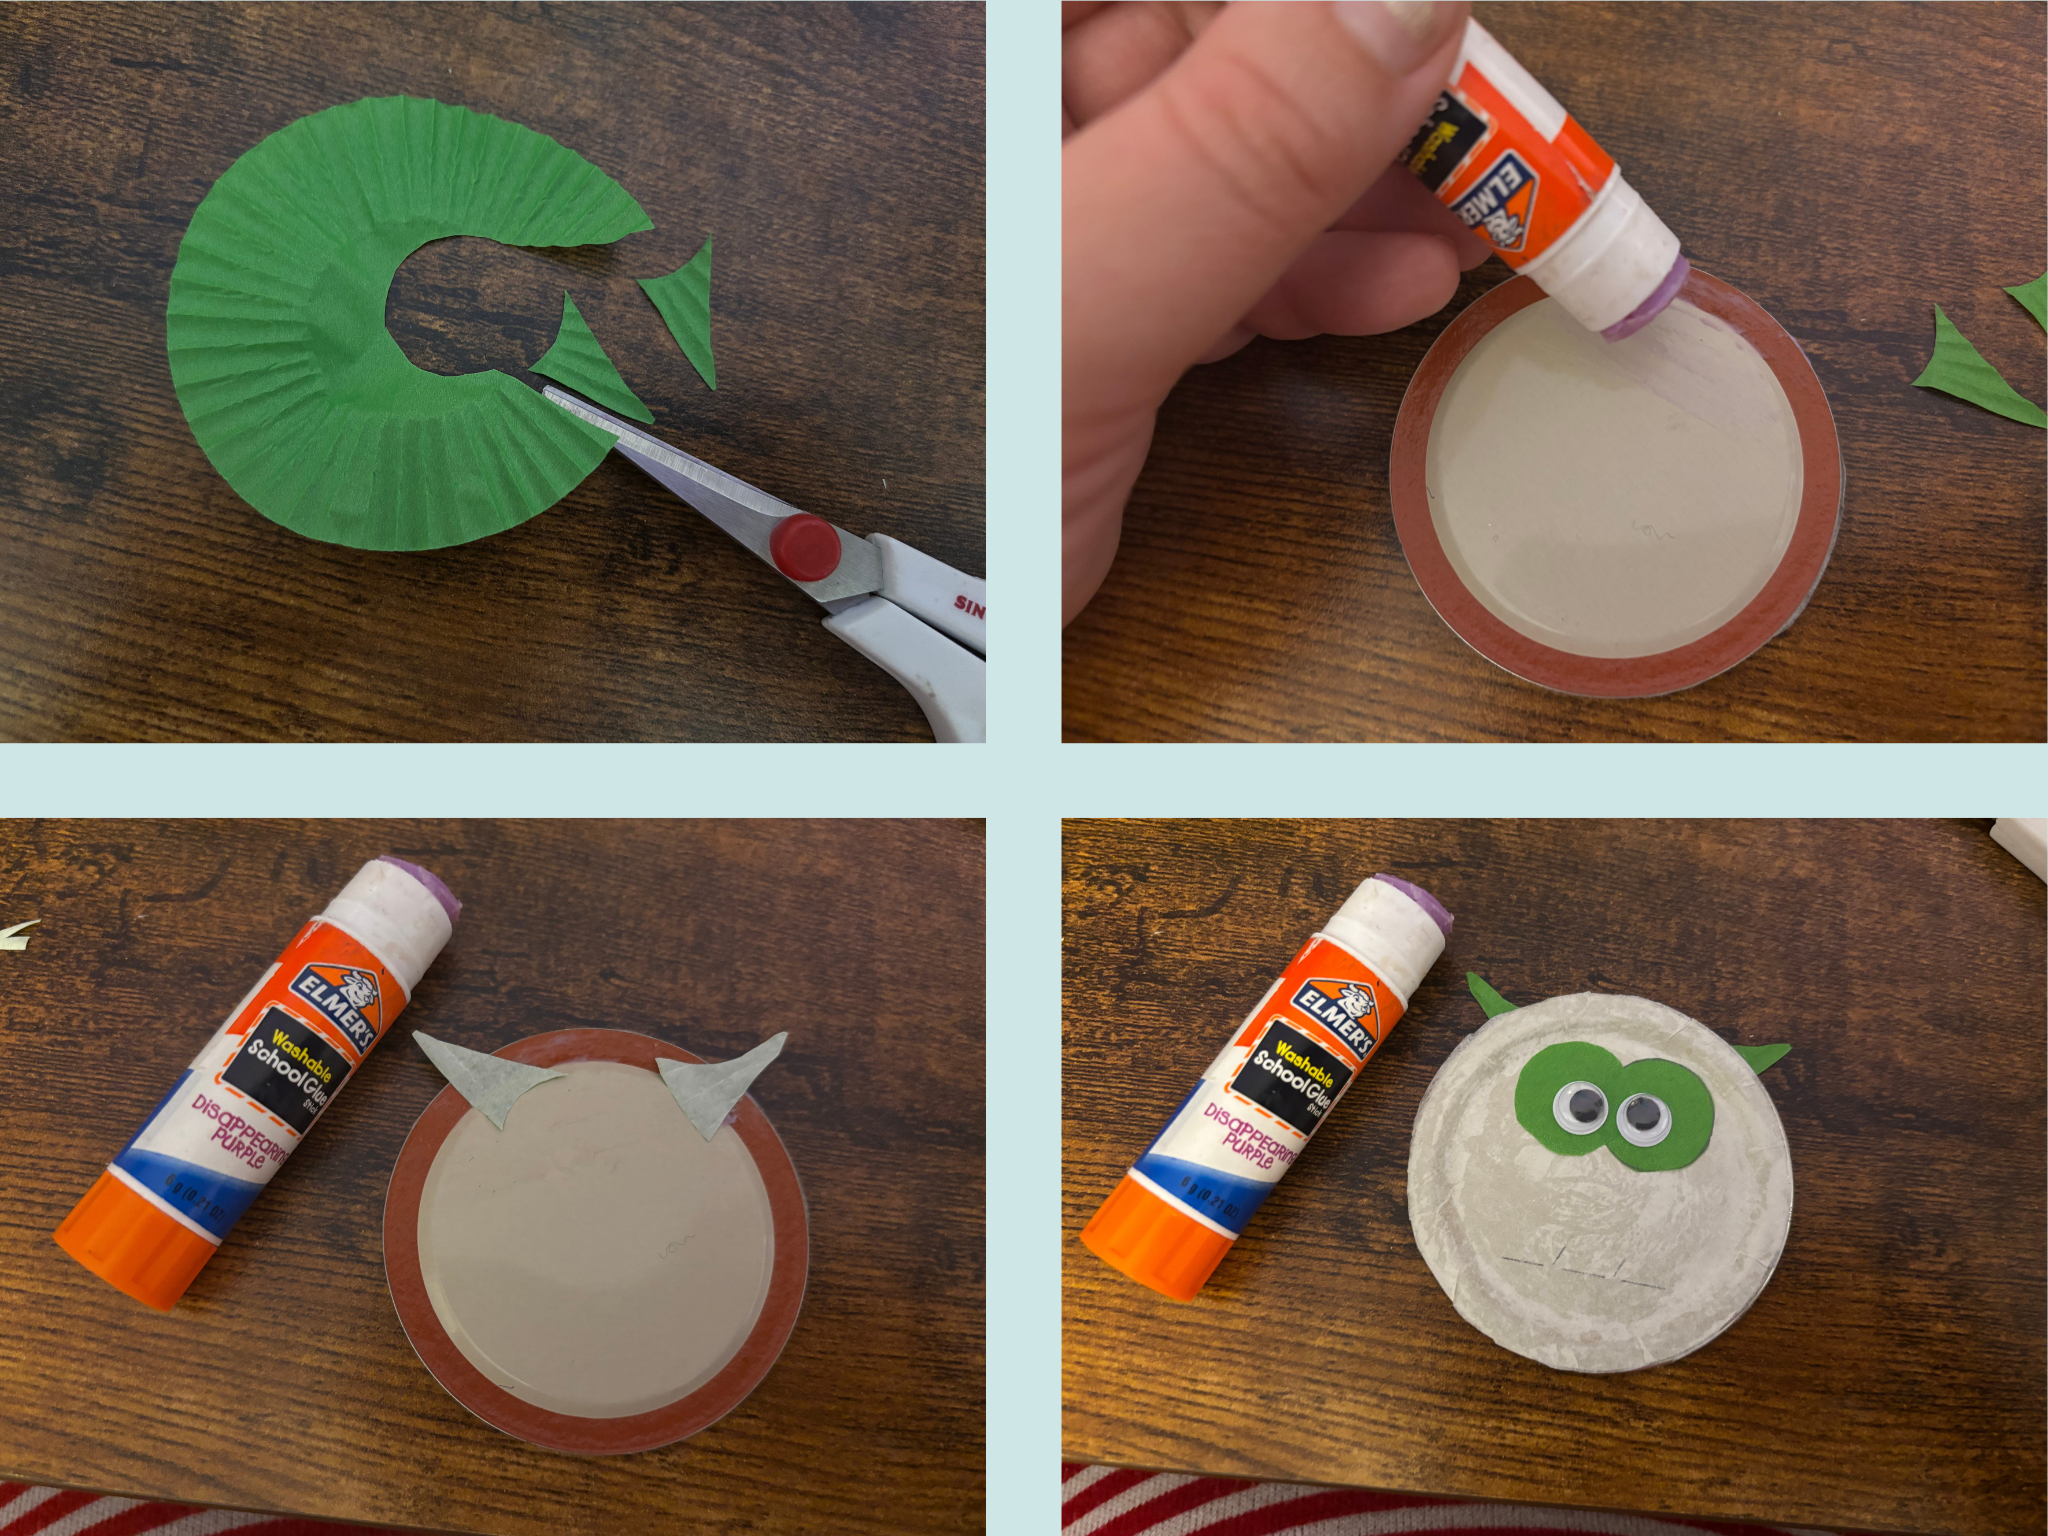
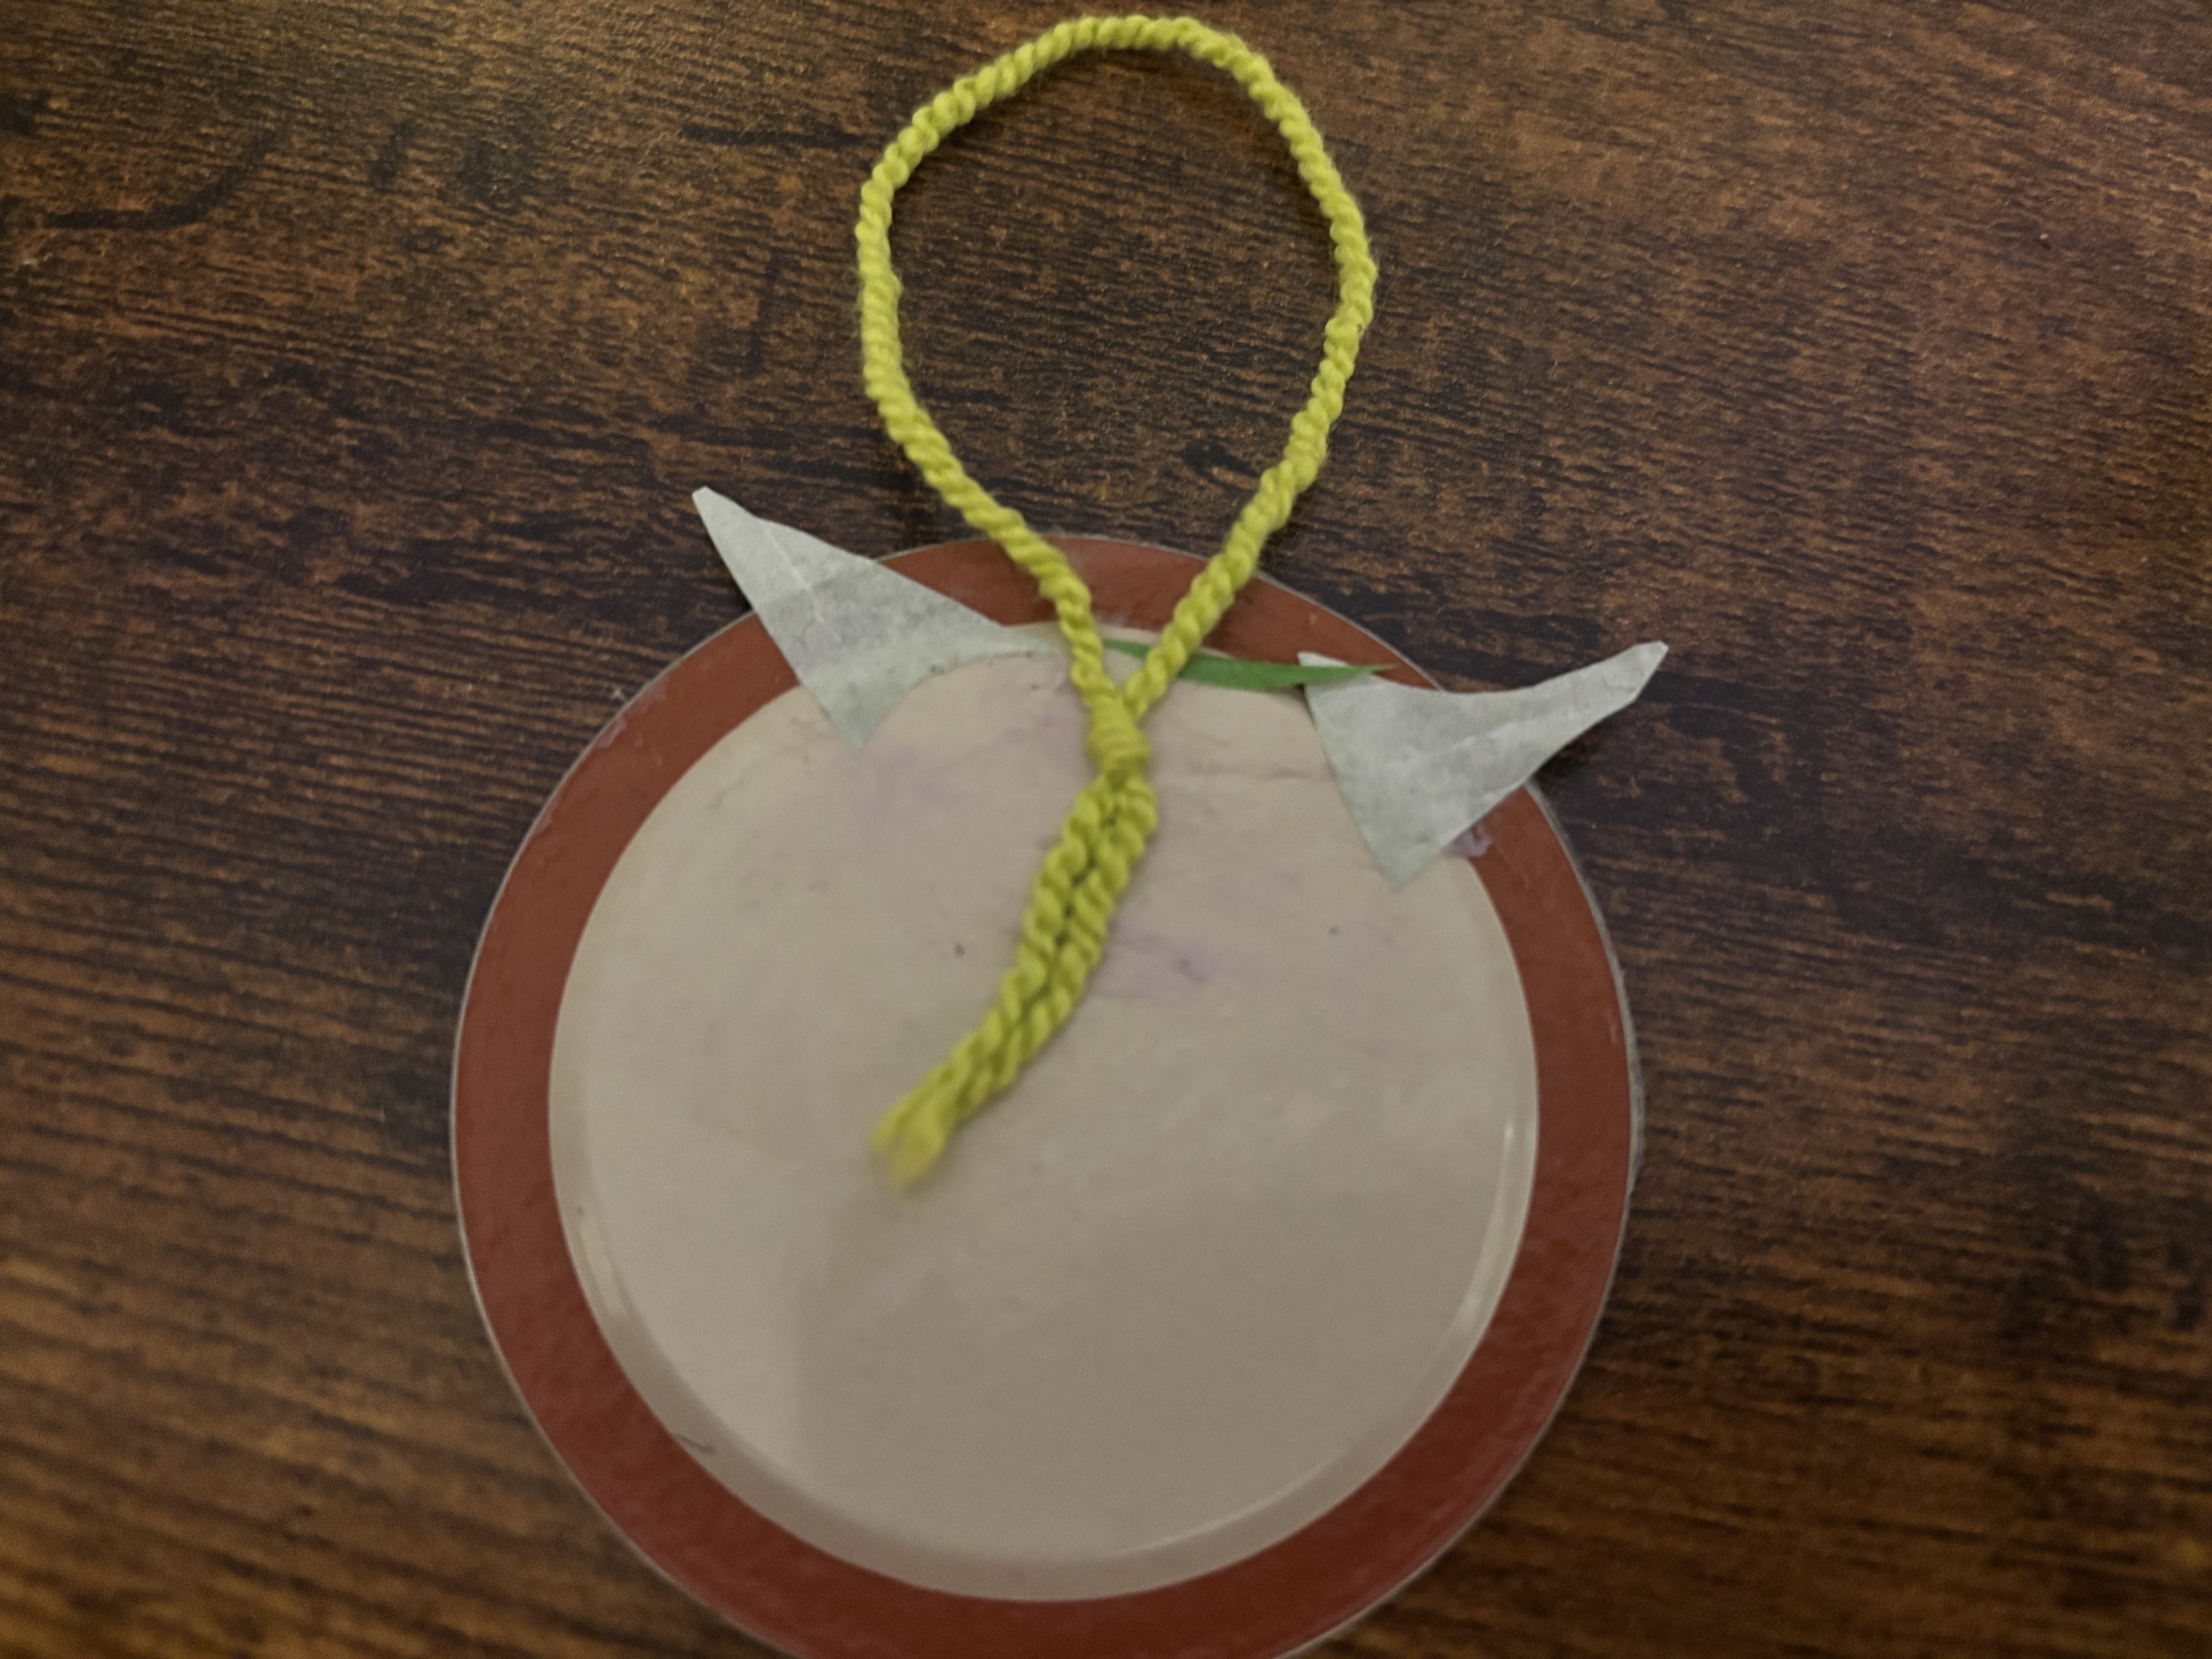
    Cut two small triangles from the paper or muffin liners leftover from making your eyes. Glue them to the back of your owl's body above the eyes. DID YOU KNOW: Owls' hearing is so good that they can hear a mouse under the snow.

    Step 9: Add the beak

    Cut a small triangle from yellow paper to make the beak. DID YOU KNOW: Owls, like all raptors, have sharp, curved beaks to easily tear apart their prey.

    Step 10: Make the wings

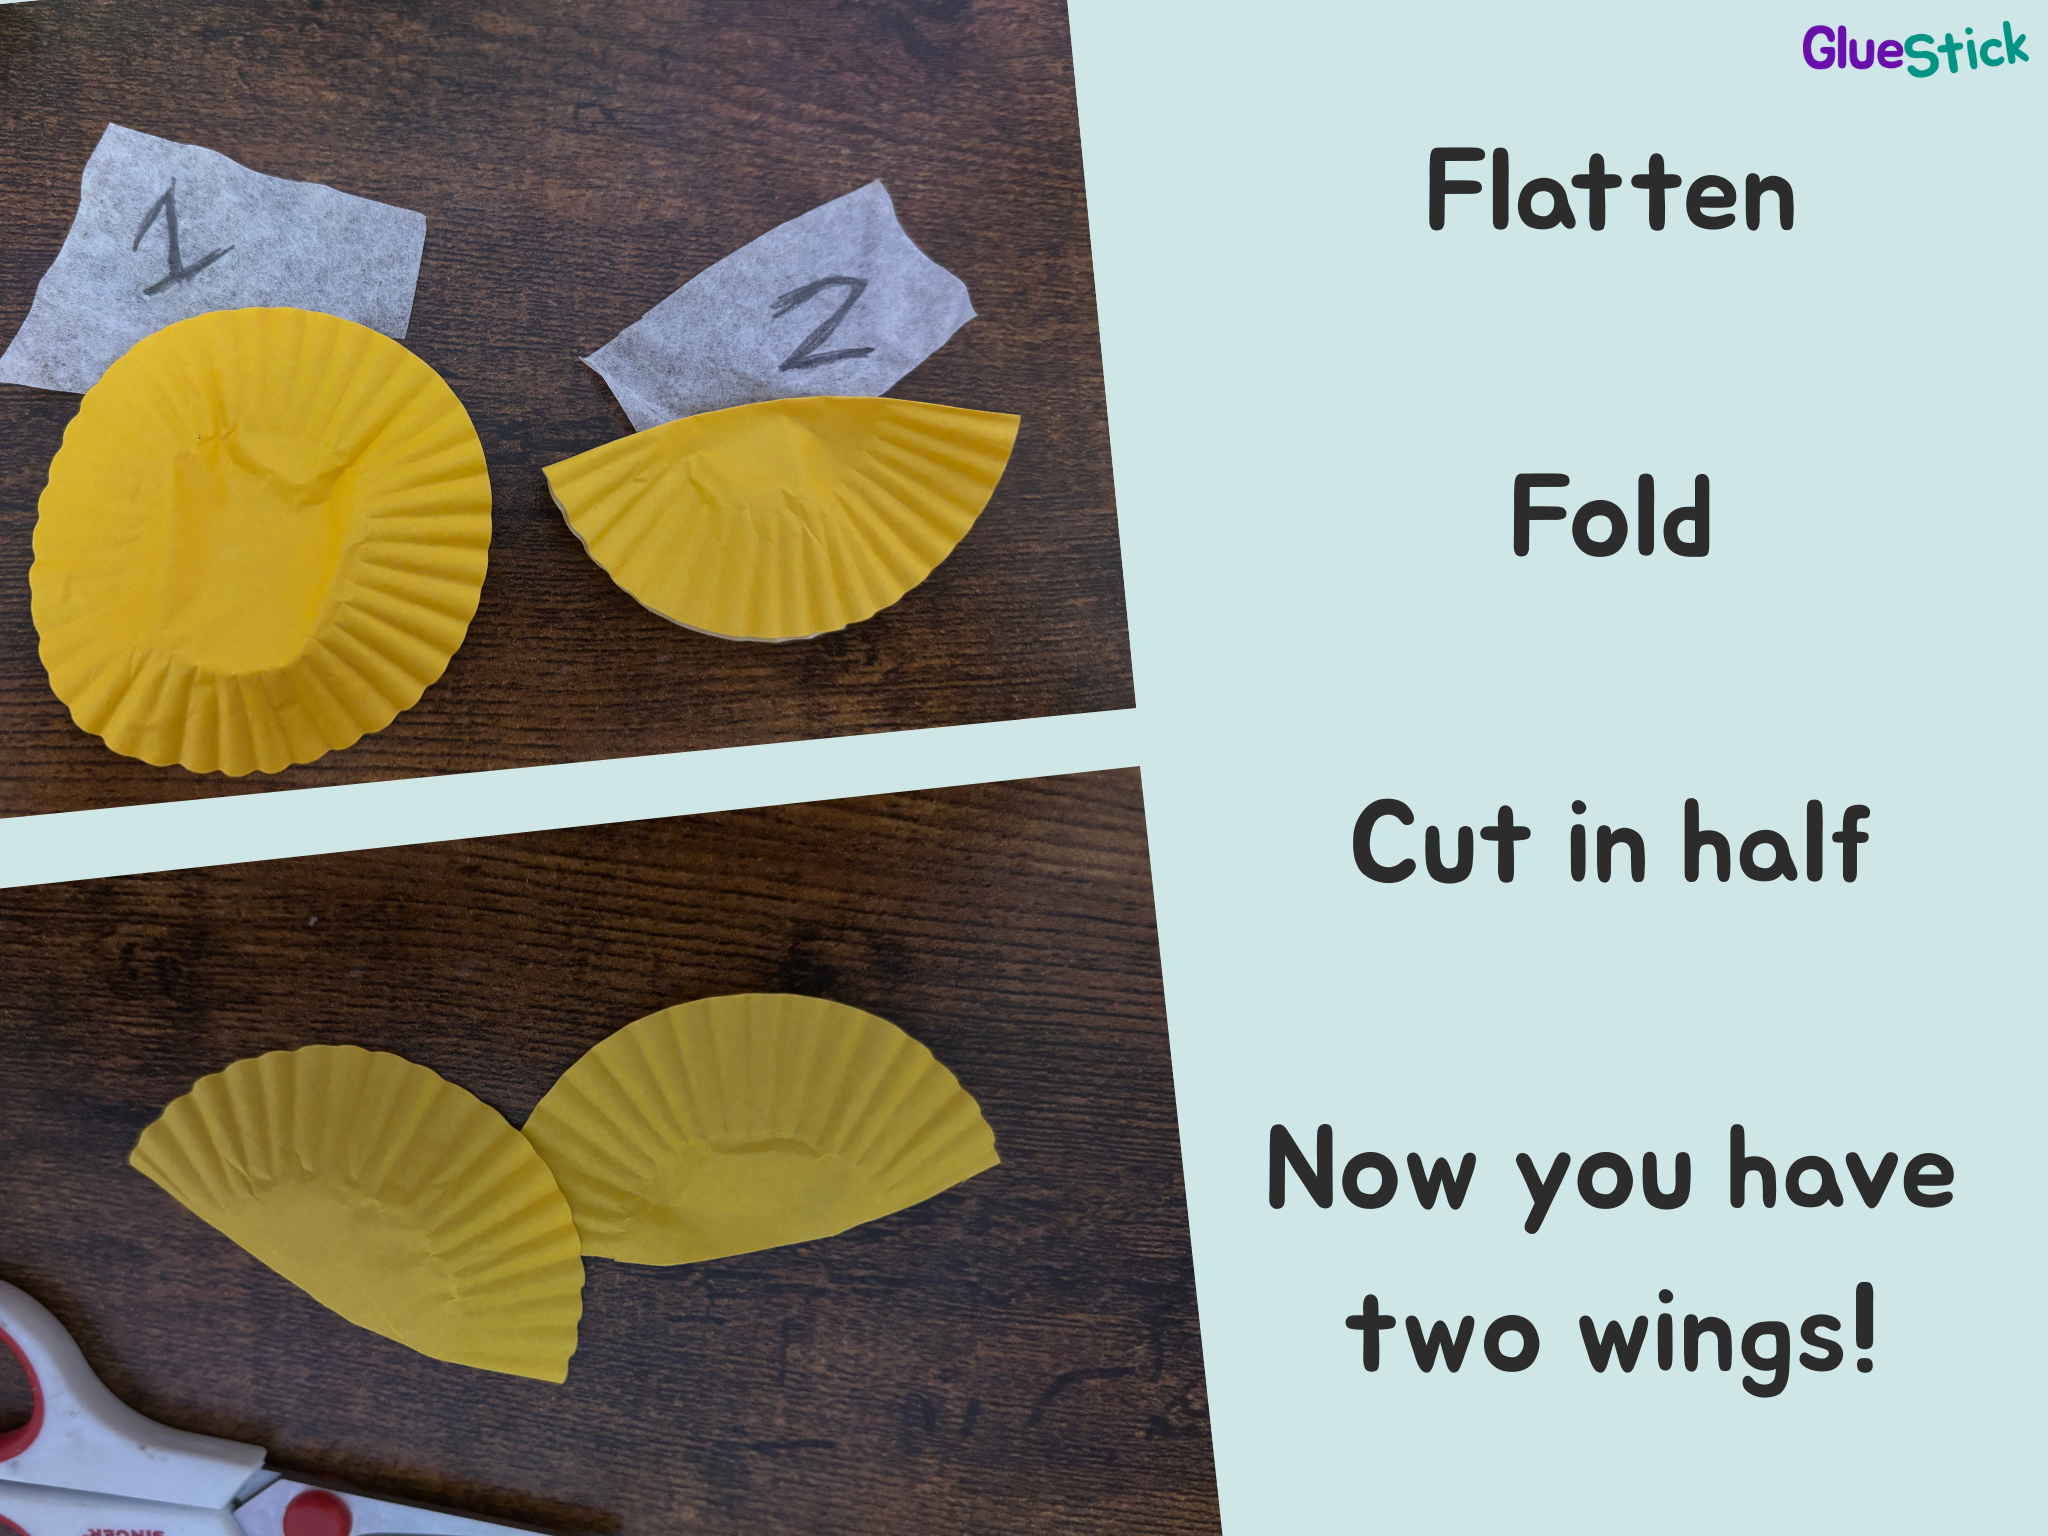
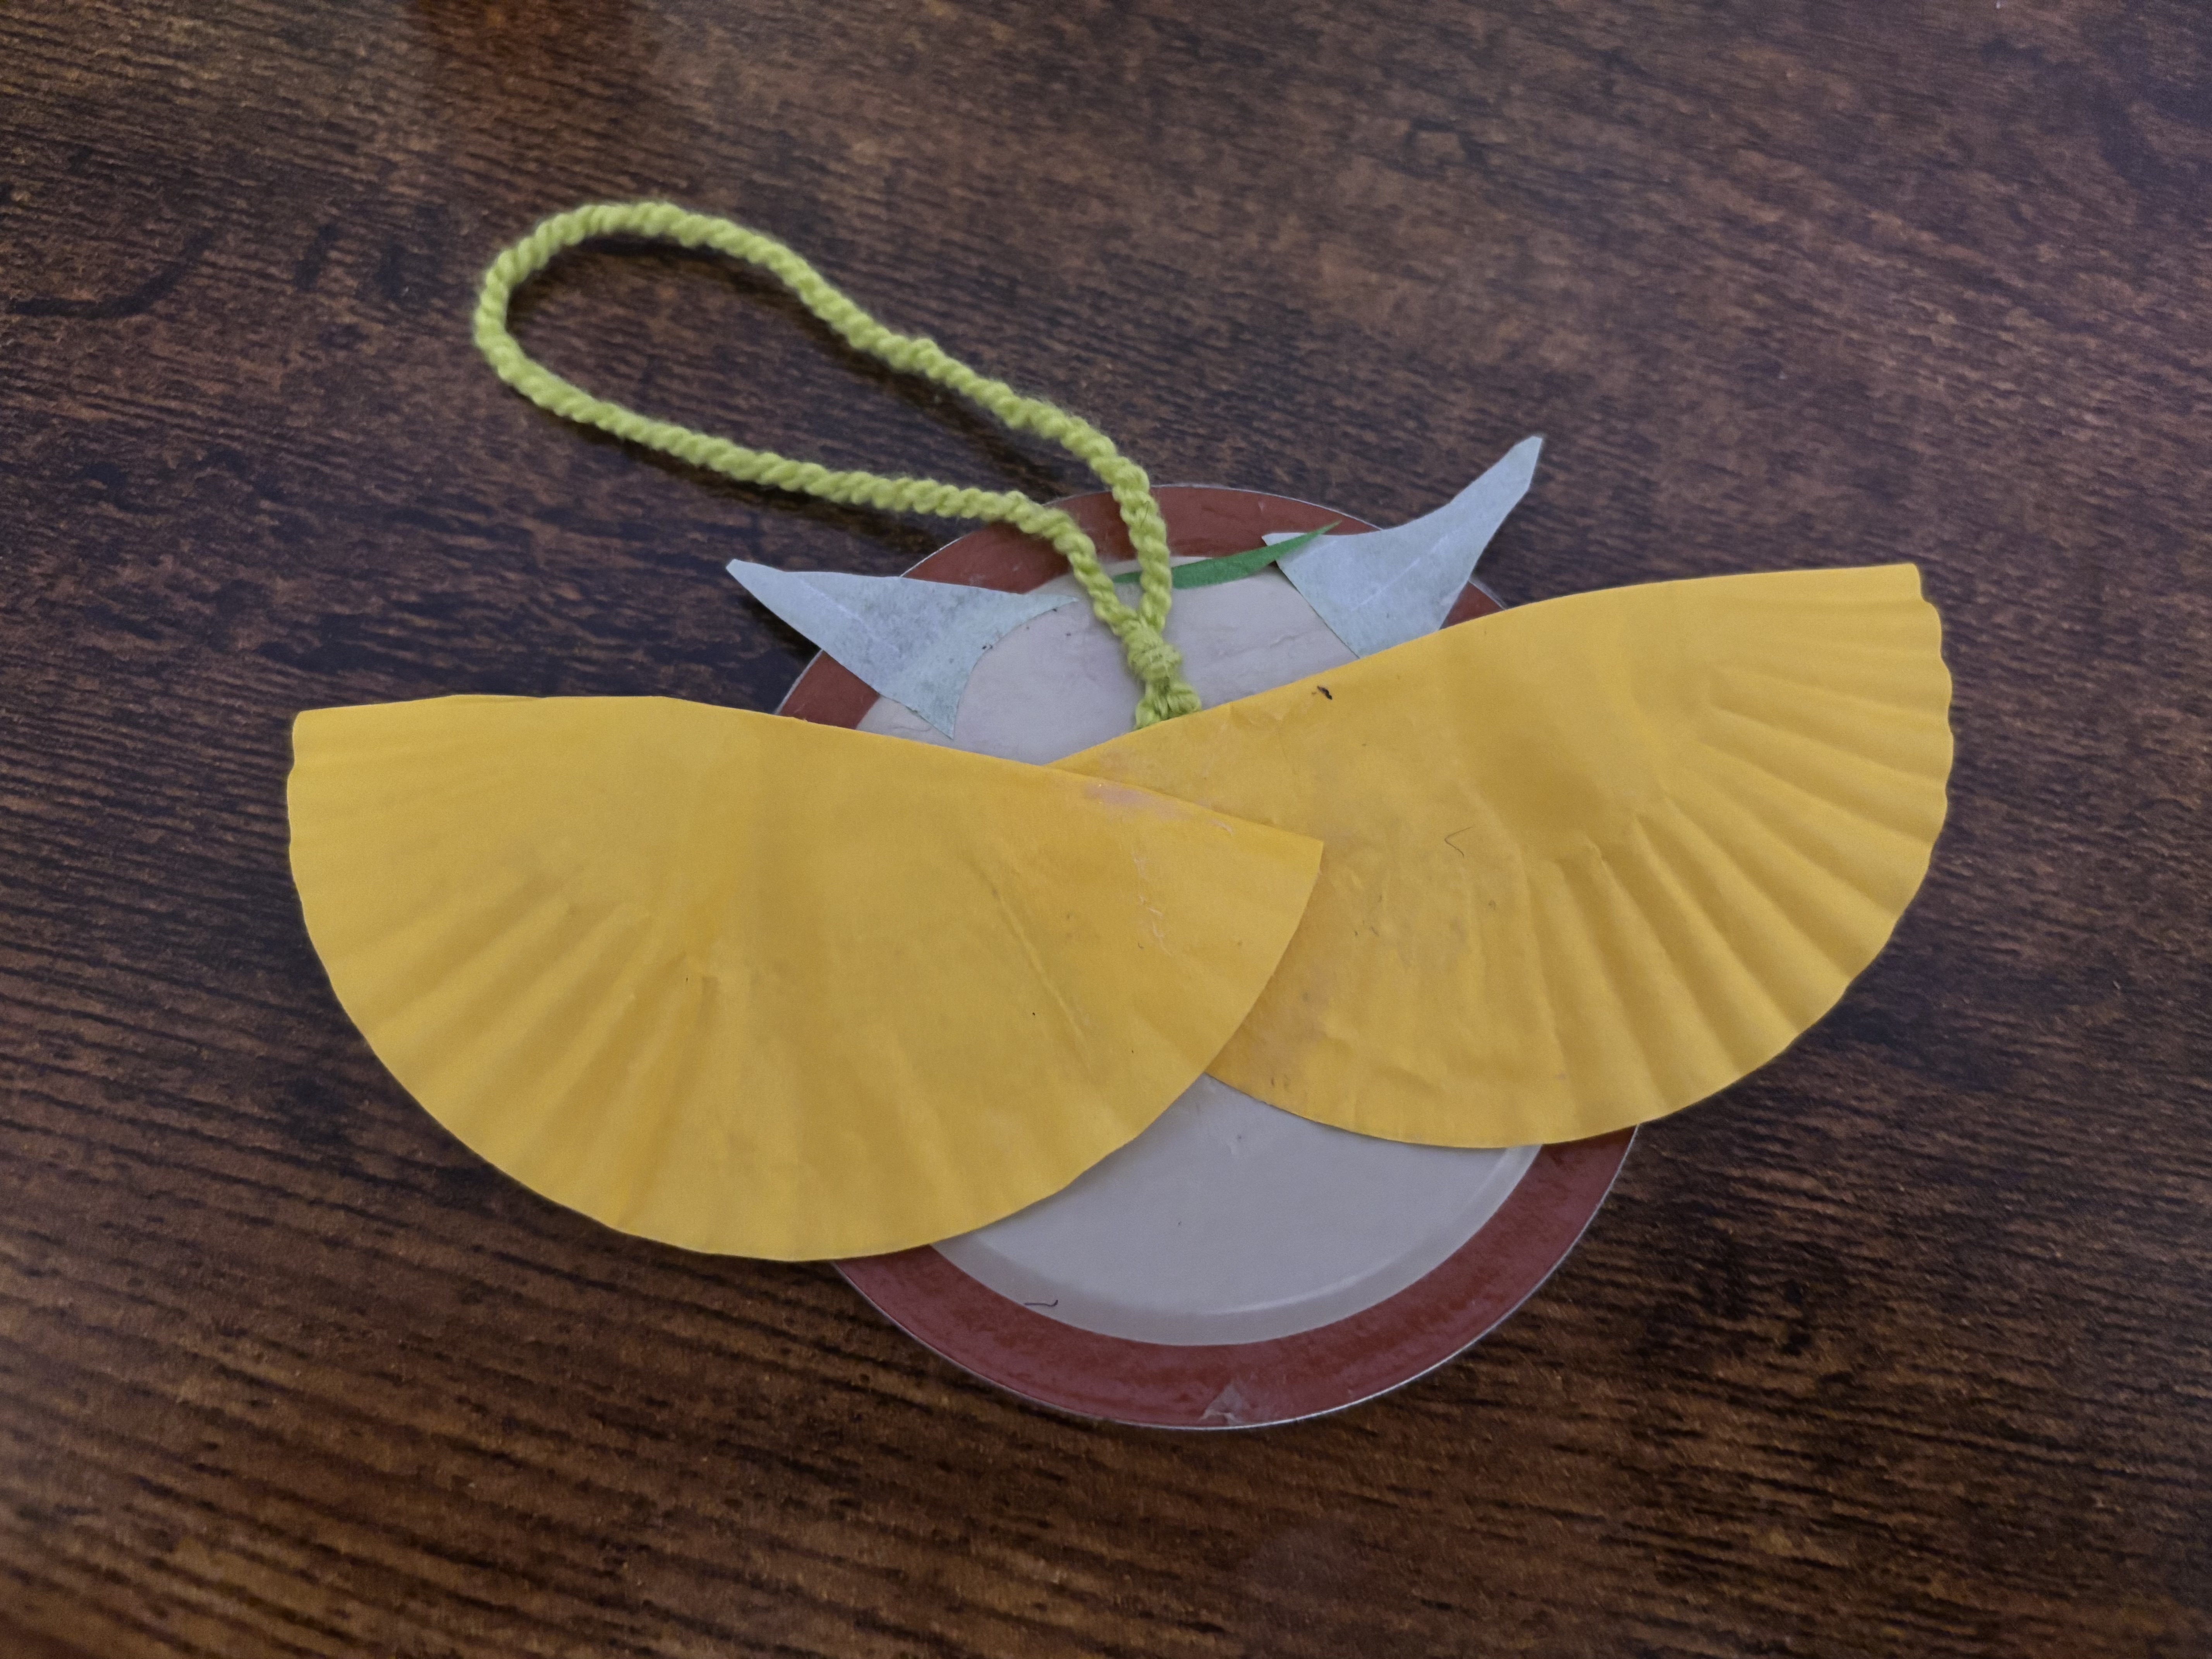
    Take one muffin liner, flatten it, and then fold it in half. Cut the liner in half along your fold line.

    Step 11: Cut yarn

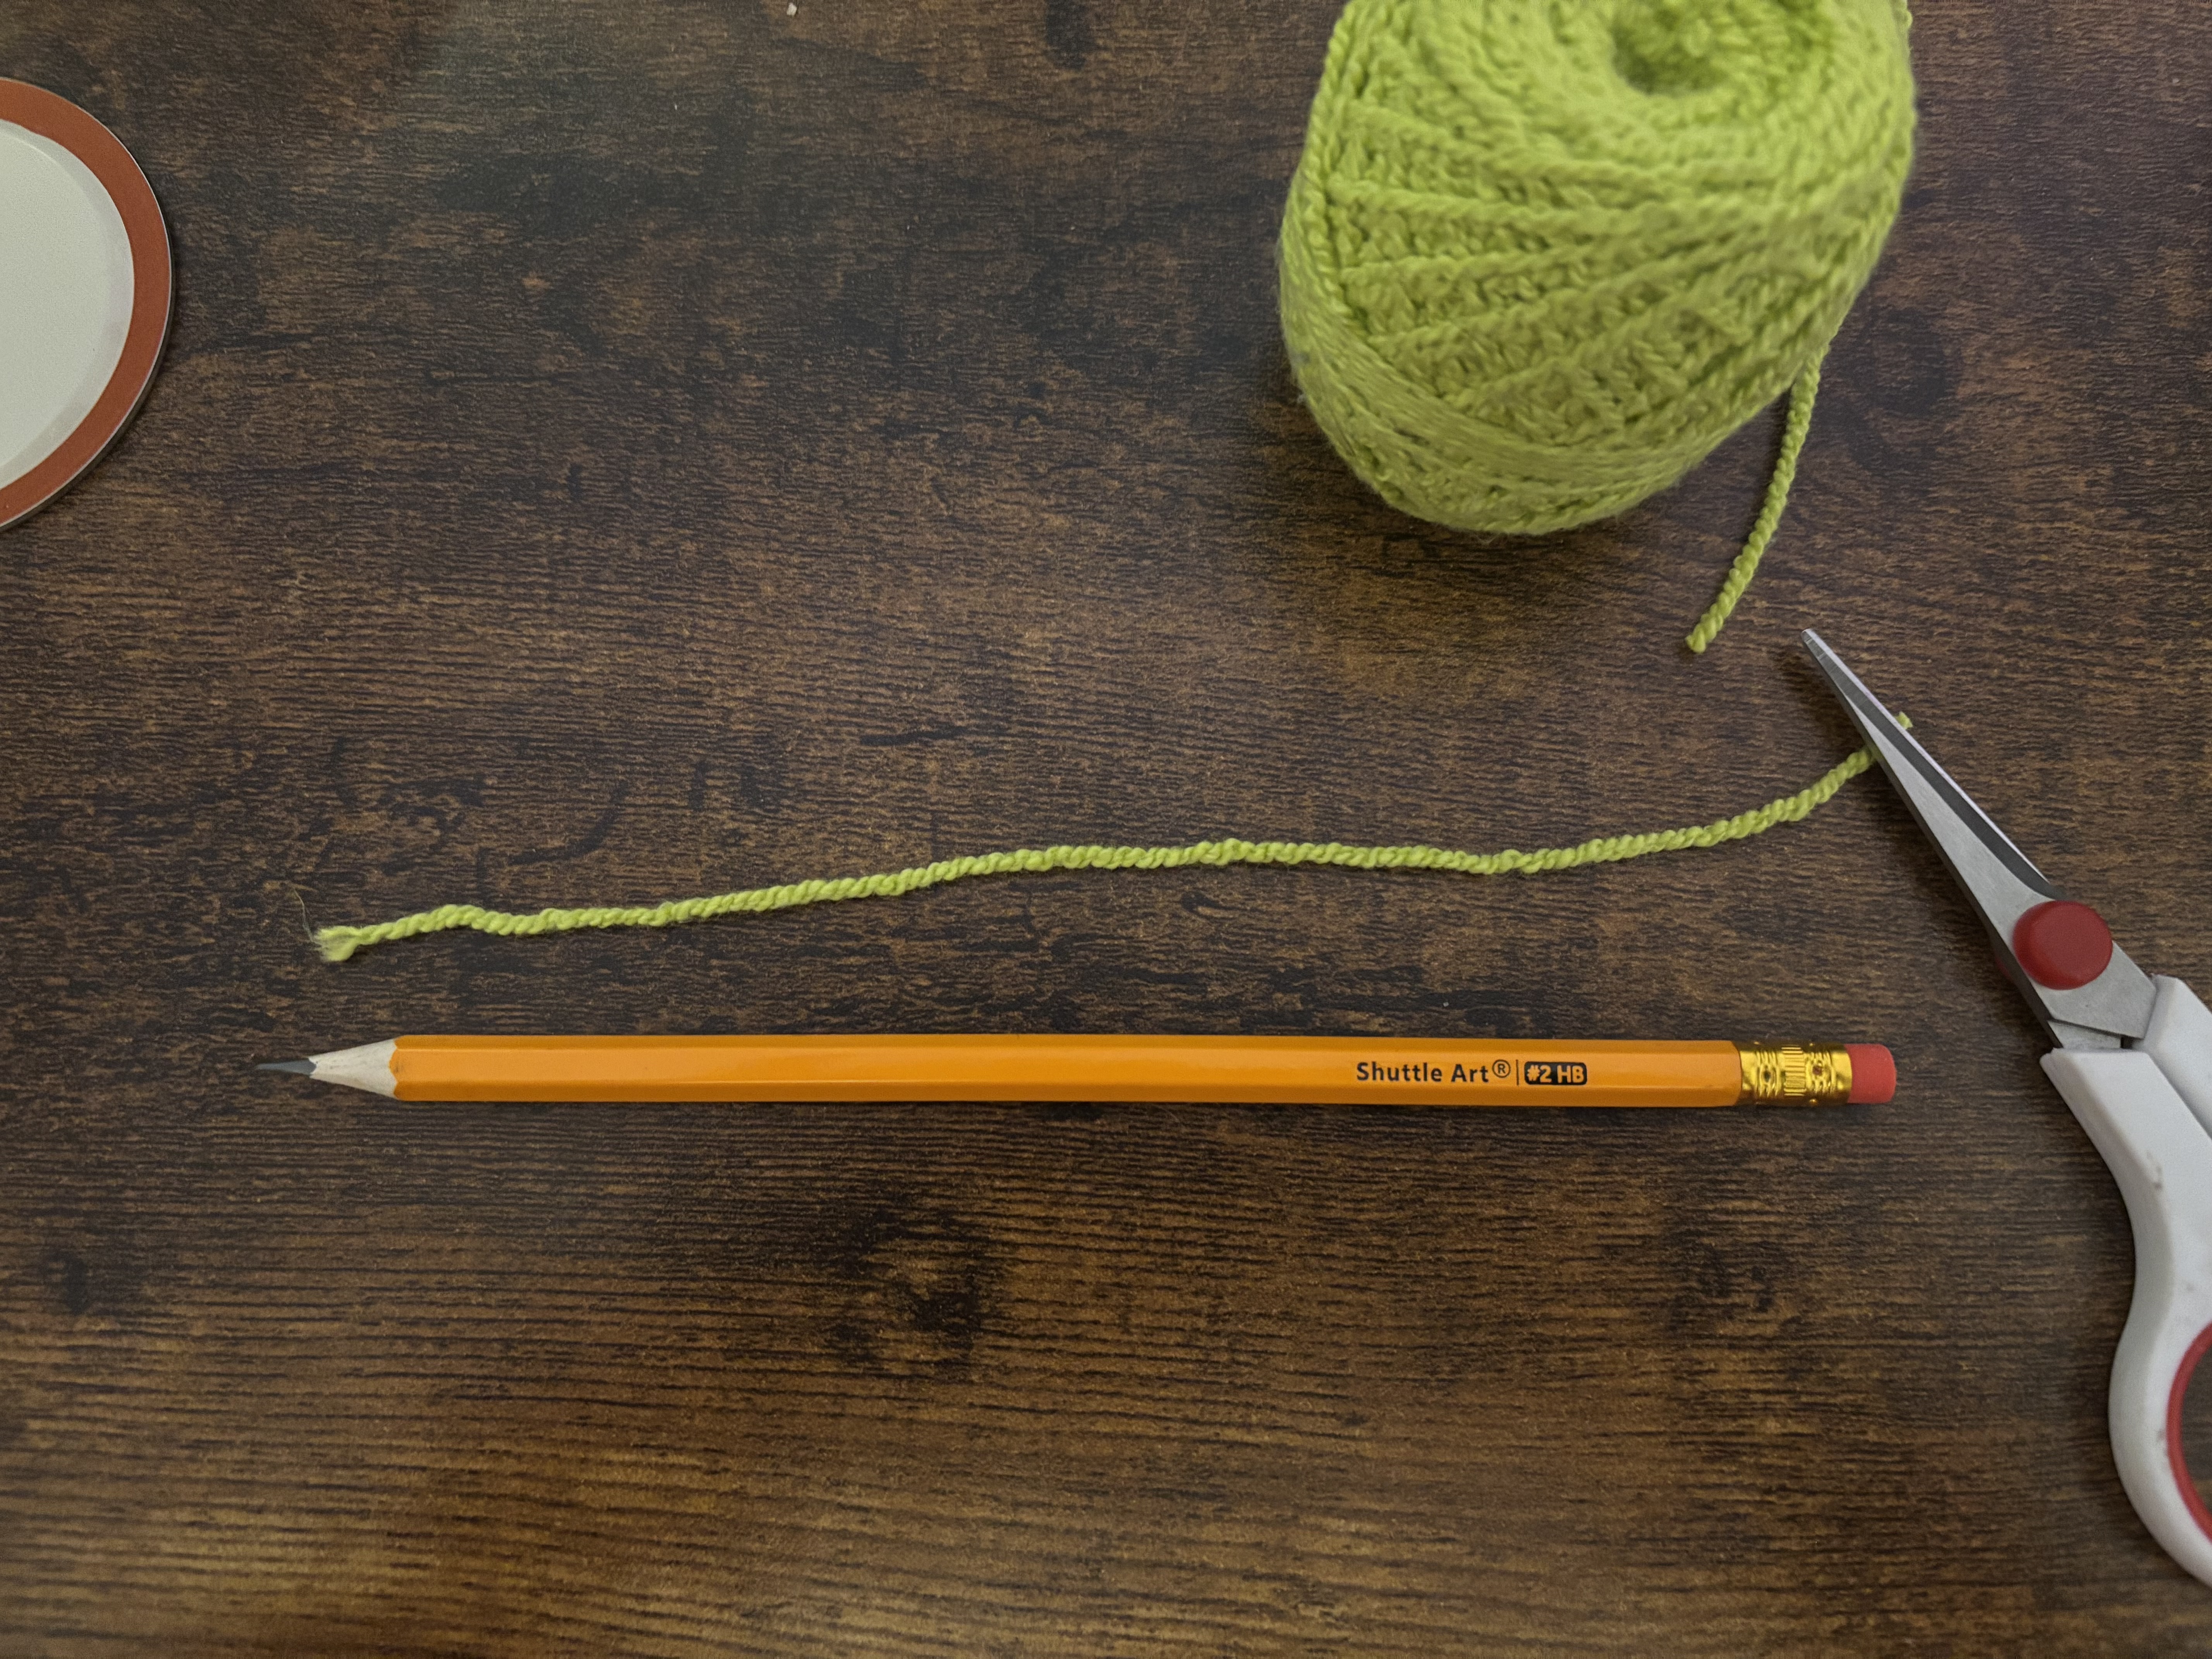
    Cut a small piece of yarn about the length of your pencil.

    Step 12: Tie a knot

    May need grown-up help
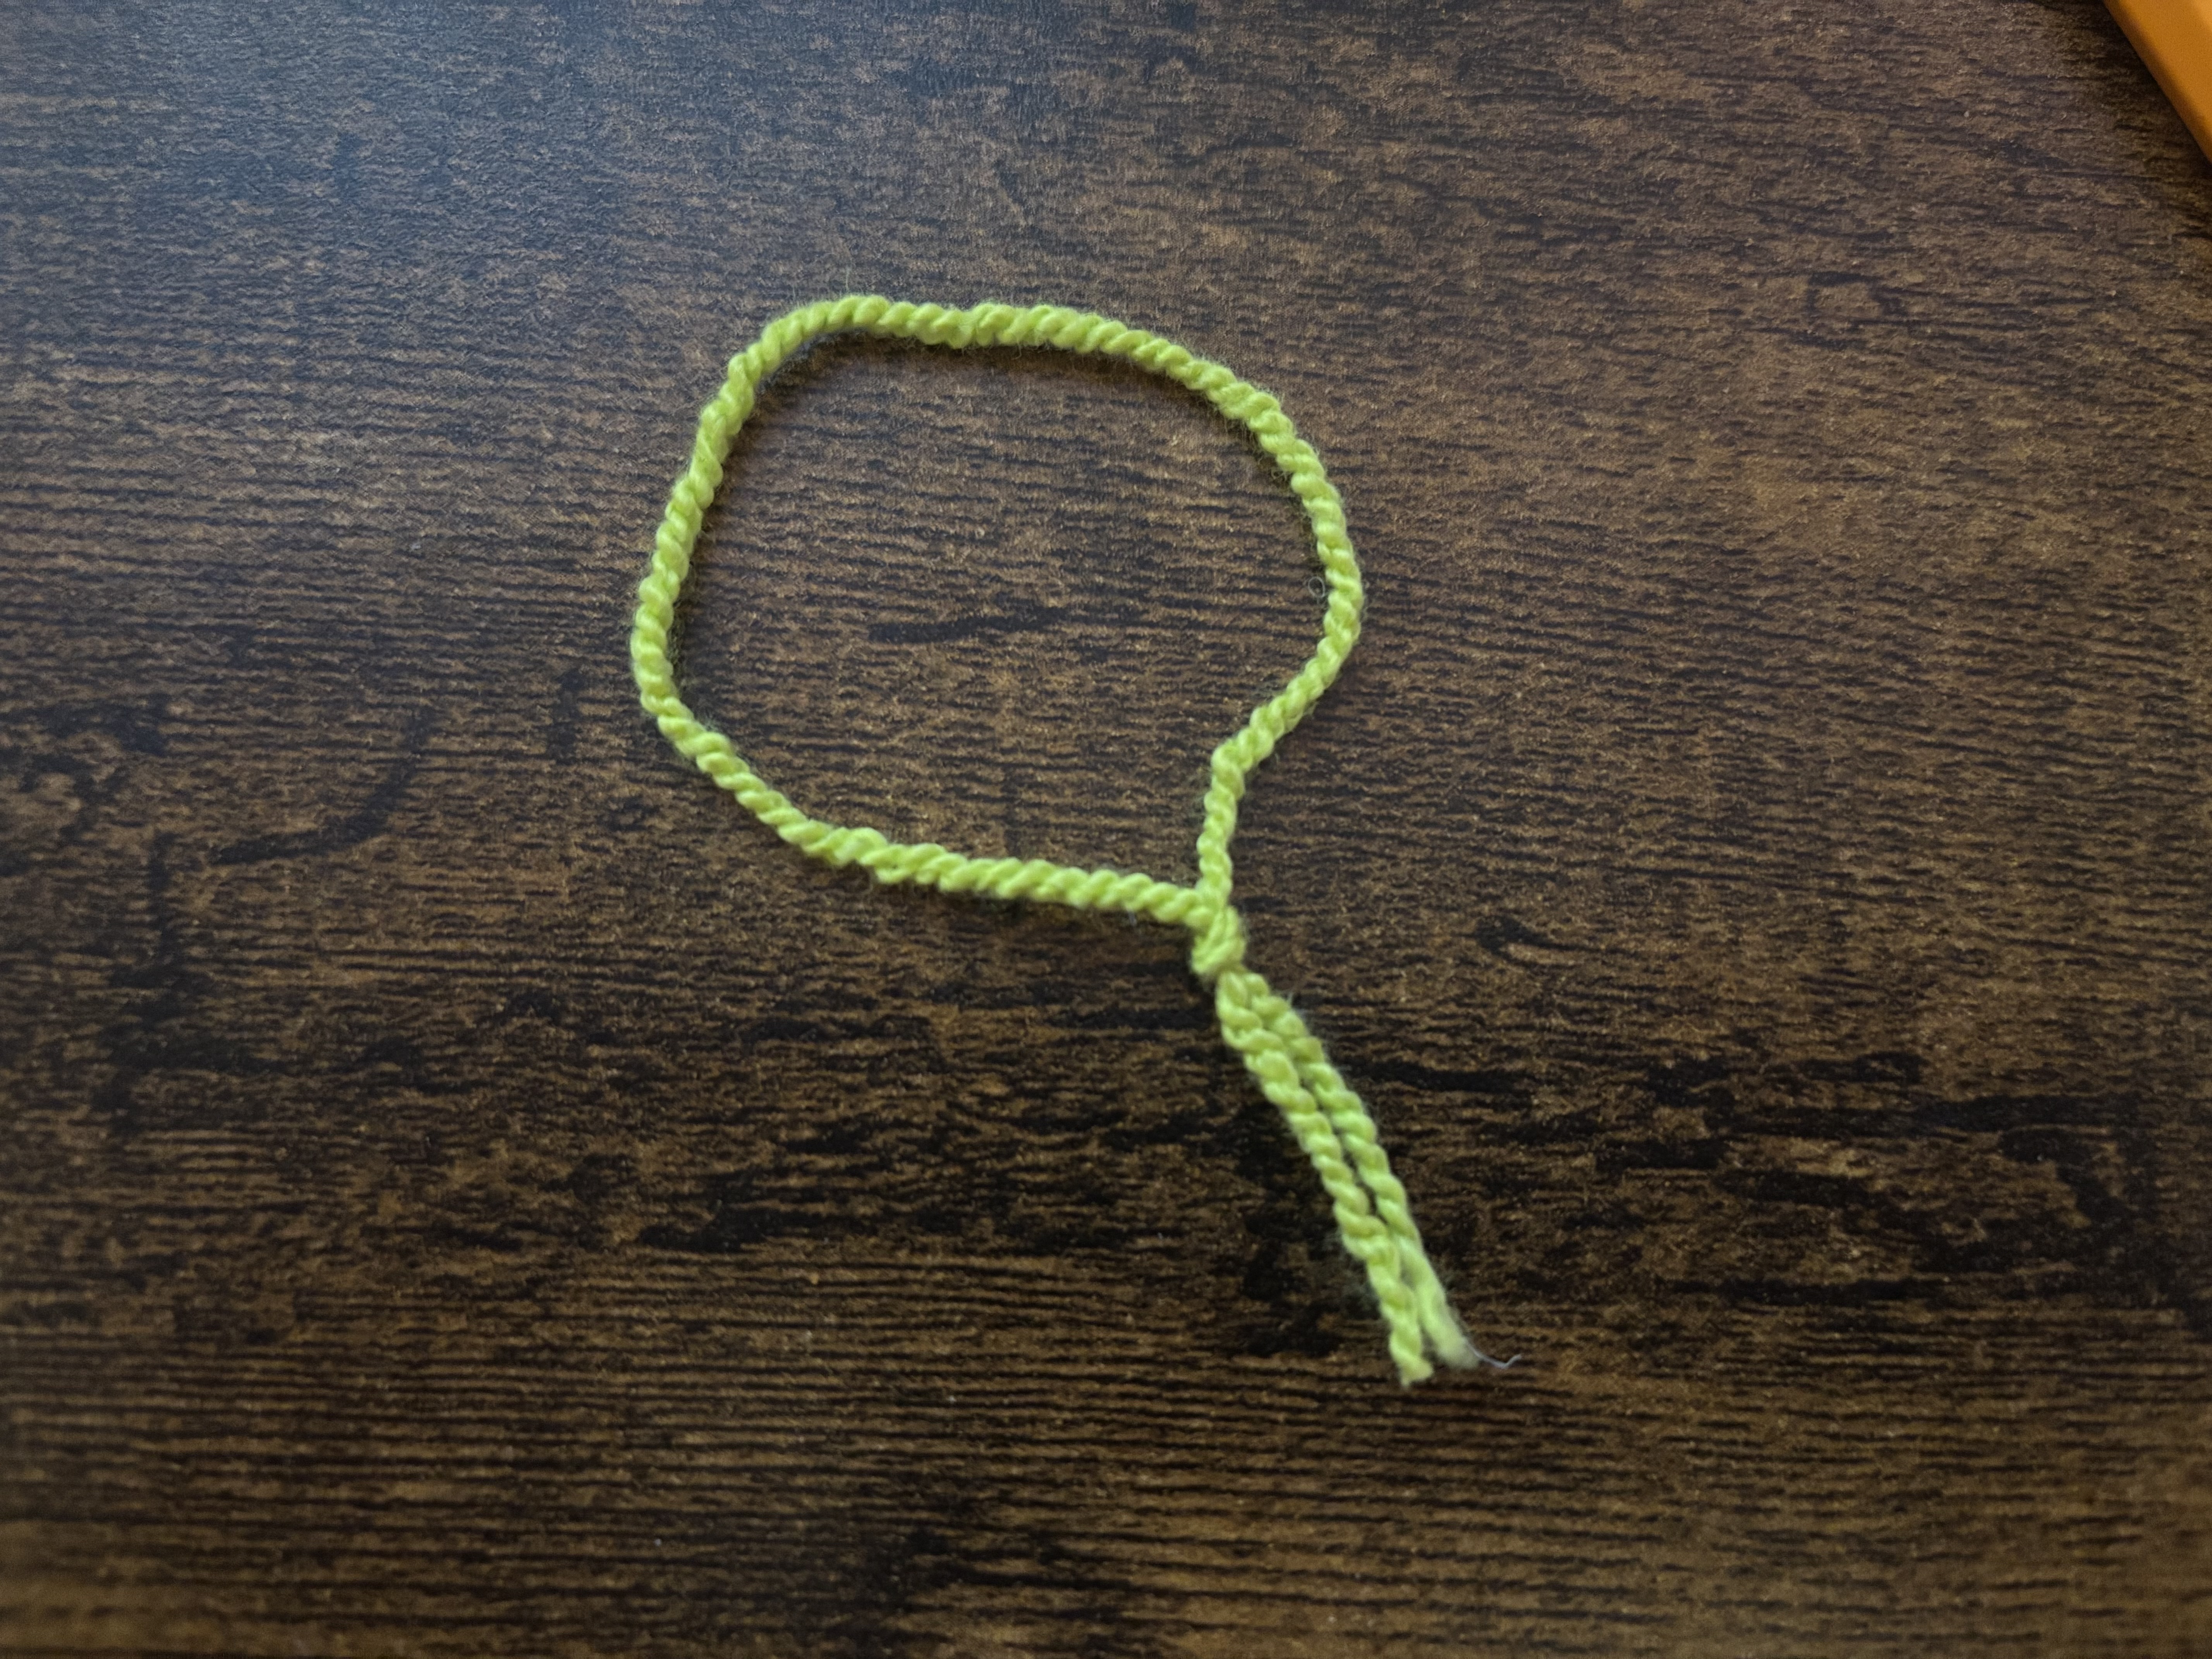
    Tie a knot in your yarn to make it into a loop.

    Step 13: Glue the yarn on

    Glue the yarn to the back of your owl. Leave the loop free so you can hang your owl.

    Step 14: Glue on the wings

    Glue the wings on over the top of the yarn. This will help the wings stay on. First, glue on one wing. Then, glue on the second wing so it overlaps the first. This will keep your owl's wings nice and secure. DID YOU KNOW: Owls have special wings that allow them to fly almost silently.

    Step 15: Hang your owl

    May need grown-up help
    Hang your owl on a Christmas tree or other favorite spot. Then, check out the International Owl Center in Houston, Minnesota, to learn more awesome facts about these amazing birds.
  3. 3

    Clean up

    Put things away so your space is tidy for next time.

    Tidy up our space

    Put away our supplies

    Check off each supply when it is put away — and any clean-up tips underneath are done too. You might find a fun surprise!

    • A cartoon of Yarn
      Where they belong:
    • A cartoon of Paper Bags
      Where they belong:
    • A cartoon of Pencils
      Where they belong:
    • A cartoon of Googly Eyes
      Where they belong:
    • A cartoon of Canning Jar Lids
      Where they belong:
    • A cartoon of Cupcake / Muffin Liners
      Where they belong:
    • A cartoon of Tissue Paper
      Where they belong:
    • A cartoon of Paper
      Where they belong:
    • A cartoon of Glue Sticks
      Where they belong:
      • — Don't forget! Put cap on glue sticks tightly.
    • A cartoon of Scissors
      Where they belong:

    Update what we have left

    Did we run out of anything while making this project? Update our supply cupboard so that we know exactly what we have for next time.

    This project could unlock 3 creative buddies. Sign in to unlock them.

  4. 4

    Save

    Your creative buddy says:
    "I love how you stuck with your creative ideas!"

    Create a free account to save your digital masterpiece to the Art Gallery.

Use what’s already at home

Snap a junk-drawer photo and GlueStick finds projects you can start in minutes — no store trip, less expense, more creative afternoons.

+ 350 more
Supply Snap

About the Author