About This Project

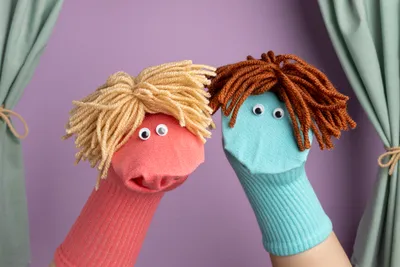
A 45–90 minutes craft for ages 5–12, using supplies you likely already have — Yarn, Paper Bags, and Googly Eyes.

GlueStick supports kids from setup to cleanup. After they choose a project, we guide them through gathering the supplies, making it, and cleaning up when they're done. We'll even help them share it safely with trusted family and friends.

Ad-free and kid-safe library — designed by a mom who wants kids to explore and create independently.

This project is perfect for:
Project Tags
  1. 1

    Find Supplies

    Do you have everything you need?
    Create a free GlueStick account to track supplies and see if you have what you need at a glance. Leave your kids tips about where supplies are stored in your household so they can set up and clean up their creative spaces independently.
    00:00
    A cartoon of Yarn
    Unknown cupboard quantity You have: unknown
    A cartoon of Paper Bags
    Unknown cupboard quantity You have: unknown
    A cartoon of Googly Eyes
    Unknown cupboard quantity You have: unknown
    A cartoon of White Glue
    Unknown cupboard quantity You have: unknown
    A cartoon of Markers
    Unknown cupboard quantity You have: unknown
    A cartoon of Lids
    Unknown cupboard quantity You have: unknown
    A cartoon of Crayons
    Unknown cupboard quantity You have: unknown
    A cartoon of Paper
    Unknown cupboard quantity You have: unknown
    A cartoon of Pipe Cleaners
    Unknown cupboard quantity You have: unknown
  2. 2

    Make Civil Rights Leaders Paper Bag Puppets

    Your creative buddy says:
    "Are you as excited to make this as I am?"

    Step 1: Trace your heads

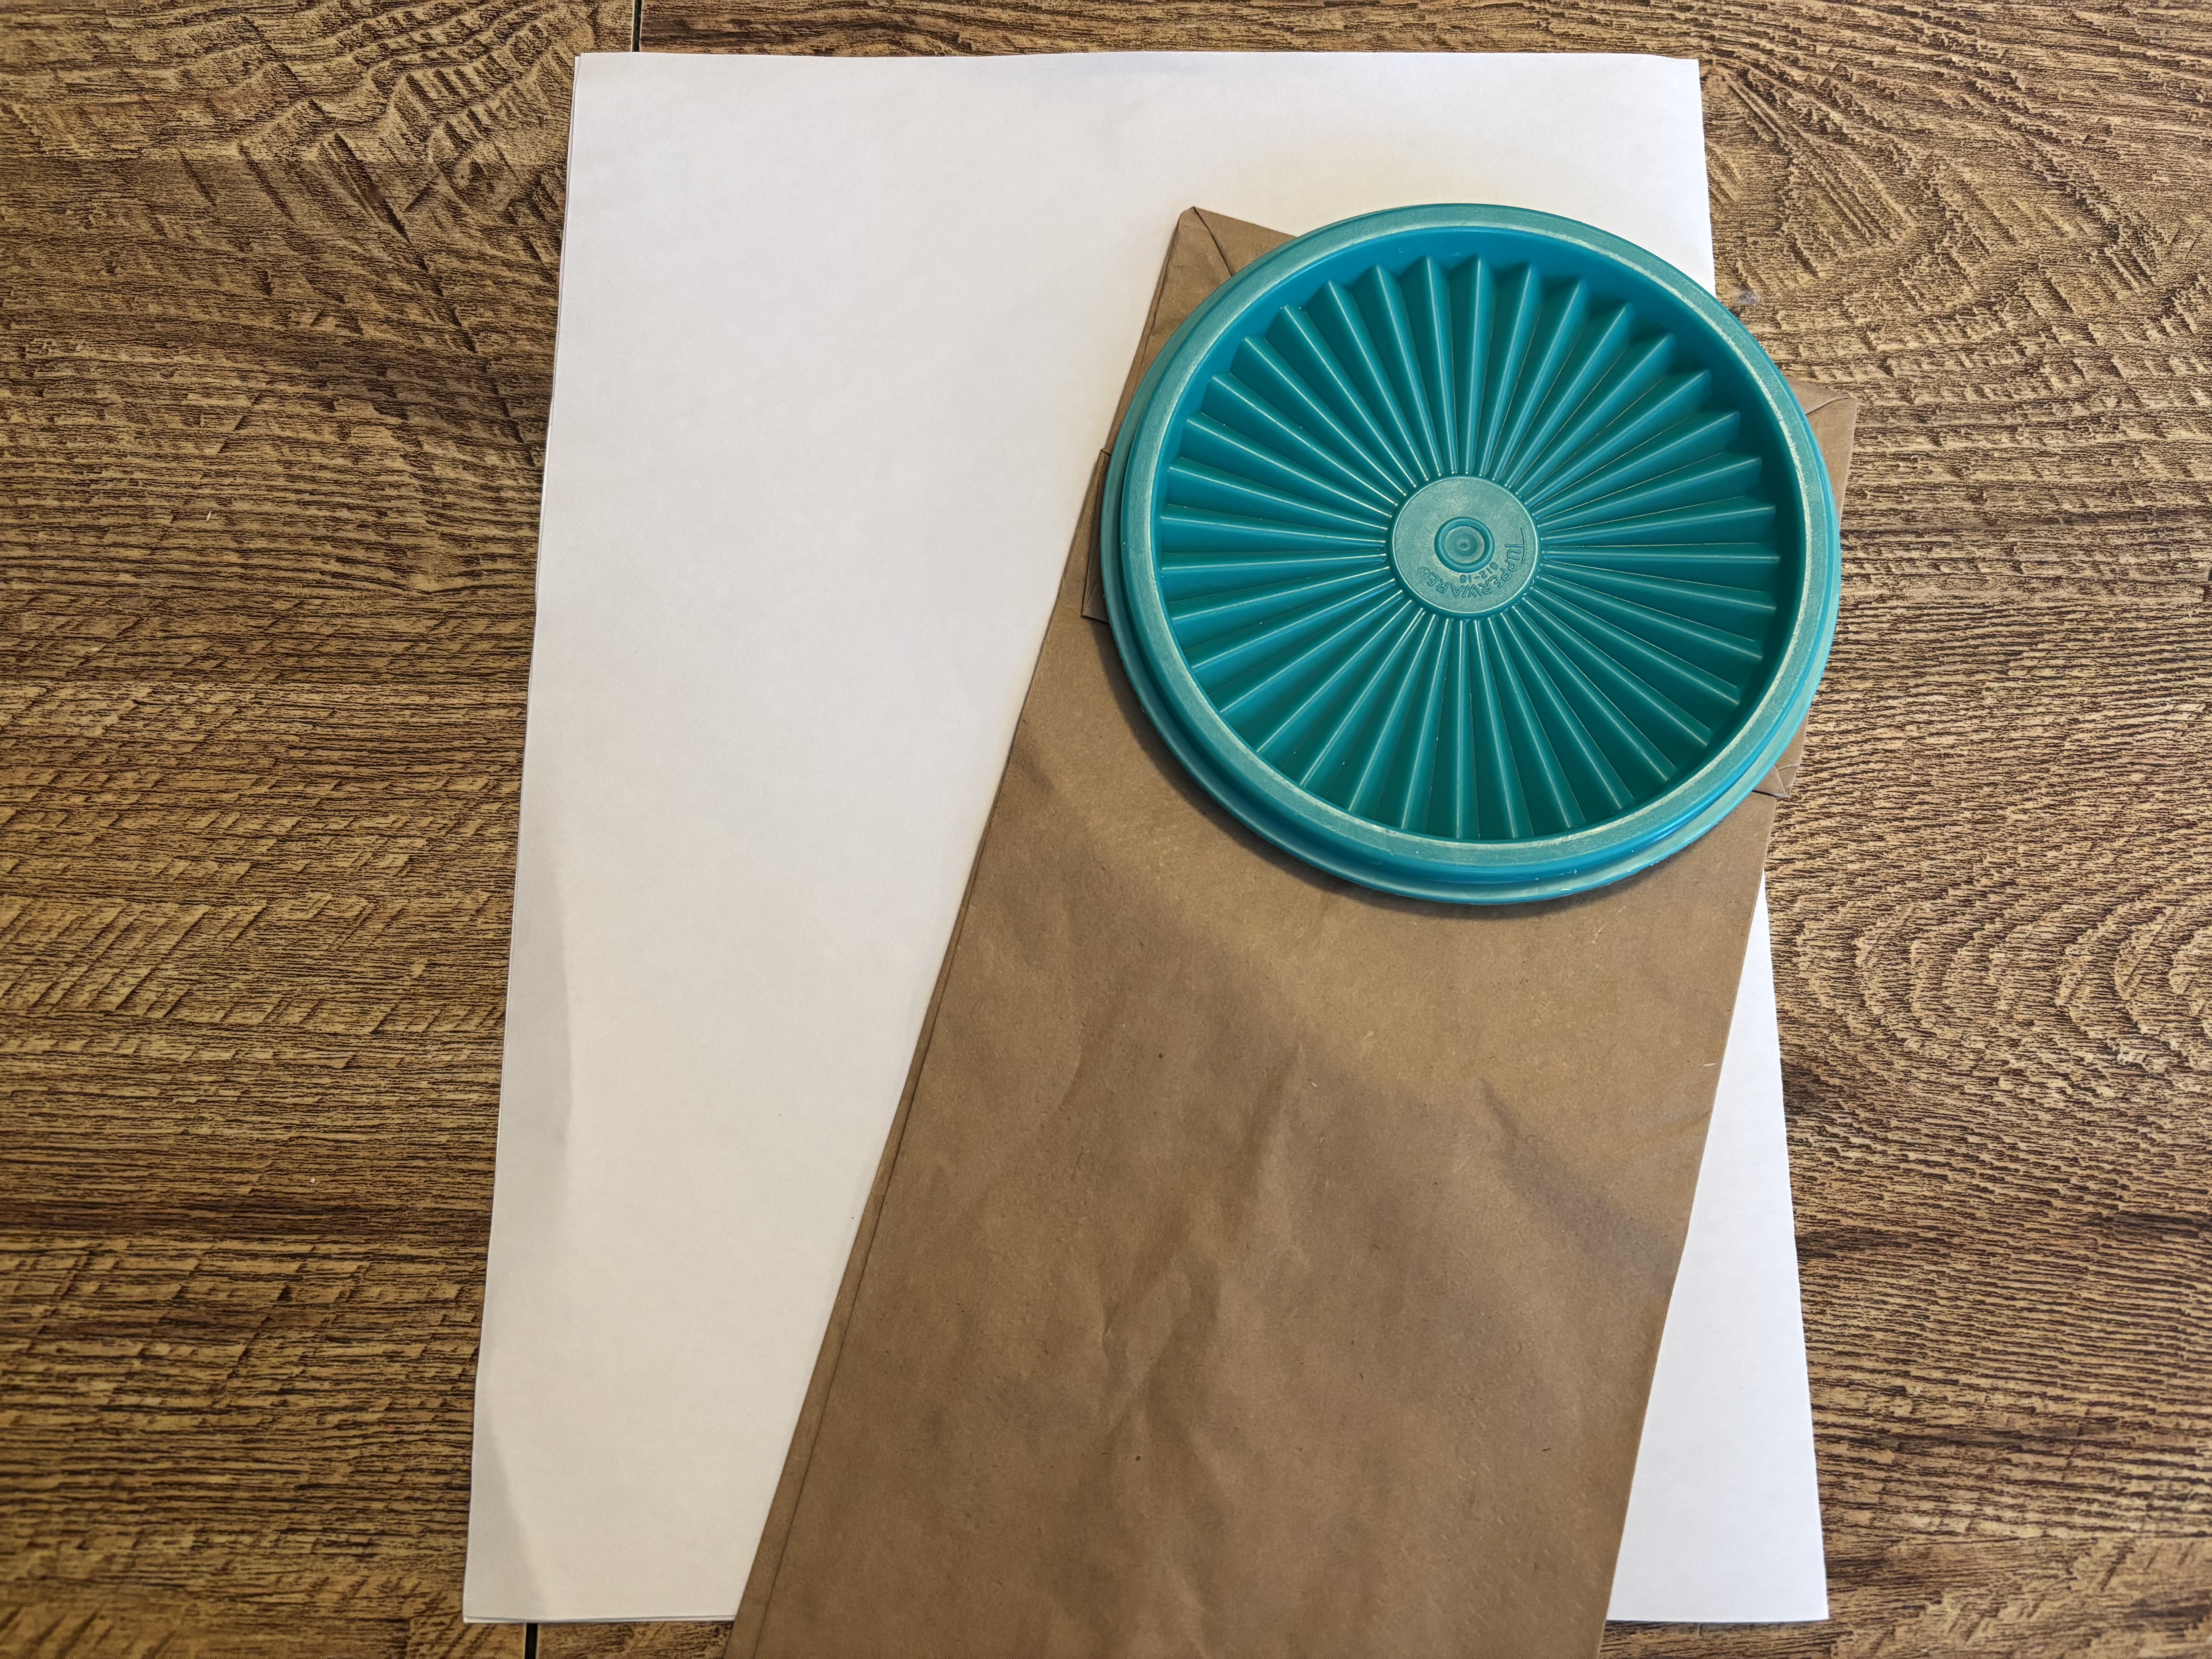
    Find a large lid about the width of your paper bags. Trace it to make two nice round circles. It's ok if you can't find a perfect lid. You can also just draw them freehand

    Step 2: Draw faces

    May need grown-up help
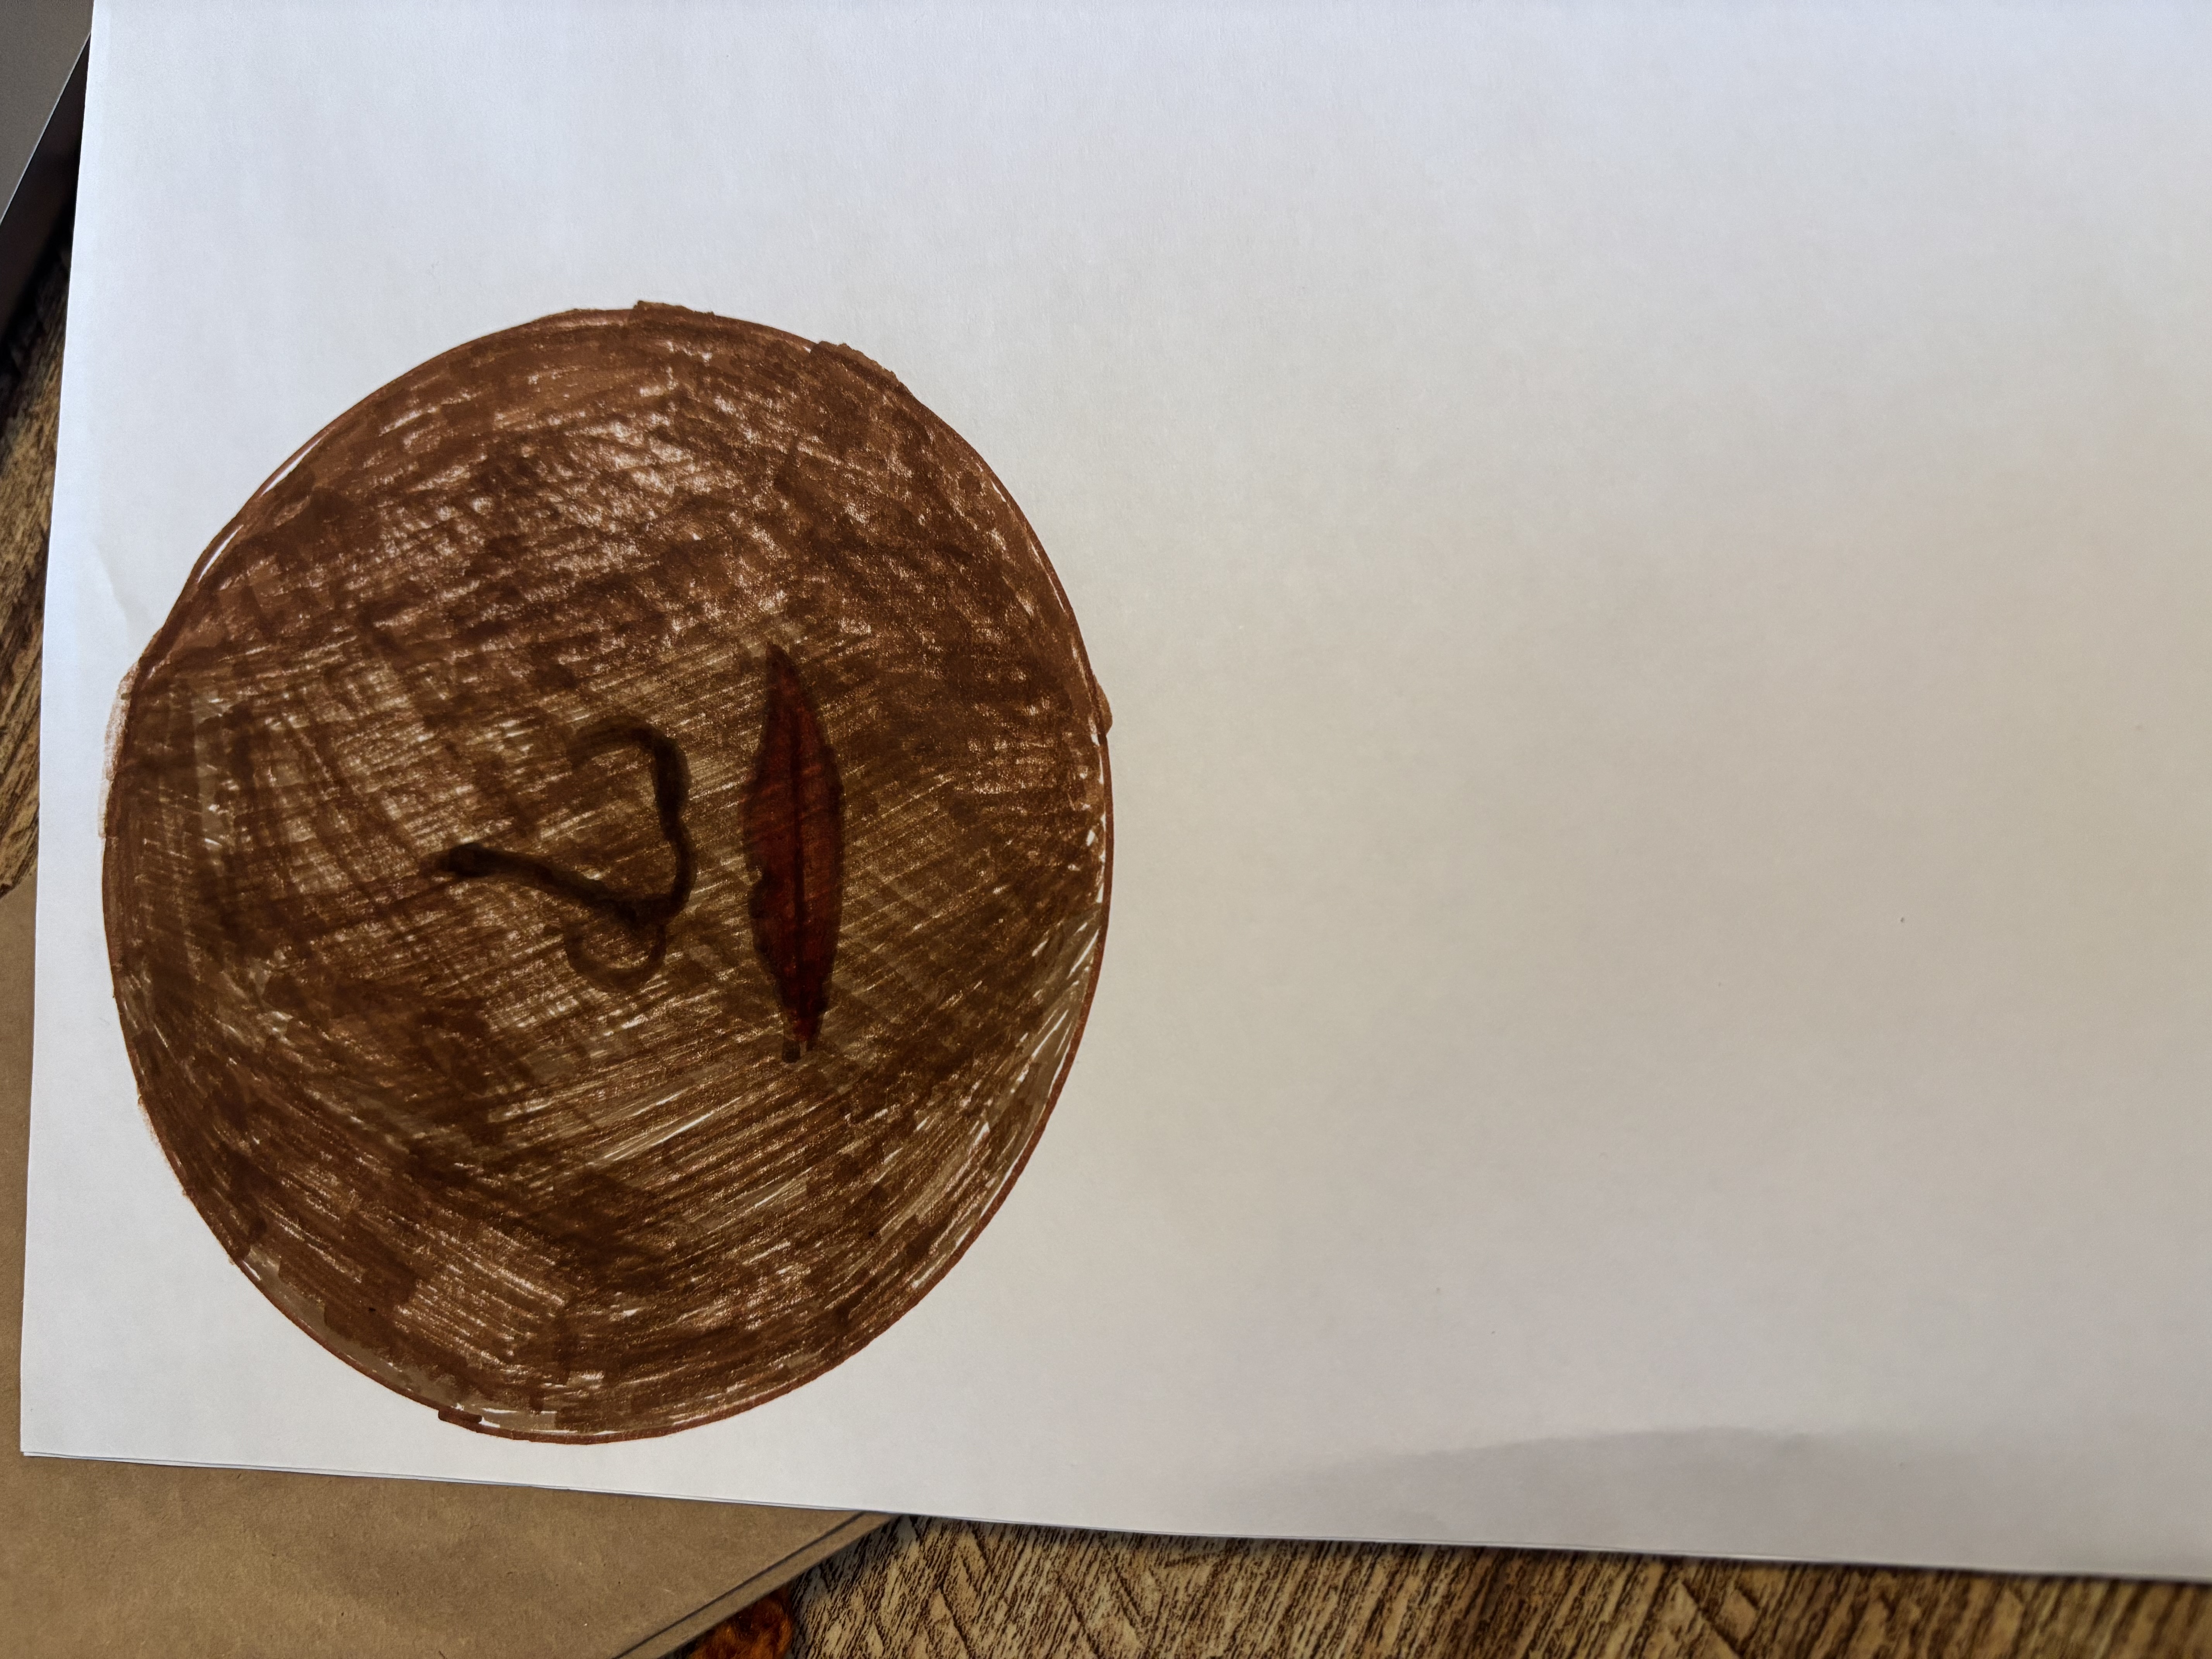
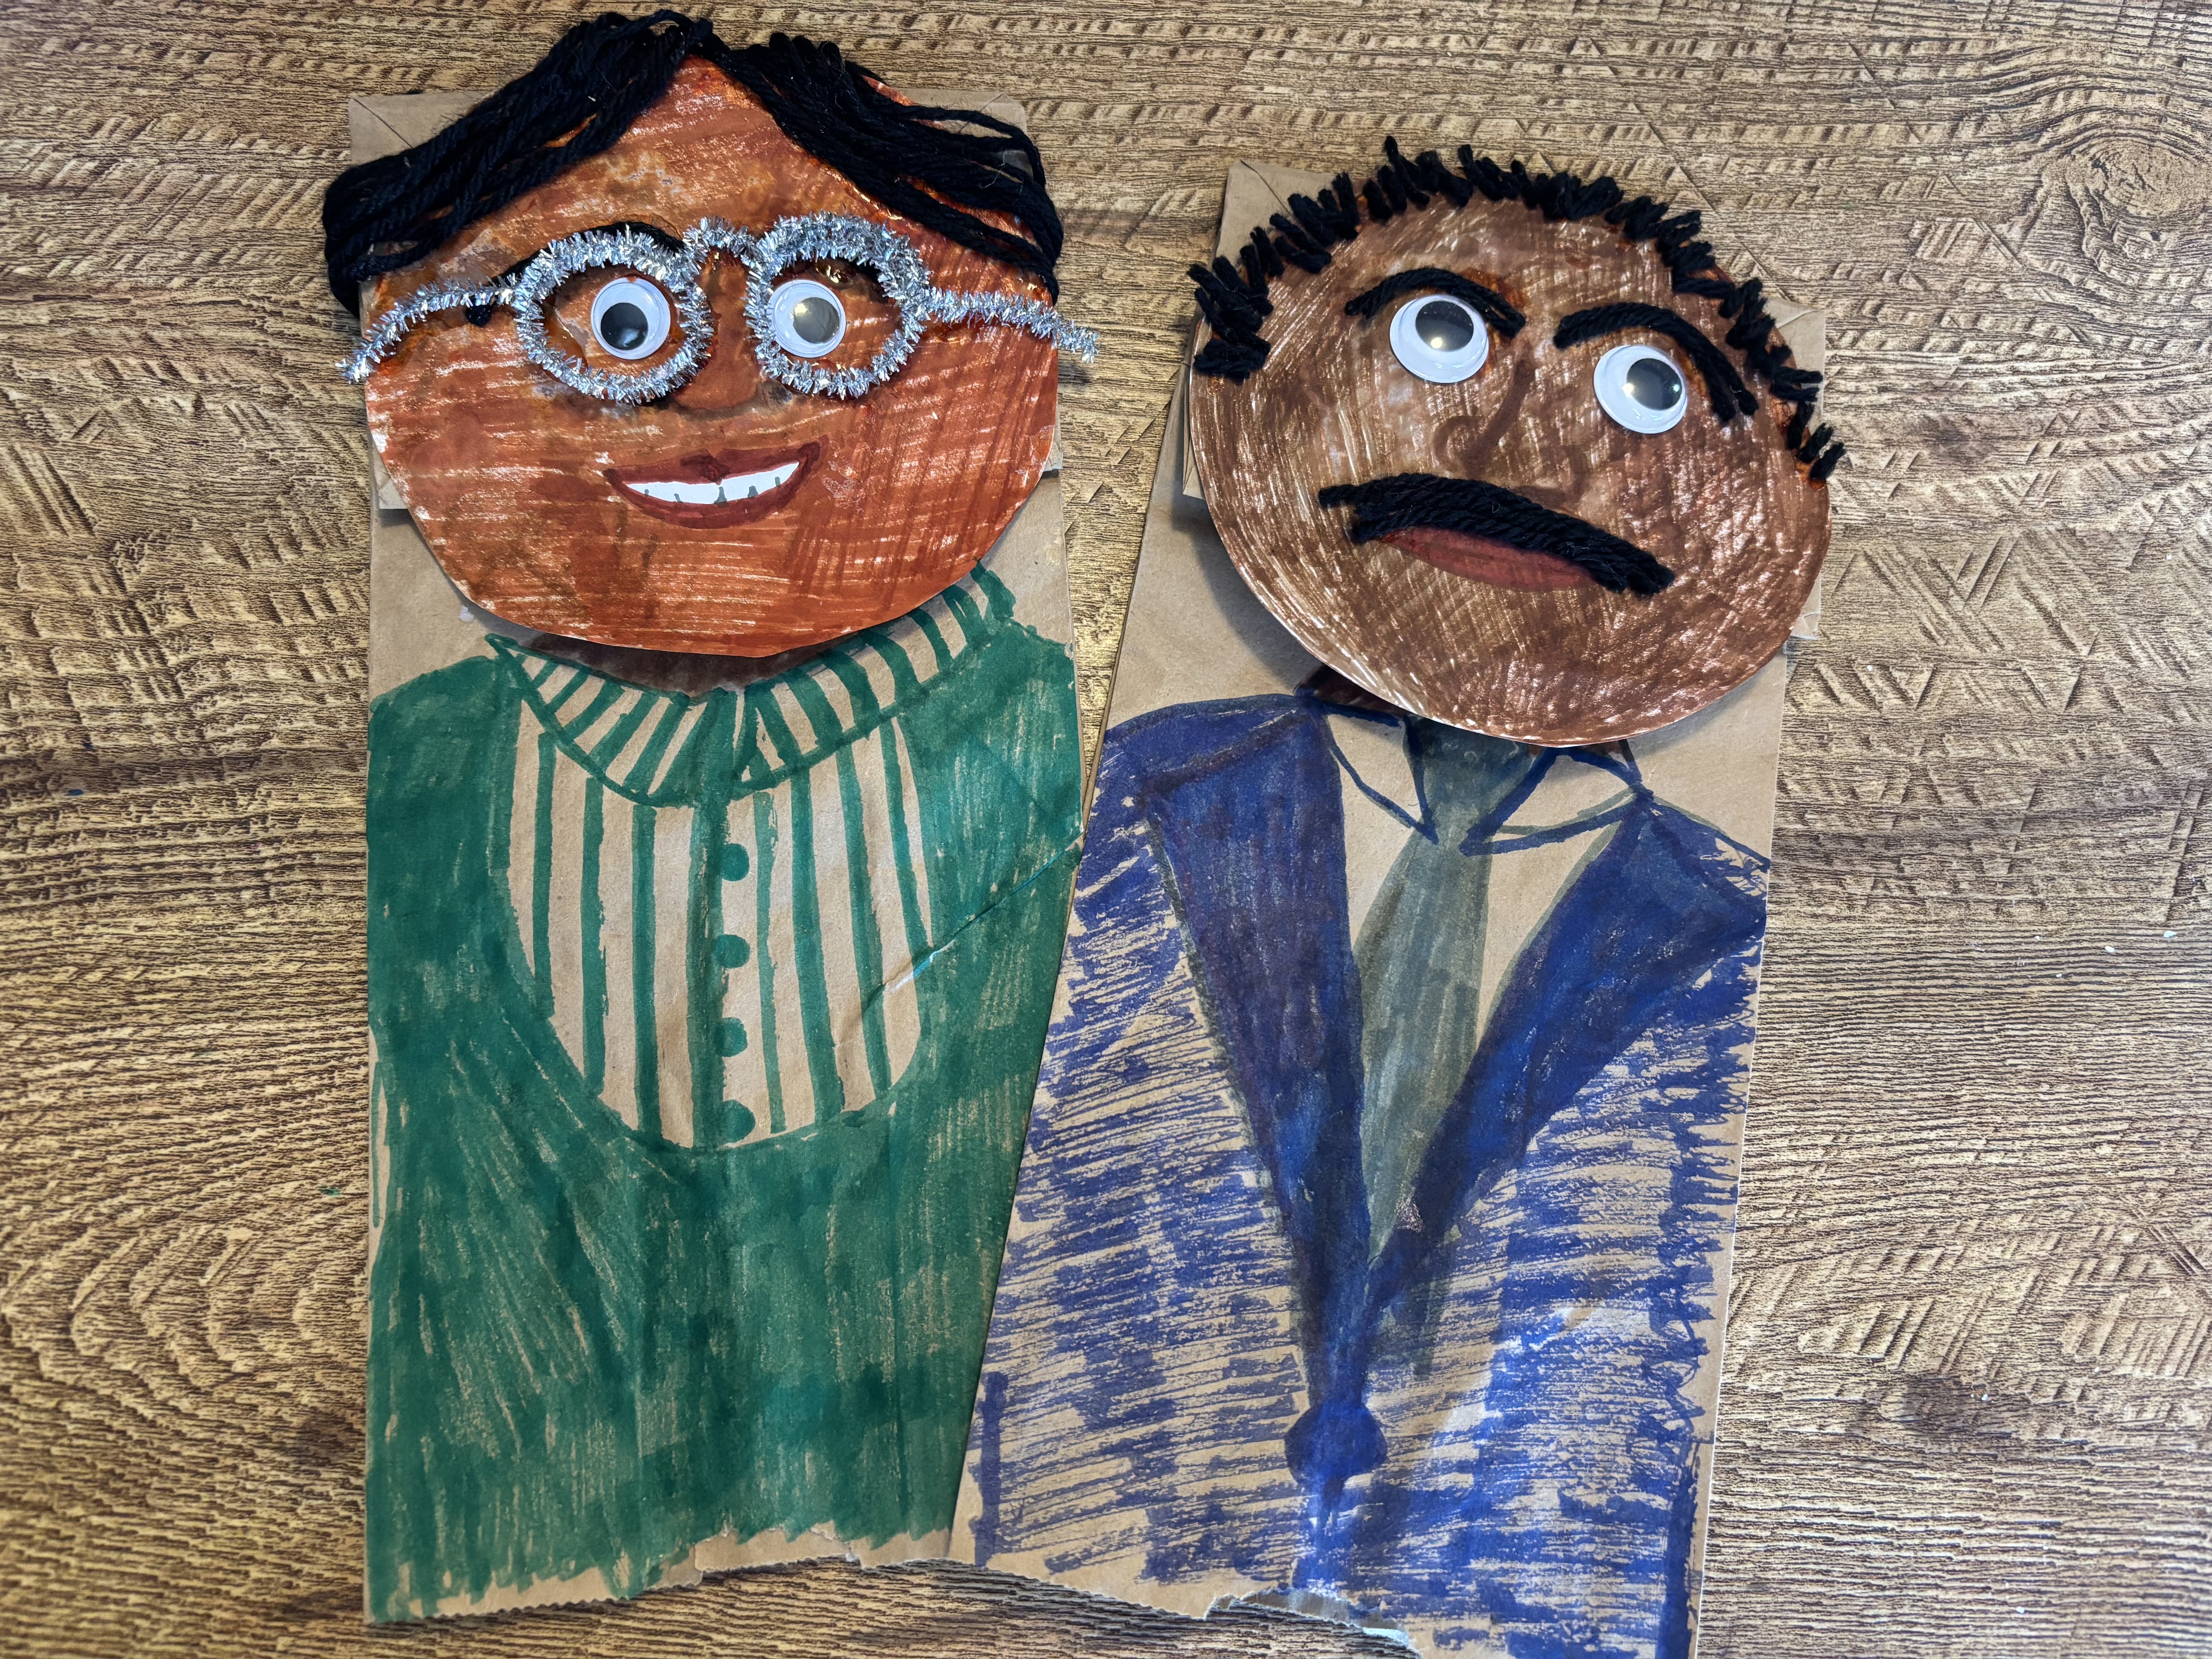
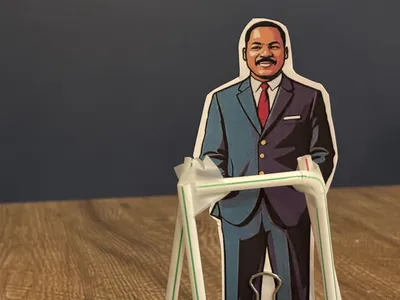
    Draw the face of your Civil Rights hero using markers, crayons, or anything you choose. Ask a grown-up to help you search for a picture of your person if needed.

    Step 3: Glue face and eyes to bag

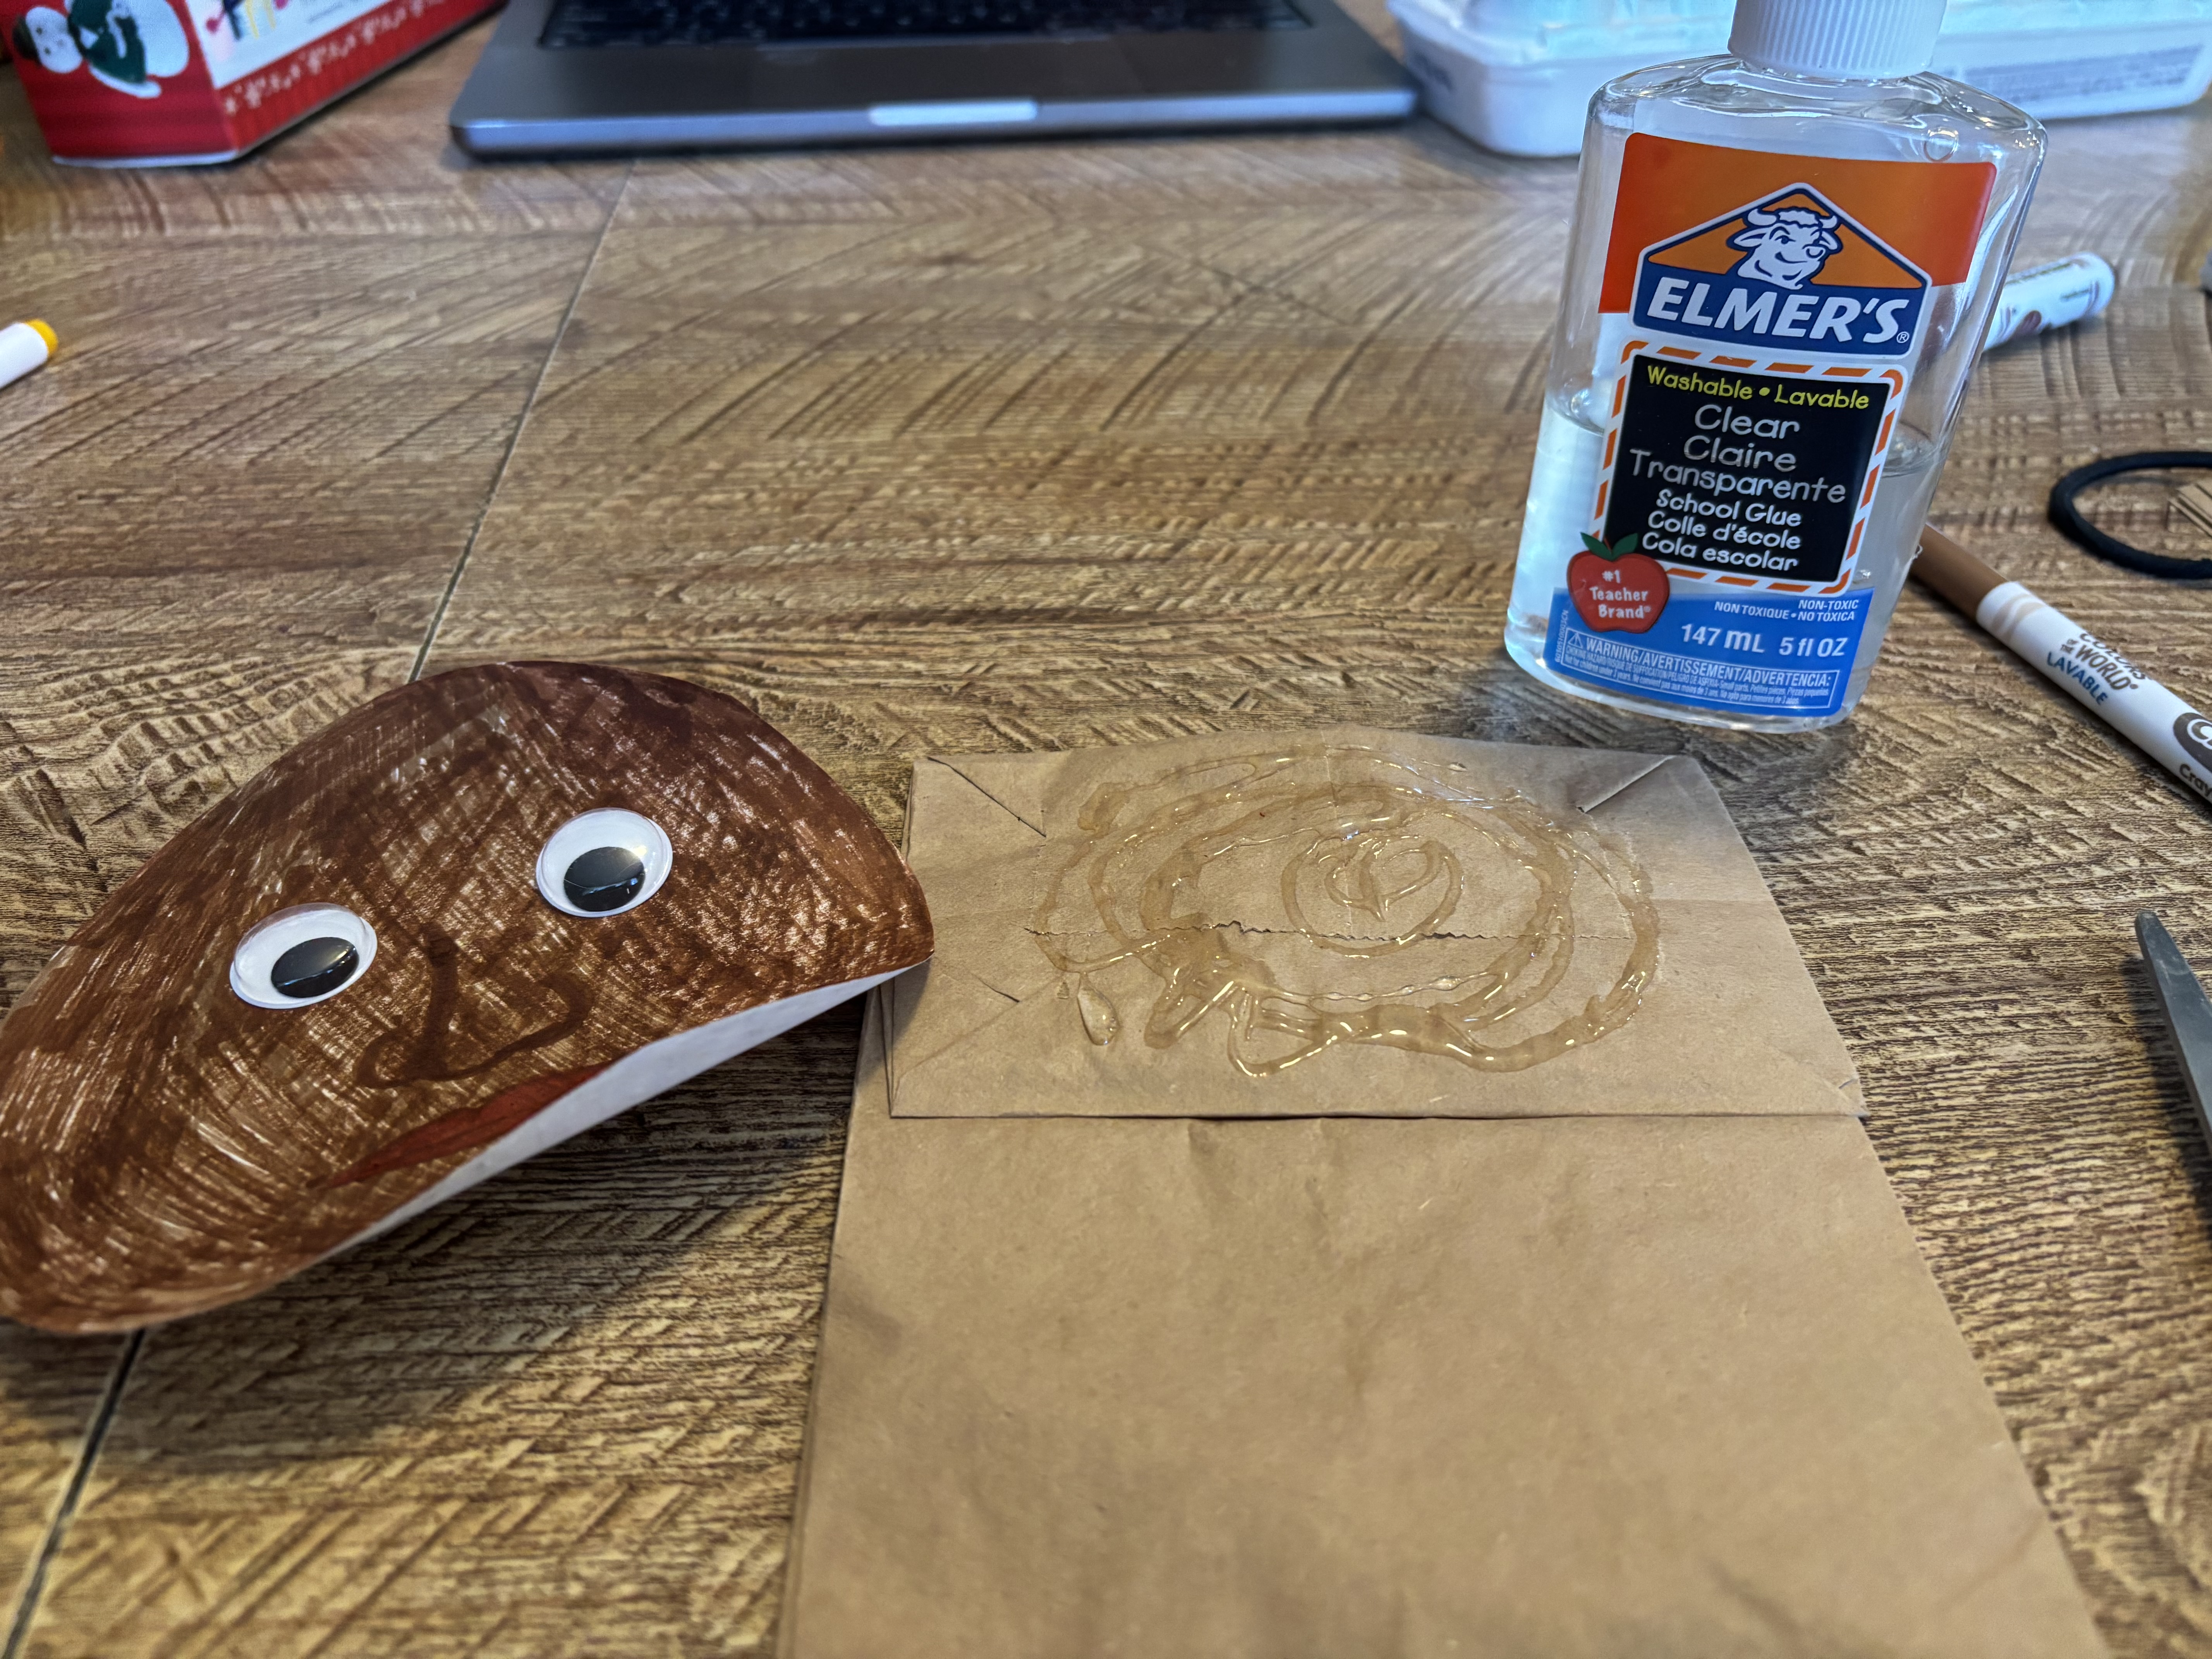
    Carefully cut out your face, then glue it to the bag. When glueing, make sure you only put glue on the flap of the bag. If you glue the "body" of the bag, you won't be able to make your character's mouth move! Then, glue on the eyes.

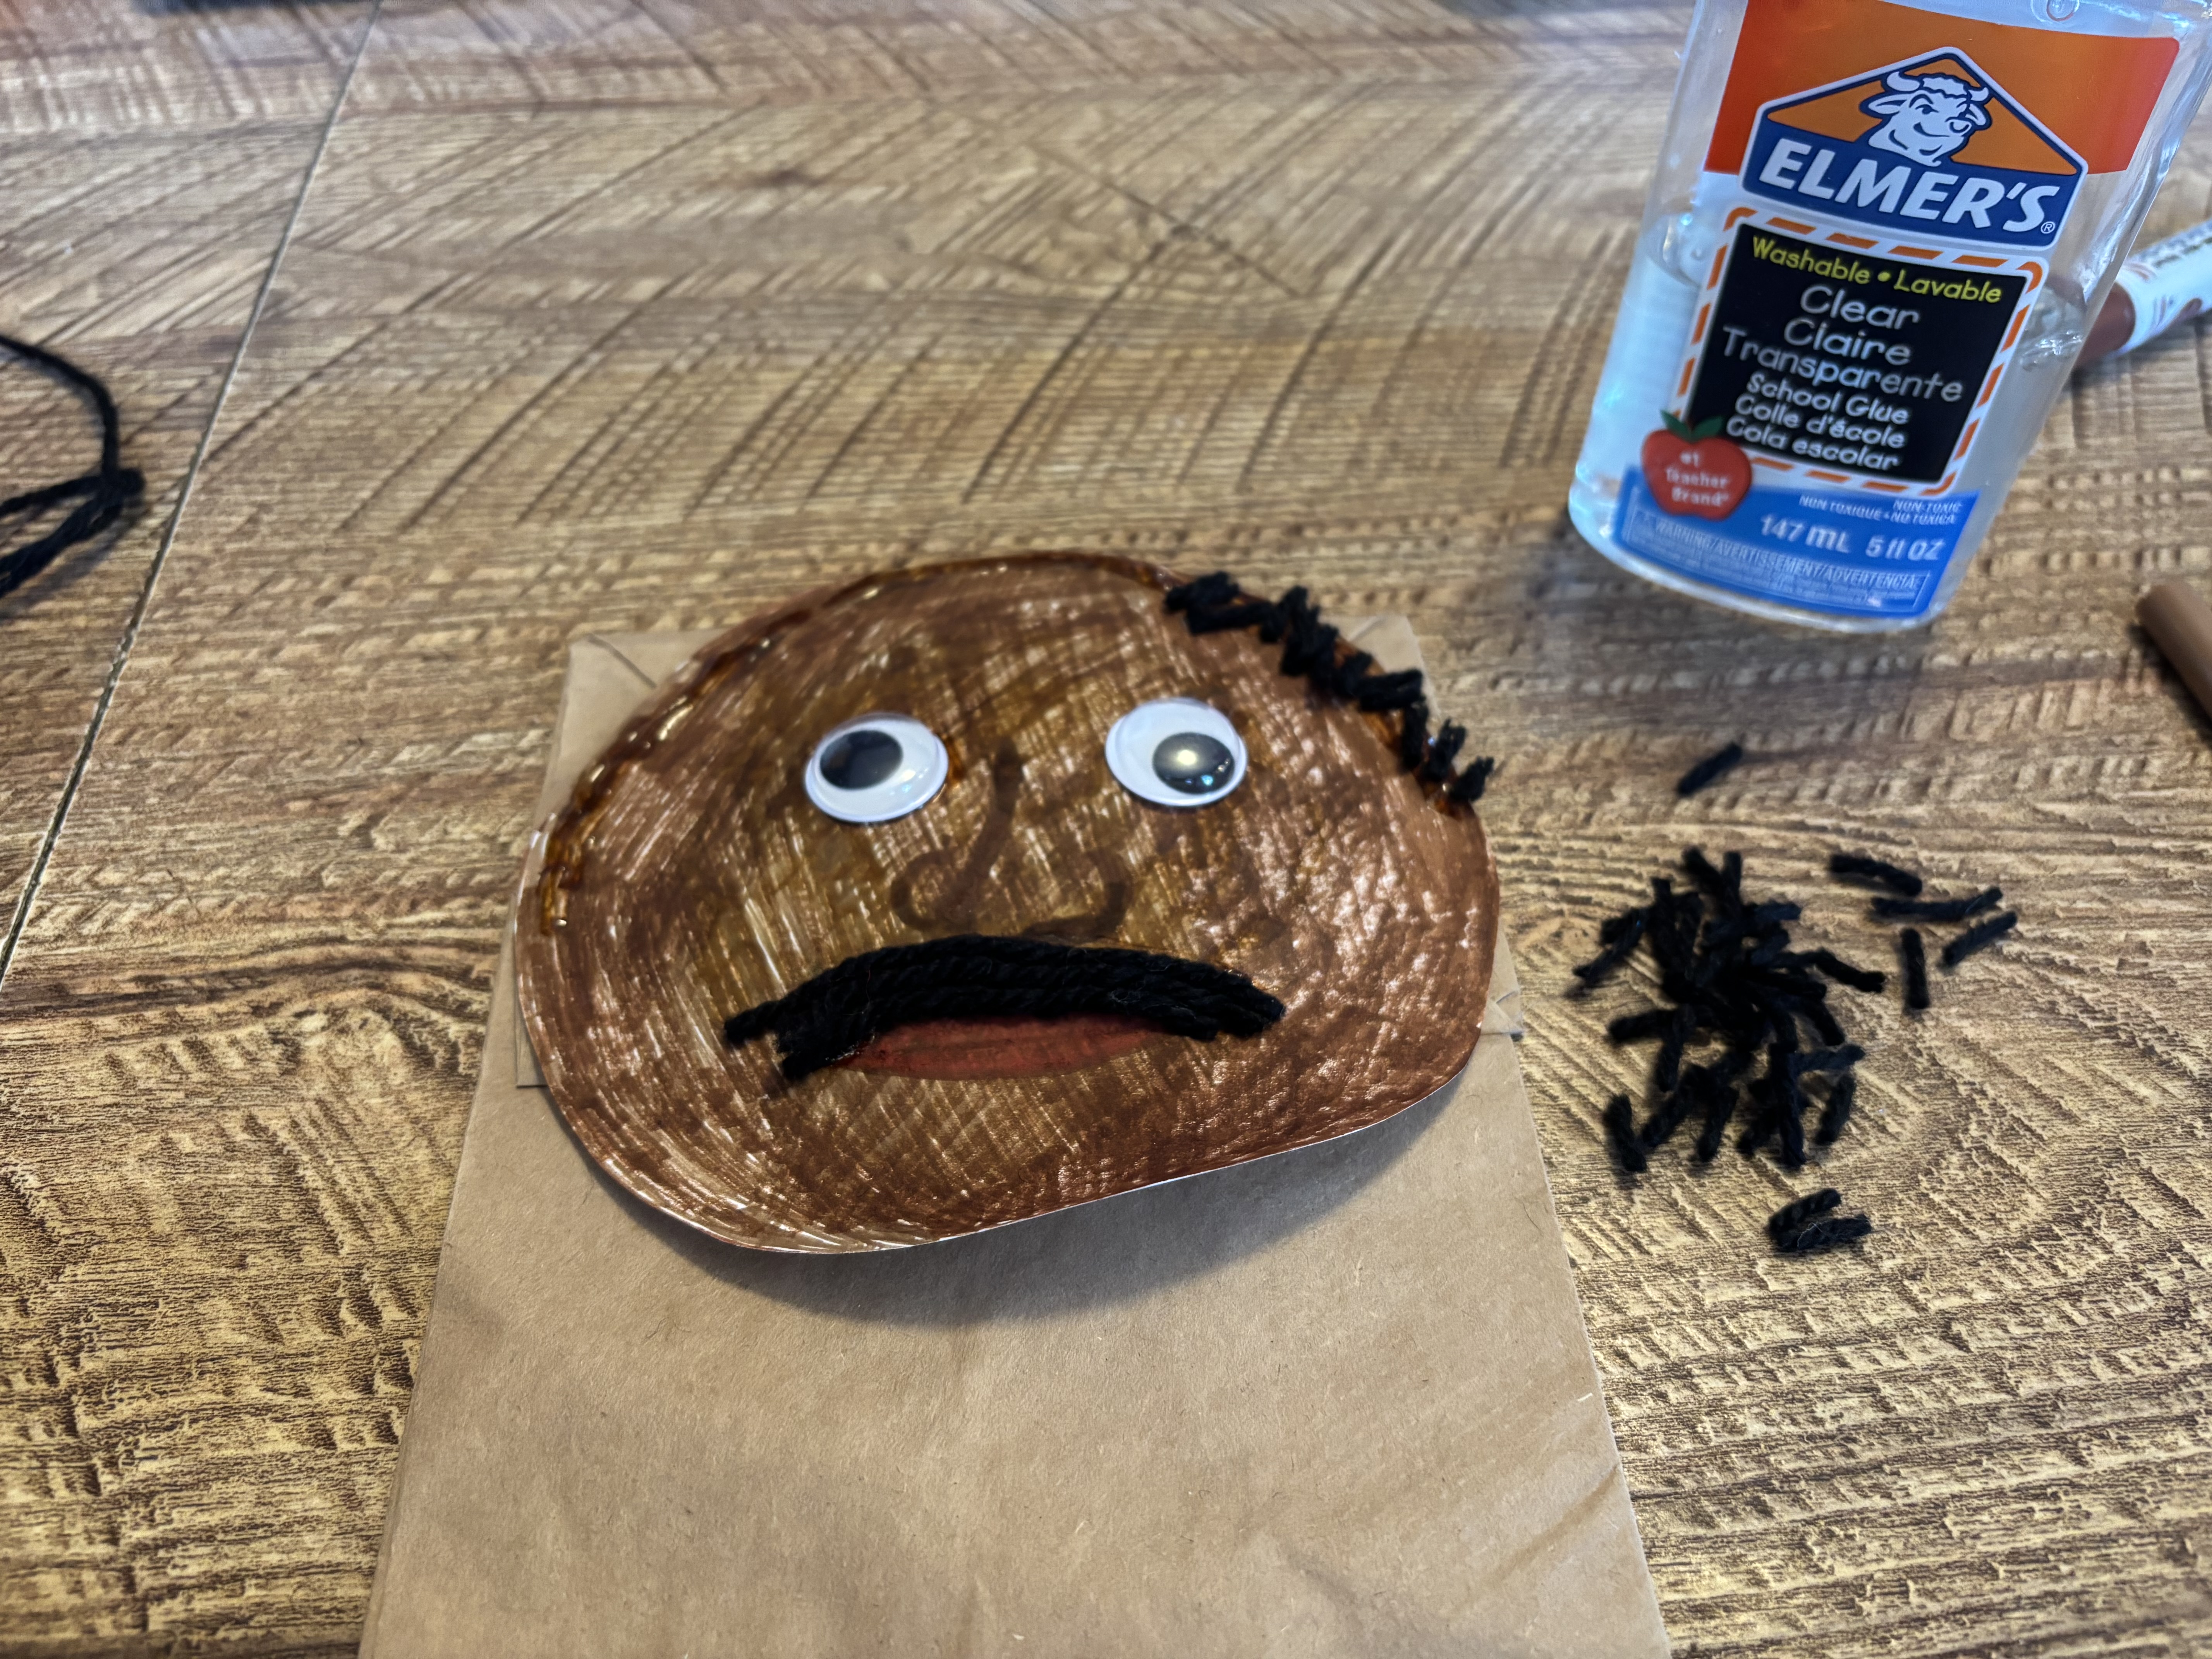
    Step 4: Make Dr King's Hair and Mustache

    To make Dr King's hair, cut lots of small pieces of black yarn. Glue them to the top of his head with white or clear school glue. Draw a mustache with glue, then cover with yarn. It may be easiest to cut the yarn a little long, then trim it to fit once it is in place. We used three pieces of worsted acrylic yarn to give him a nice thick mustache. Draw his eye brows with glue, then trim and attach yarn for his eyebrows just like you did for his mustache. We made each of his eyebrows out of two pieces of yarn.
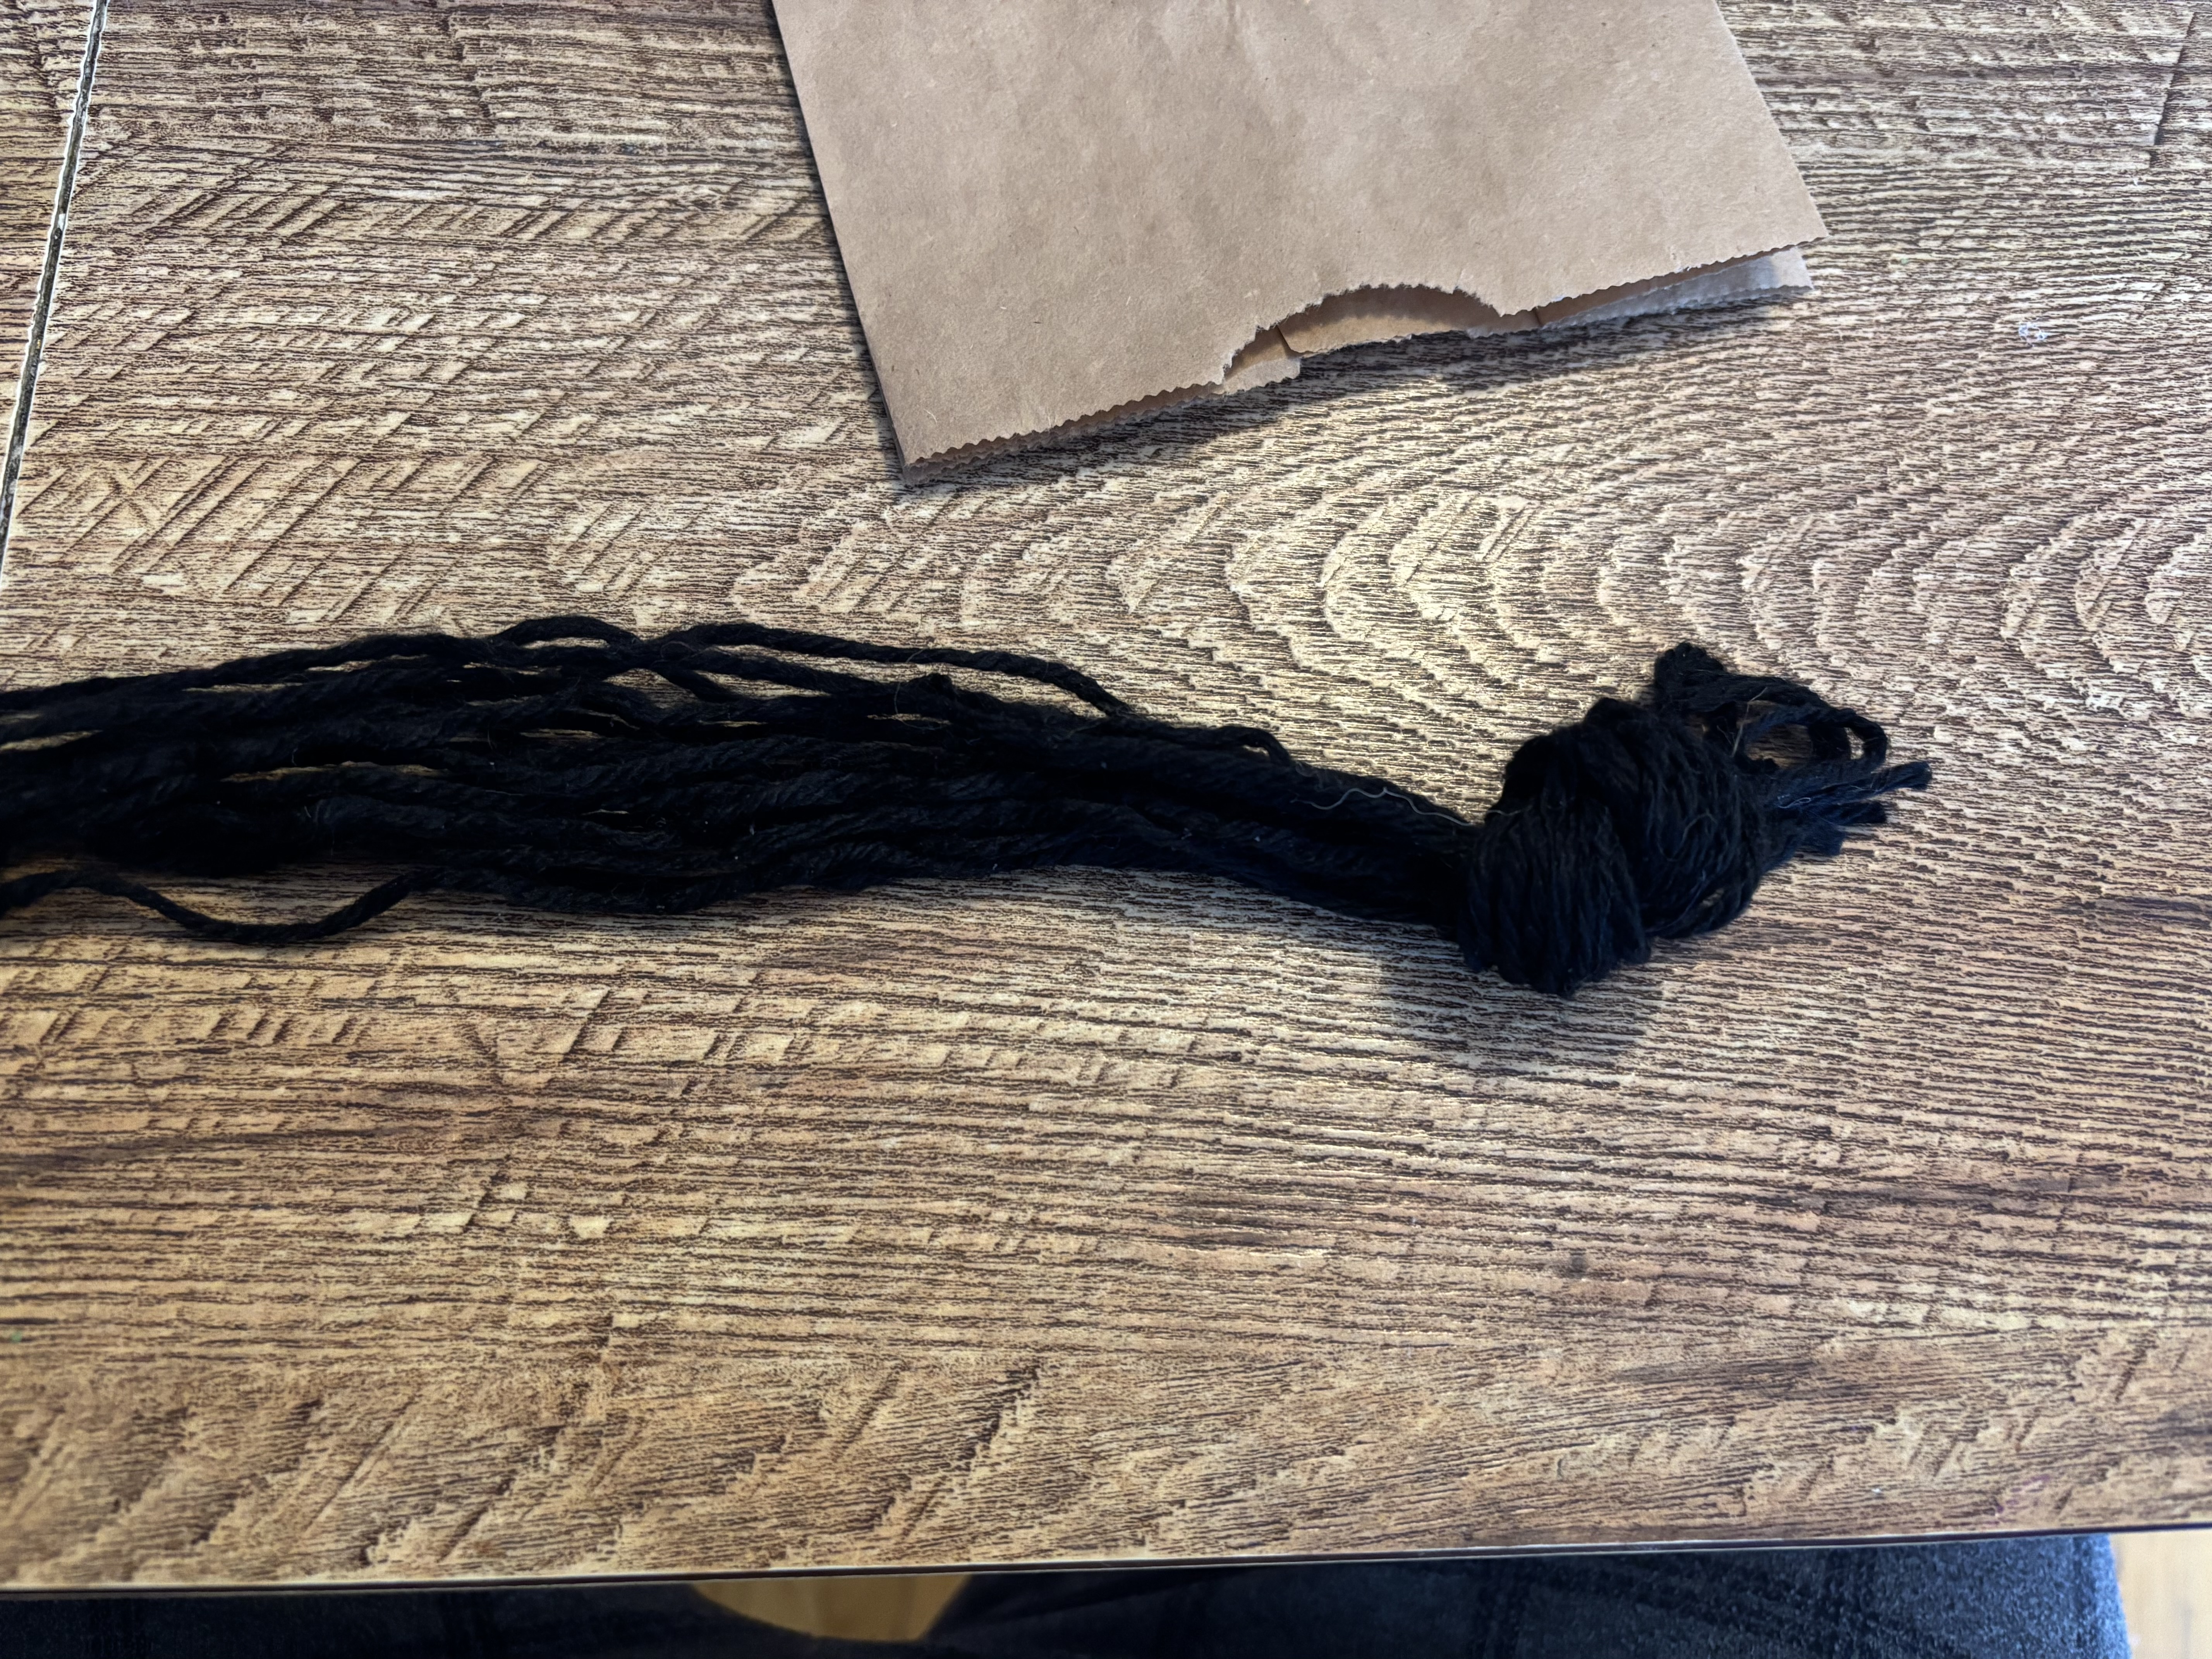
    Step 5: Make Rosa Parks' Hair (Part 1)

    Rosa Parks has a lovely bun in almost every photo taken of her. To make her beautiful hairstyle, cut 18 pieces of yarn at least 18" long. Tie them in an overhand knot.

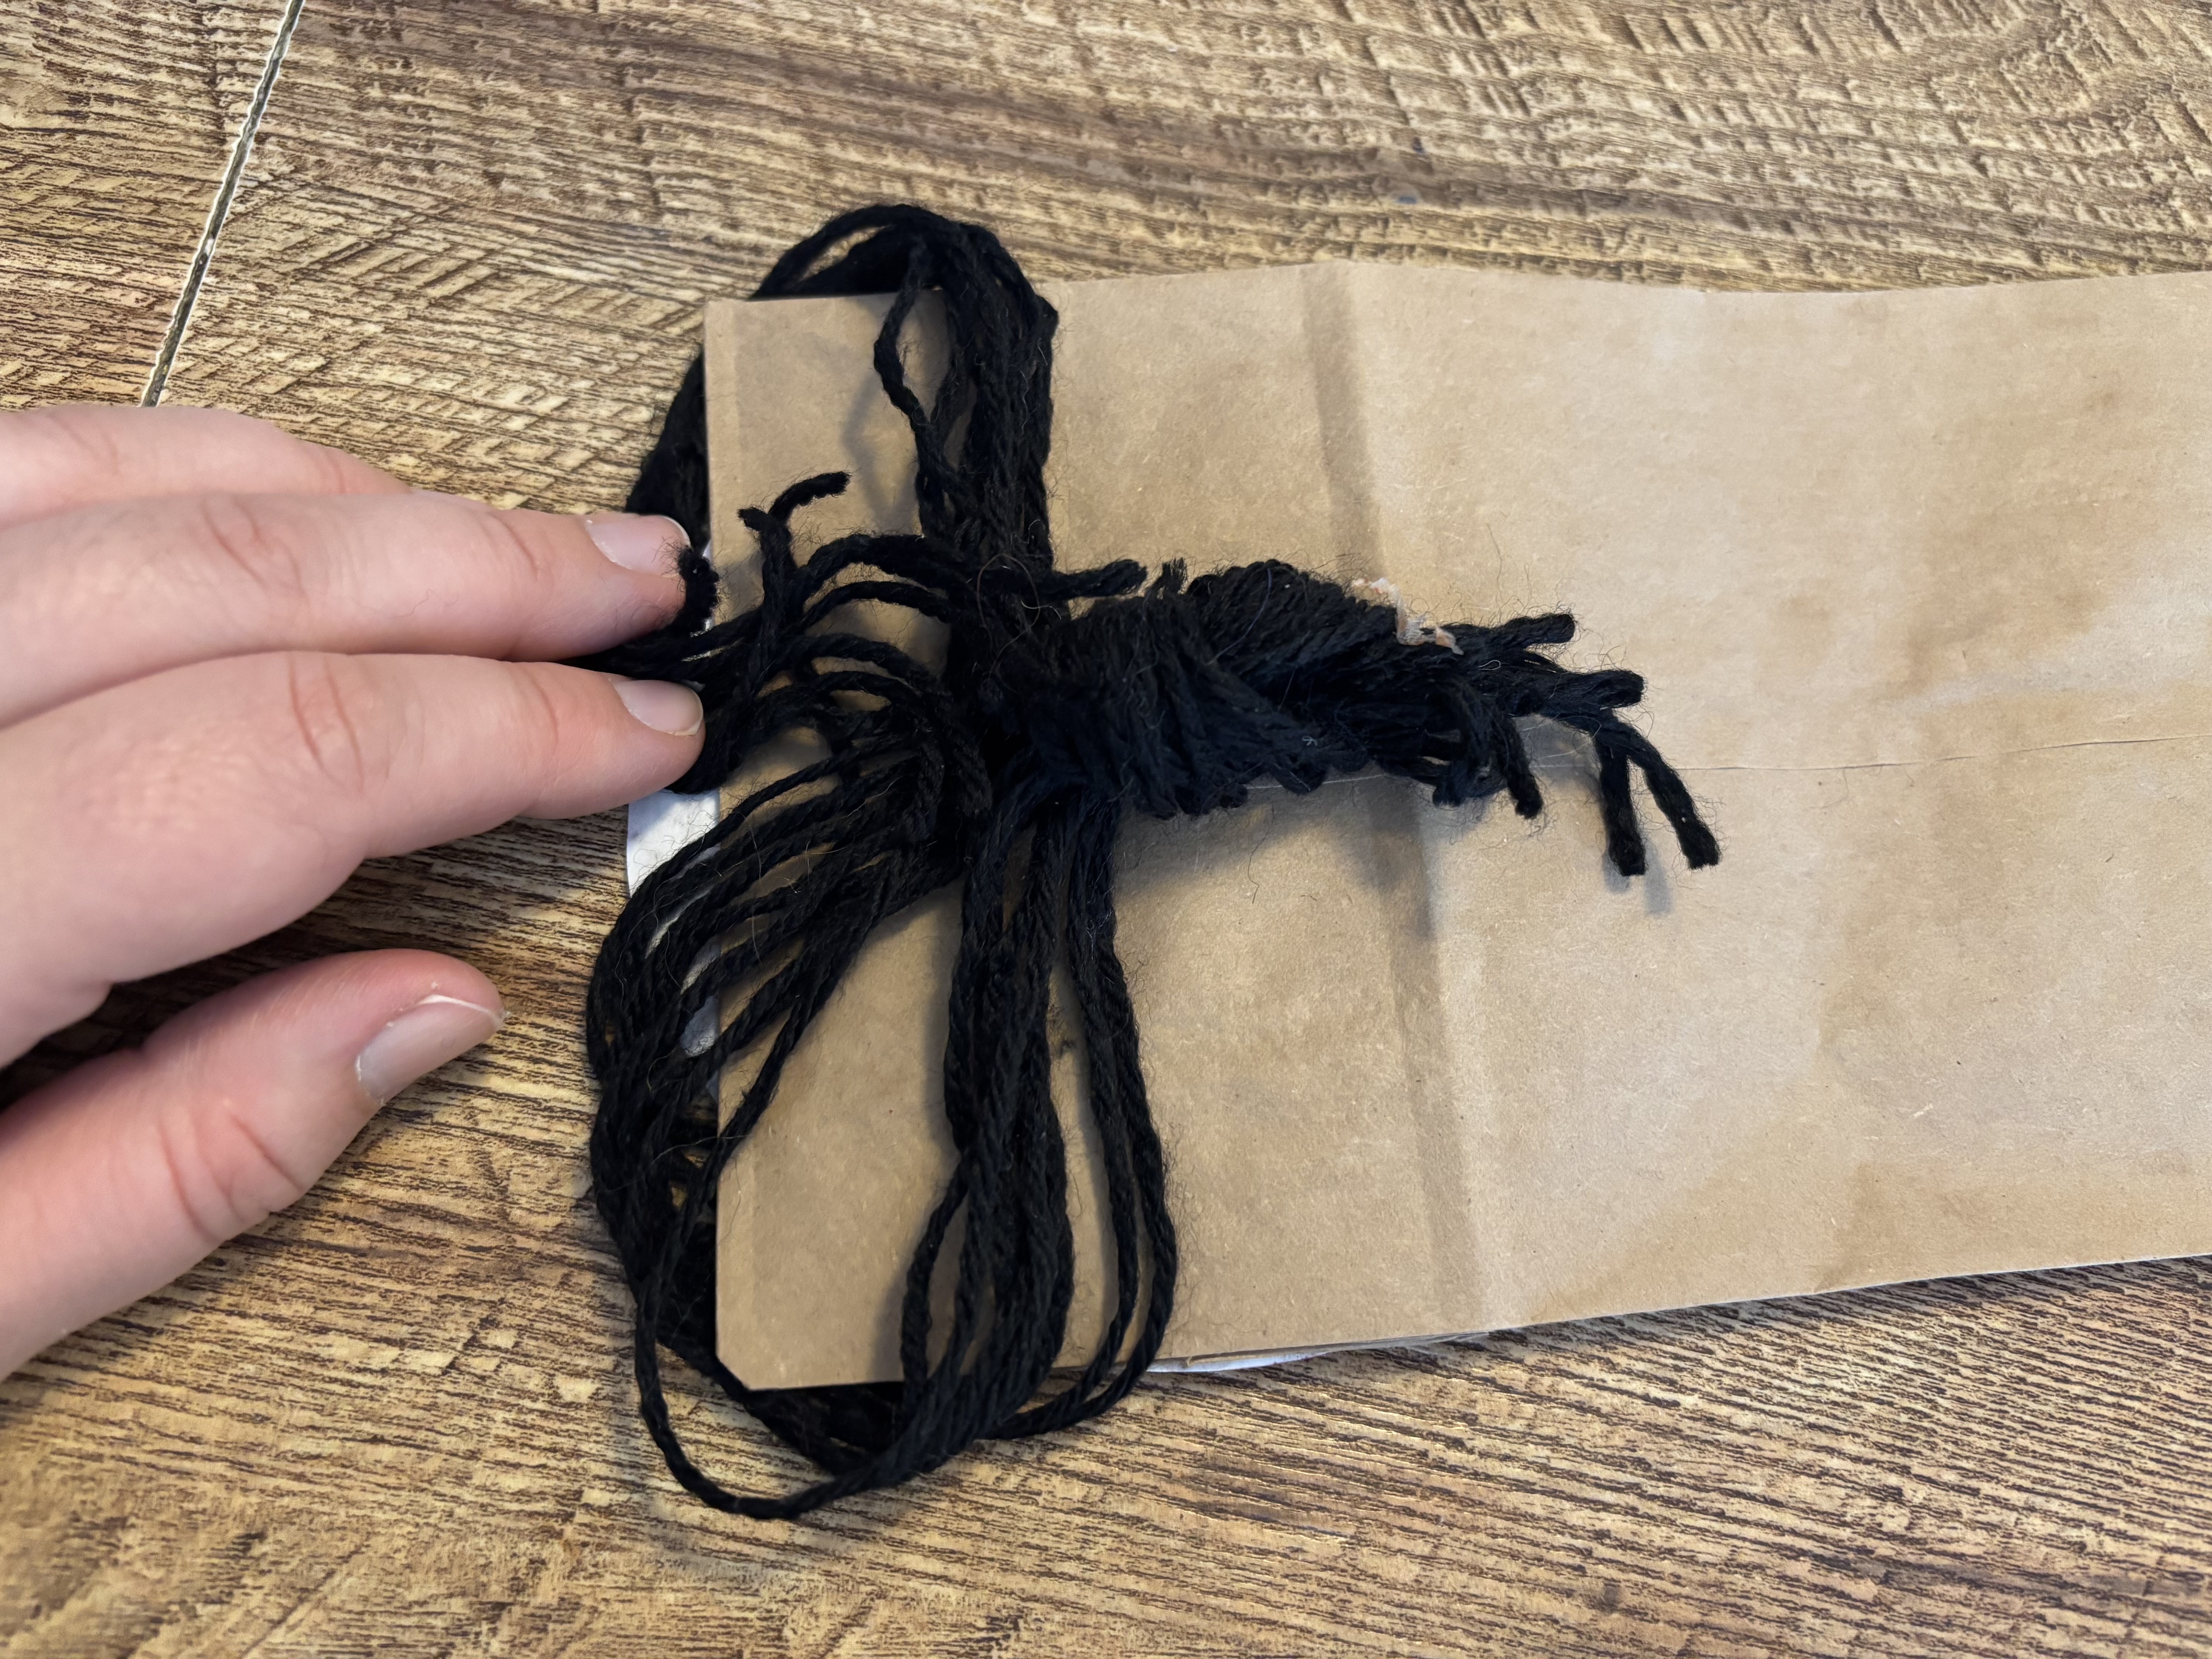
    Step 6: Rosa Park's Hair (Part 2)

    Hold the knot at the back of the bag, then wrap Rosa's hair around to the front. We split her hair in half so nine pieces wrapped around each side of her face. Glue down the front first. Then, tuck all the extra yarn to the back of the bag and glue it down along with her bun knot. Add her eyebrows the same way we added Dr King's. We used a single piece of yarn for each of Rosa's eyebrows.

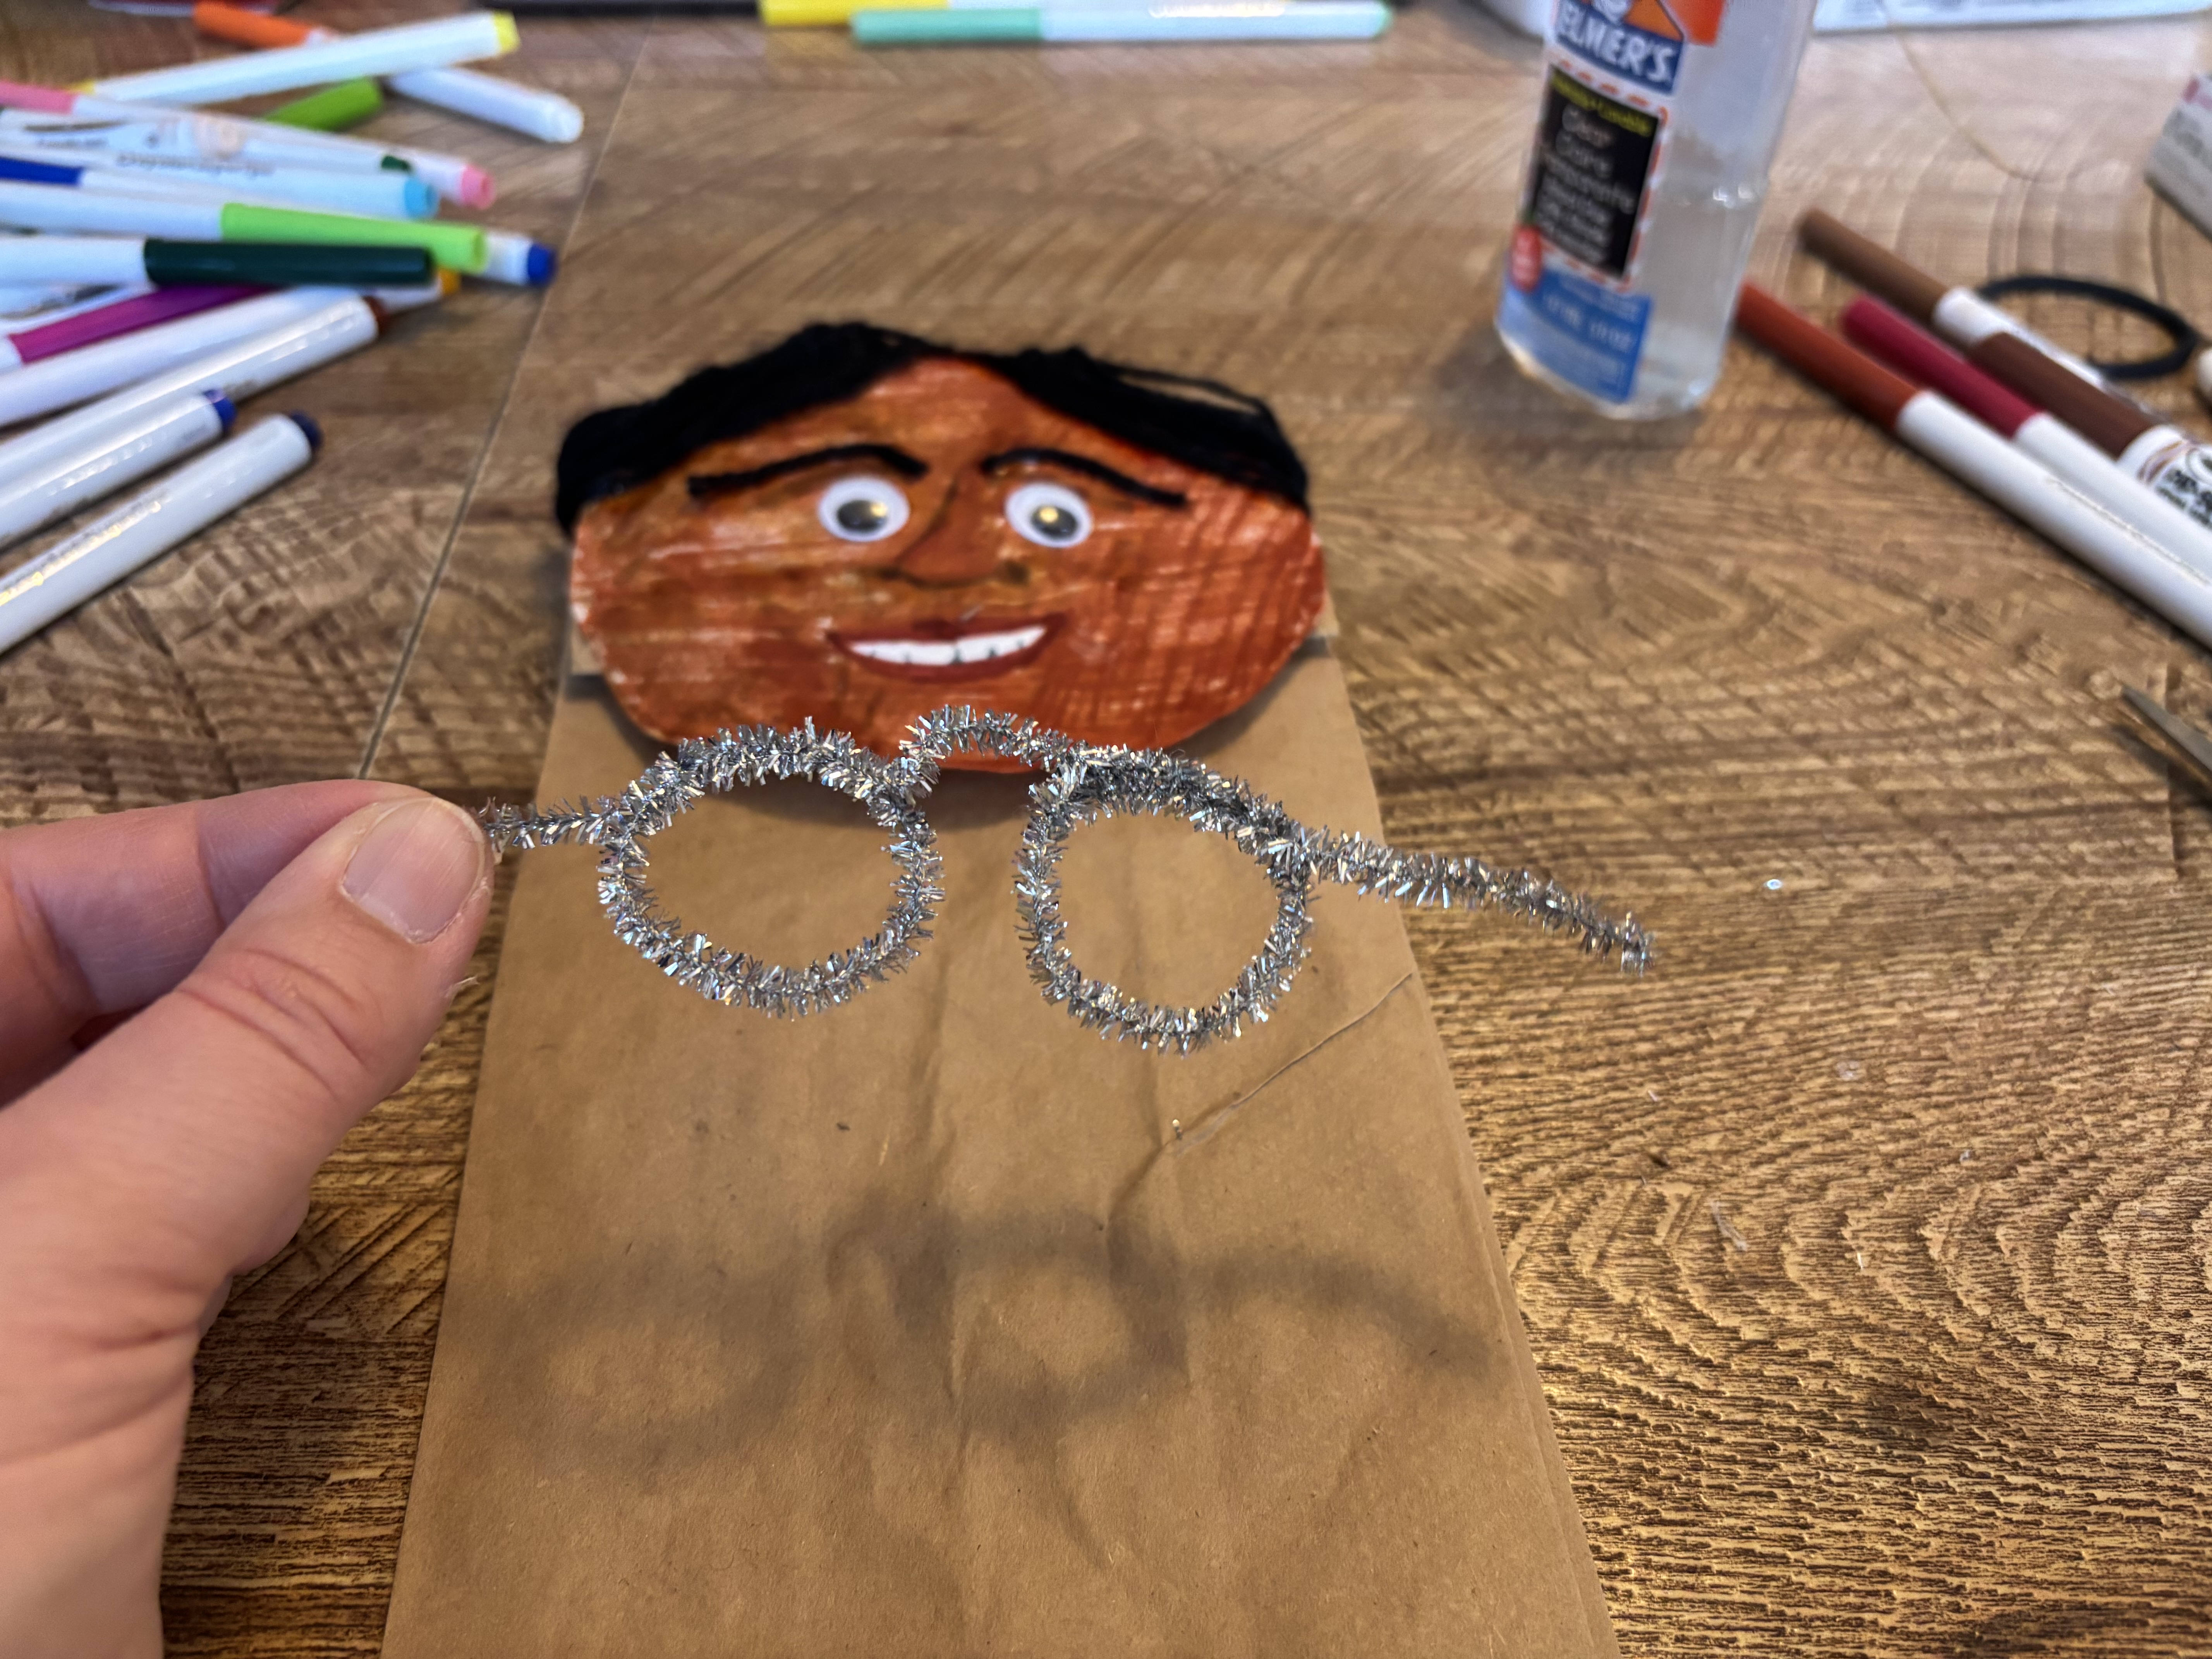
    Step 7: Make Rosa's Glasses

    Rosa's glasses are made from two pipe cleaners twisted together. Gently loop and twist the pipe cleaners into the right shape. Leave about 1.5" of pipe cleaner hanging, then make a circle for the first lens. Hold up against your puppet to make sure it is the right size. Twist the circle together so it stays put. Leave a small gap in the pipe cleaner for the nose bridge, then twist the second lens the same way. Try to press your pipe cleaner glasses as flat as possible so they will glue down more easily. We found it easiest to put the glue on the glasses, then press the glasses against the bag. We needed to set a heavy box of paper clips on top whilethey were drying to keep them in place. You can use whatever you have on hand, or ask a grown up to help you use a hot glue gun if you're in a hurry.

    Step 8: Color the Bodies

    Draw Dr. King and Rosa Park's clothes. Be careful not to bump the glue! It takes a while to dry.

    Step 9: Draw a bus

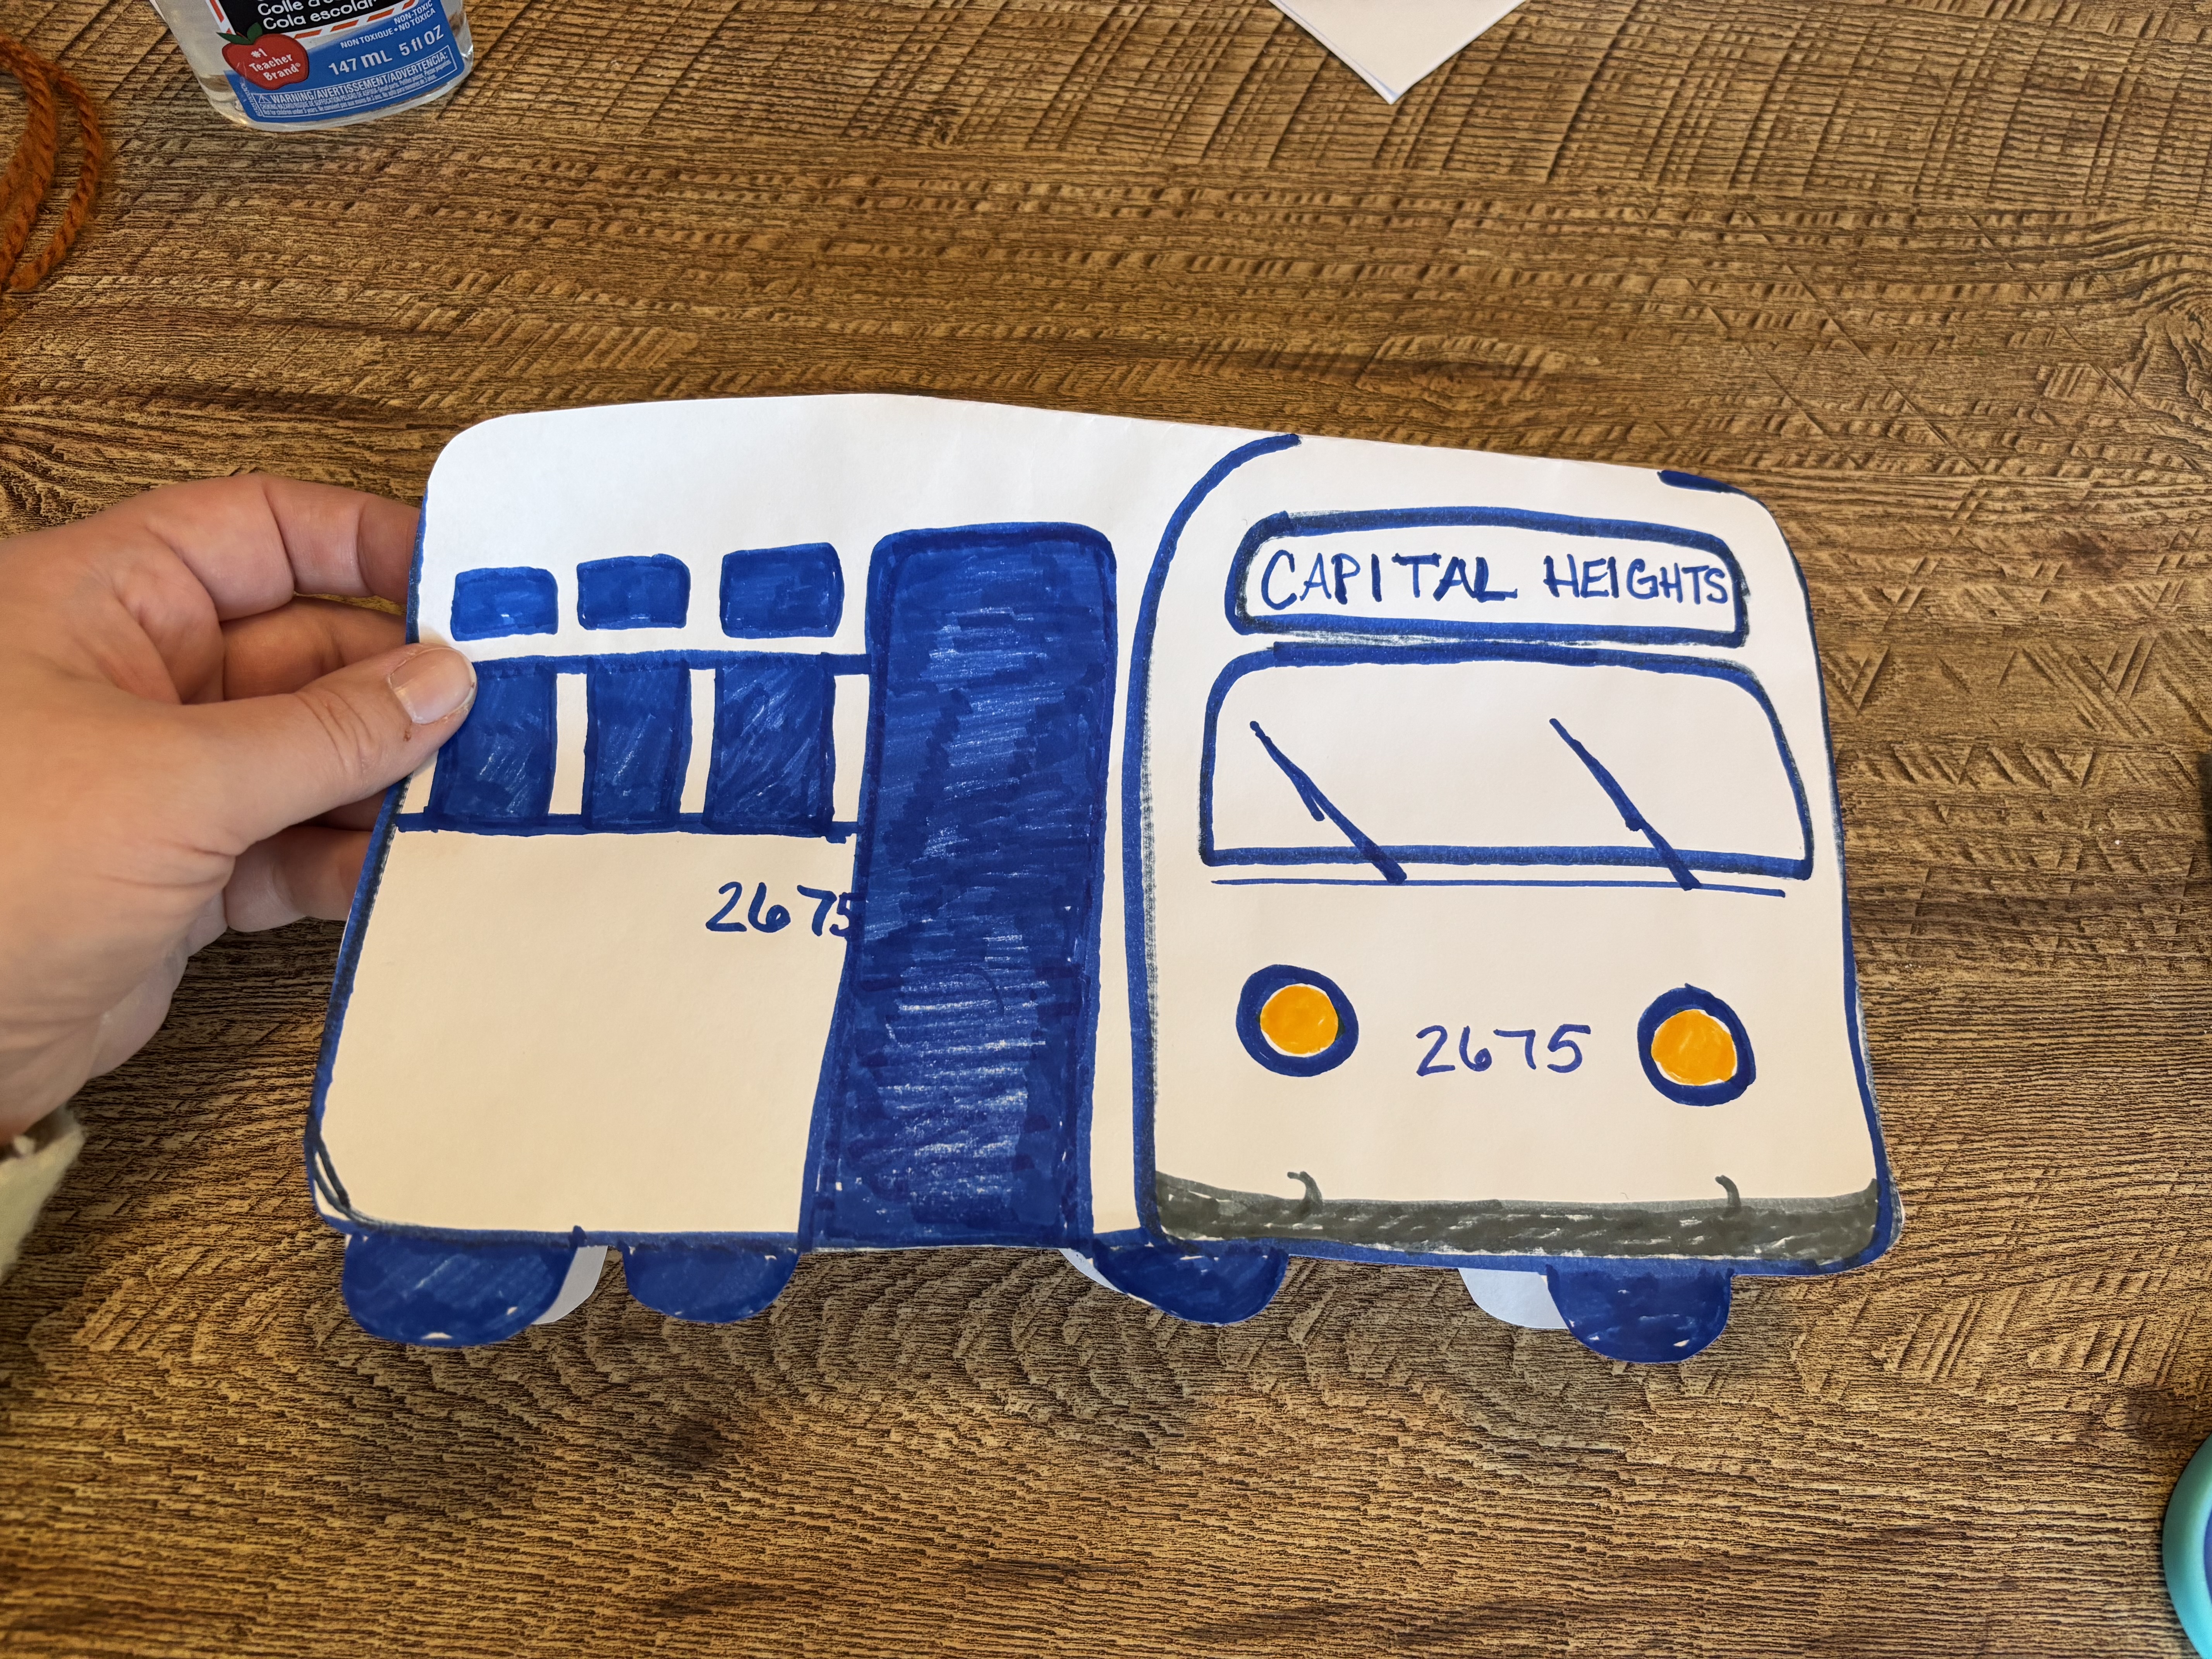
    We drew our bus on a very large sheet of paper that we folded in half. This lets us lift the front of the bus so our puppets can sit inside it as we tell the story. You can choose to make the bus as complicated as you'd like. If you put it on a popsicle stick it may be easier to use as a prop in your puppet show.

    Step 10: Tell Their Story

    May need grown-up help
    Use your puppets to tell the story of the Montgomery Bus Boycott and the brave Civil Rights leaders who made it happen. To learn more about Dr. King and Rosa Parks, we recommend the following books and resources: Picture Books (Ages 4-8): - "I Am Martin Luther King, Jr." by Brad Meltzer (kid-friendly biography) - "I Am Rosa Parks" by Brad Meltzer (same accessible series) - "Martin's Big Words" by Doreen Rappaport (beautiful illustrations, actual quotes) - "Be a King: Dr. Martin Luther King Jr.'s Dream and You" by Carole Boston Weatherford - "Rosa" by Nikki Giovanni (award-winning illustrations) Early Chapter Books (Ages 7-10): - "Who Was Martin Luther King, Jr.?" by Bonnie Bader - "Who Was Rosa Parks?" by Yona Zeldis McDonough - "The Story of Martin Luther King Jr." by Christine Platt - "Rosa Parks: My Story" (autobiography adapted for young readers) Online Resources: - National Civil Rights Museum (virtual tours available) - Smithsonian's National Museum of African American History & Culture kids' section - PBS Kids Civil Rights website - The King Center's digital archive (great for older kids)
  3. 3

    Clean up

    Put things away so your space is tidy for next time.

    Tidy up our space

    Put away our supplies

    Check off each supply when it is put away — and any clean-up tips underneath are done too. You might find a fun surprise!

    • A cartoon of Yarn
      Where they belong:
    • A cartoon of Paper Bags
      Where they belong:
    • A cartoon of Googly Eyes
      Where they belong:
    • A cartoon of White Glue
      Where they belong:
      • — Don't forget! Close glue lids.
    • A cartoon of Markers
      Where they belong:
      • — Don't forget! Close all marker caps tightly.
    • A cartoon of Lids
      Where they belong:
    • A cartoon of Crayons
      Where they belong:
    • A cartoon of Paper
      Where they belong:
    • A cartoon of Pipe Cleaners
      Where they belong:

    Update what we have left

    Did we run out of anything while making this project? Update our supply cupboard so that we know exactly what we have for next time.

    This project could unlock 5 creative buddies. Sign in to unlock them.

  4. 4

    Save

    Your creative buddy says:
    "Great job!"

    Create a free account to save your digital masterpiece to the Art Gallery.

Use what’s already at home

Snap a junk-drawer photo and GlueStick finds projects you can start in minutes — no store trip, less expense, more creative afternoons.

+ 350 more
Supply Snap

About the Author