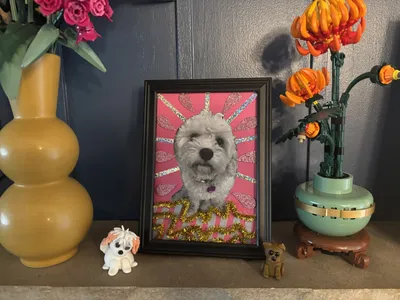
About This Project

A 15–45 minutes craft for ages 6–12, using supplies you likely already have — Stickers, Markers, and Cardstock.

GlueStick supports kids from setup to cleanup. After they choose a project, we guide them through gathering the supplies, making it, and cleaning up when they're done. We'll even help them share it safely with trusted family and friends.

Ad-free and kid-safe library — designed by a mom who wants kids to explore and create independently.

Project Tags
  1. 1

    Find Supplies

    Do you have everything you need?
    Create a free GlueStick account to track supplies and see if you have what you need at a glance. Leave your kids tips about where supplies are stored in your household so they can set up and clean up their creative spaces independently.

    00:00
    A cartoon of Stickers
    Unknown cupboard quantity You have: unknown
    A cartoon of Markers
    Unknown cupboard quantity You have: unknown
    A cartoon of Cardstock
    Unknown cupboard quantity You have: unknown
    A cartoon of Washi Tape
    Unknown cupboard quantity You have: unknown
    A cartoon of Ribbons
    Unknown cupboard quantity You have: unknown
    A cartoon of Hot Glue Guns
    Unknown cupboard quantity You have: unknown
    A cartoon of Printer
    Unknown cupboard quantity You have: unknown
    A cartoon of Paper
    Unknown cupboard quantity You have: unknown
    A cartoon of Pipe Cleaners
    Unknown cupboard quantity You have: unknown
    A cartoon of Glue Sticks
    Unknown cupboard quantity You have: unknown
  2. 2

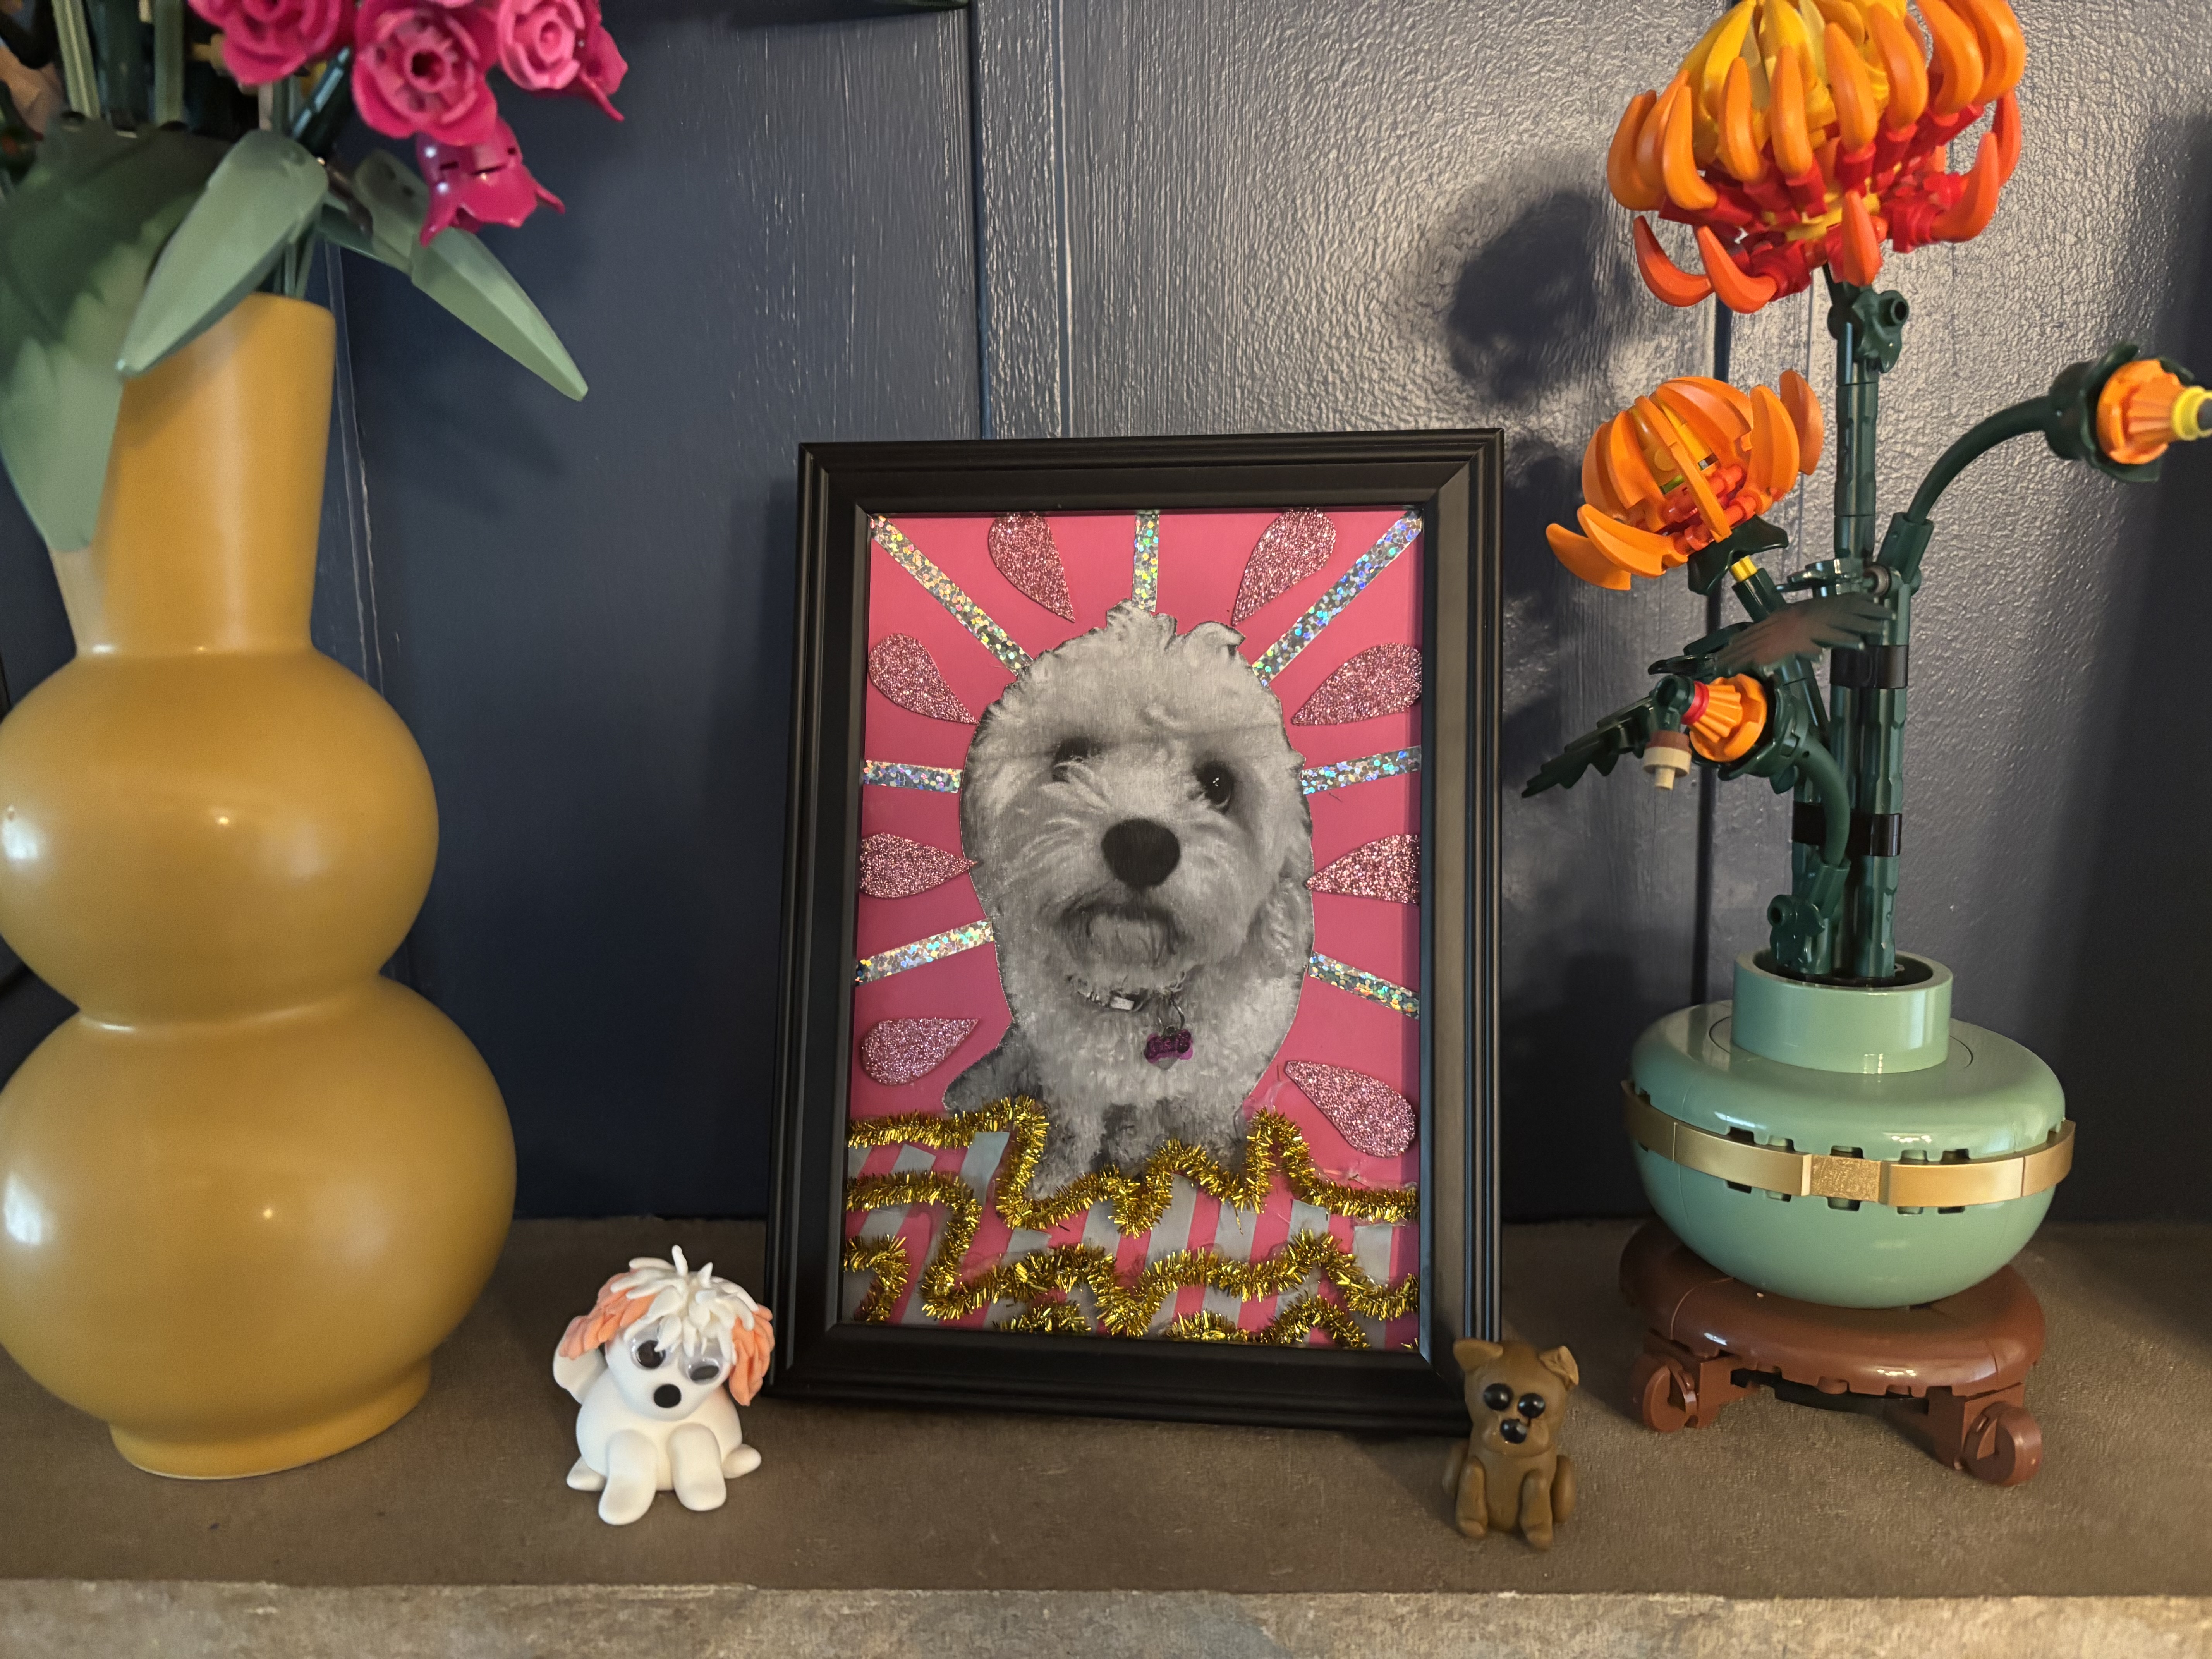
    Make Fabulous Pet Photo Collage

    Your creative buddy says:
    "Are you as excited to make this as I am?"
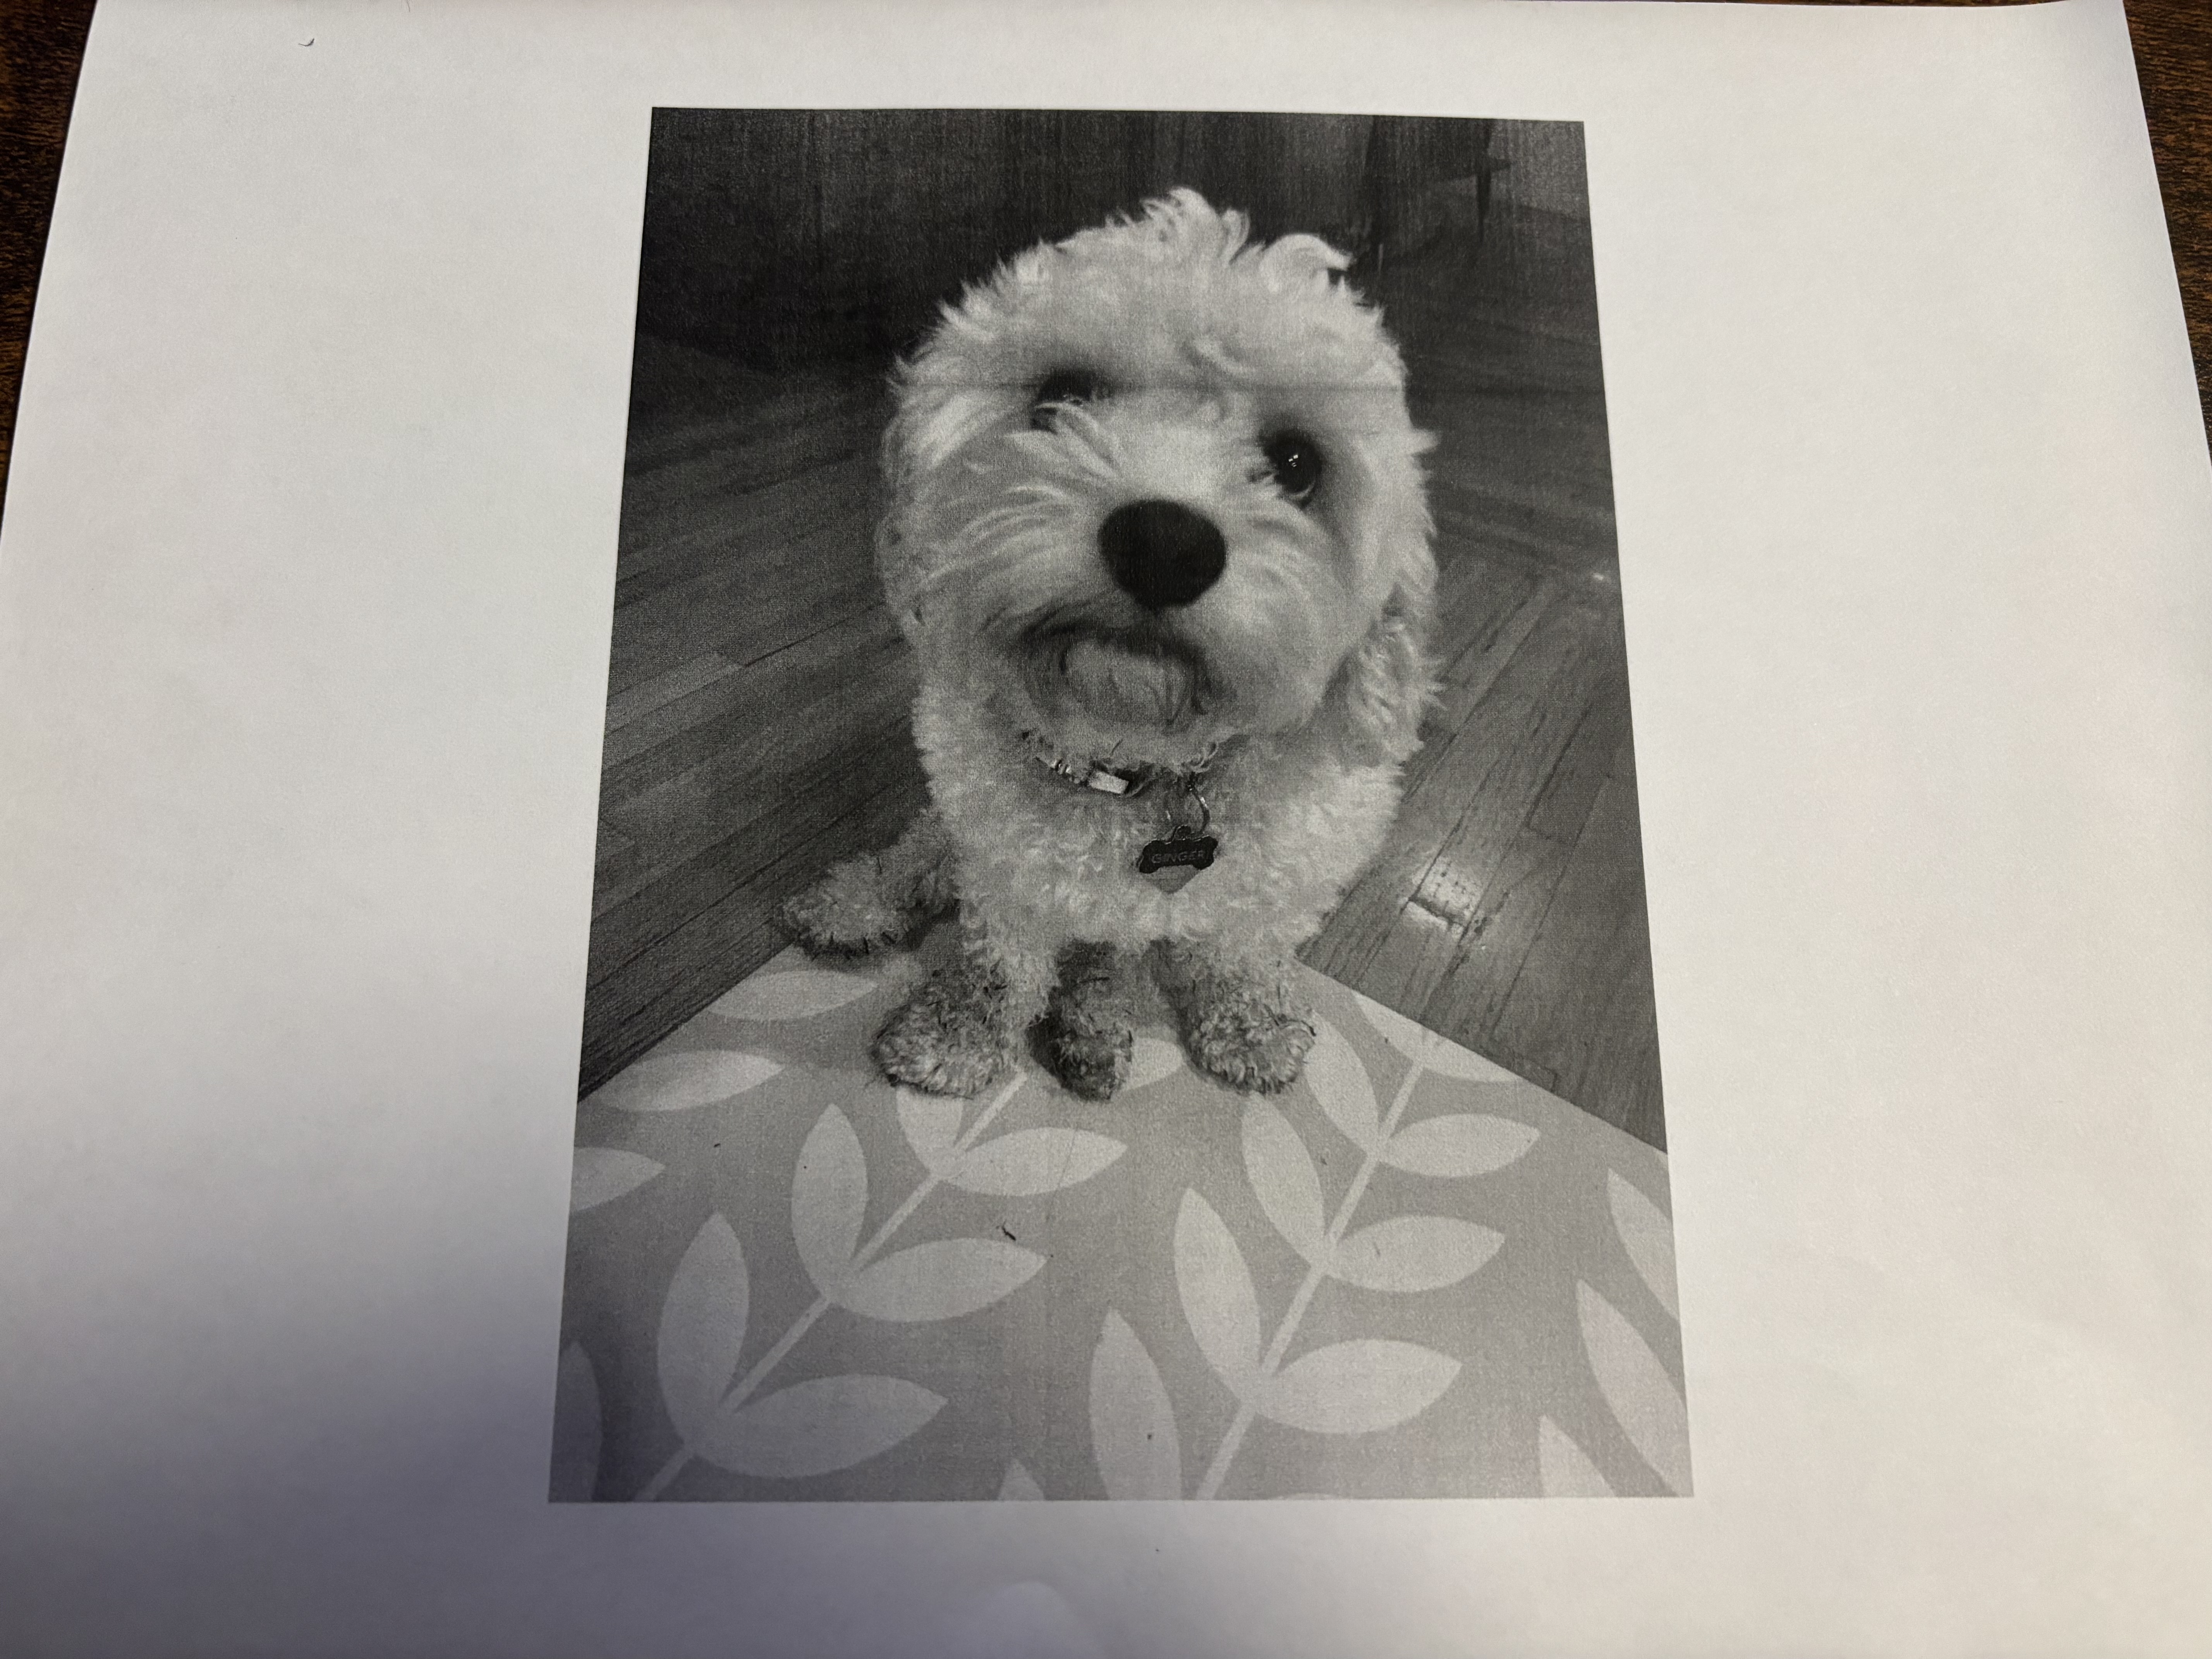
    Step 1: Print out a photo of your pet

    May need grown-up help
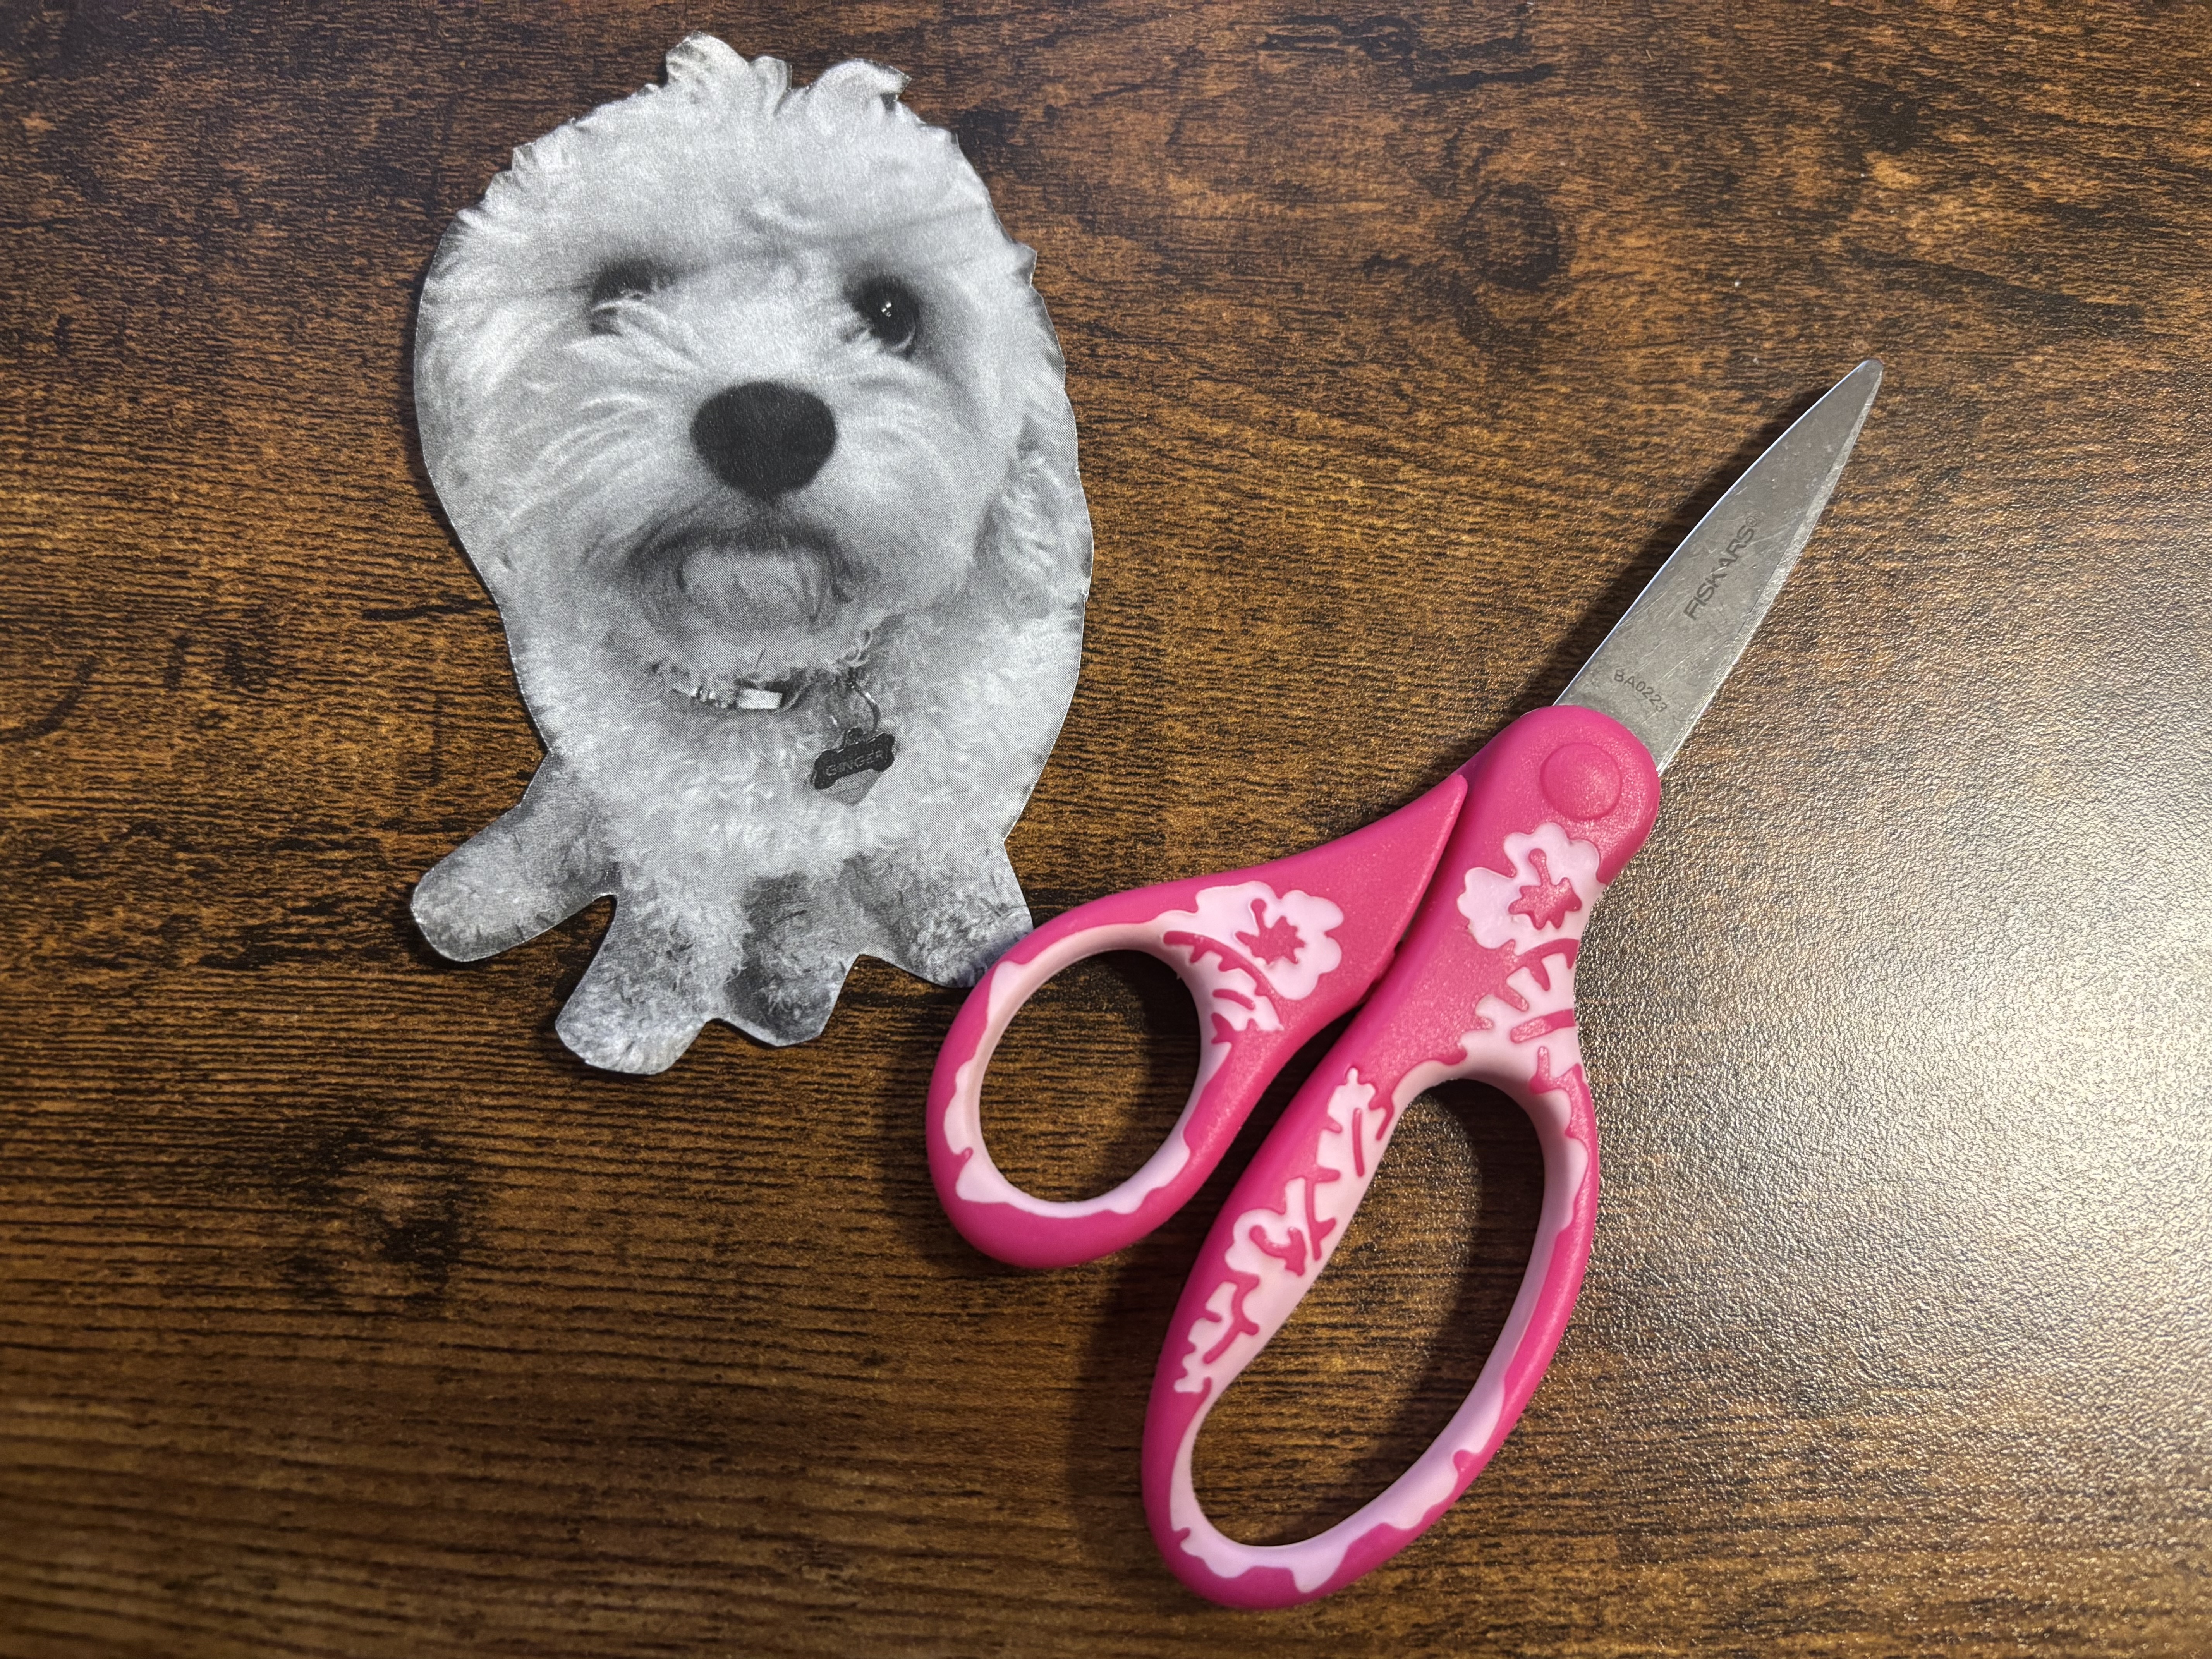
    Ask an adult for help printing out a picture of your pet. We used software filters to print our pet in black and white on plain printer paper.

    Step 2: Cut out your pet

    Use a scissors to cut around your pet. Throw away the background, or cut other elements out of it and use it for other projects.

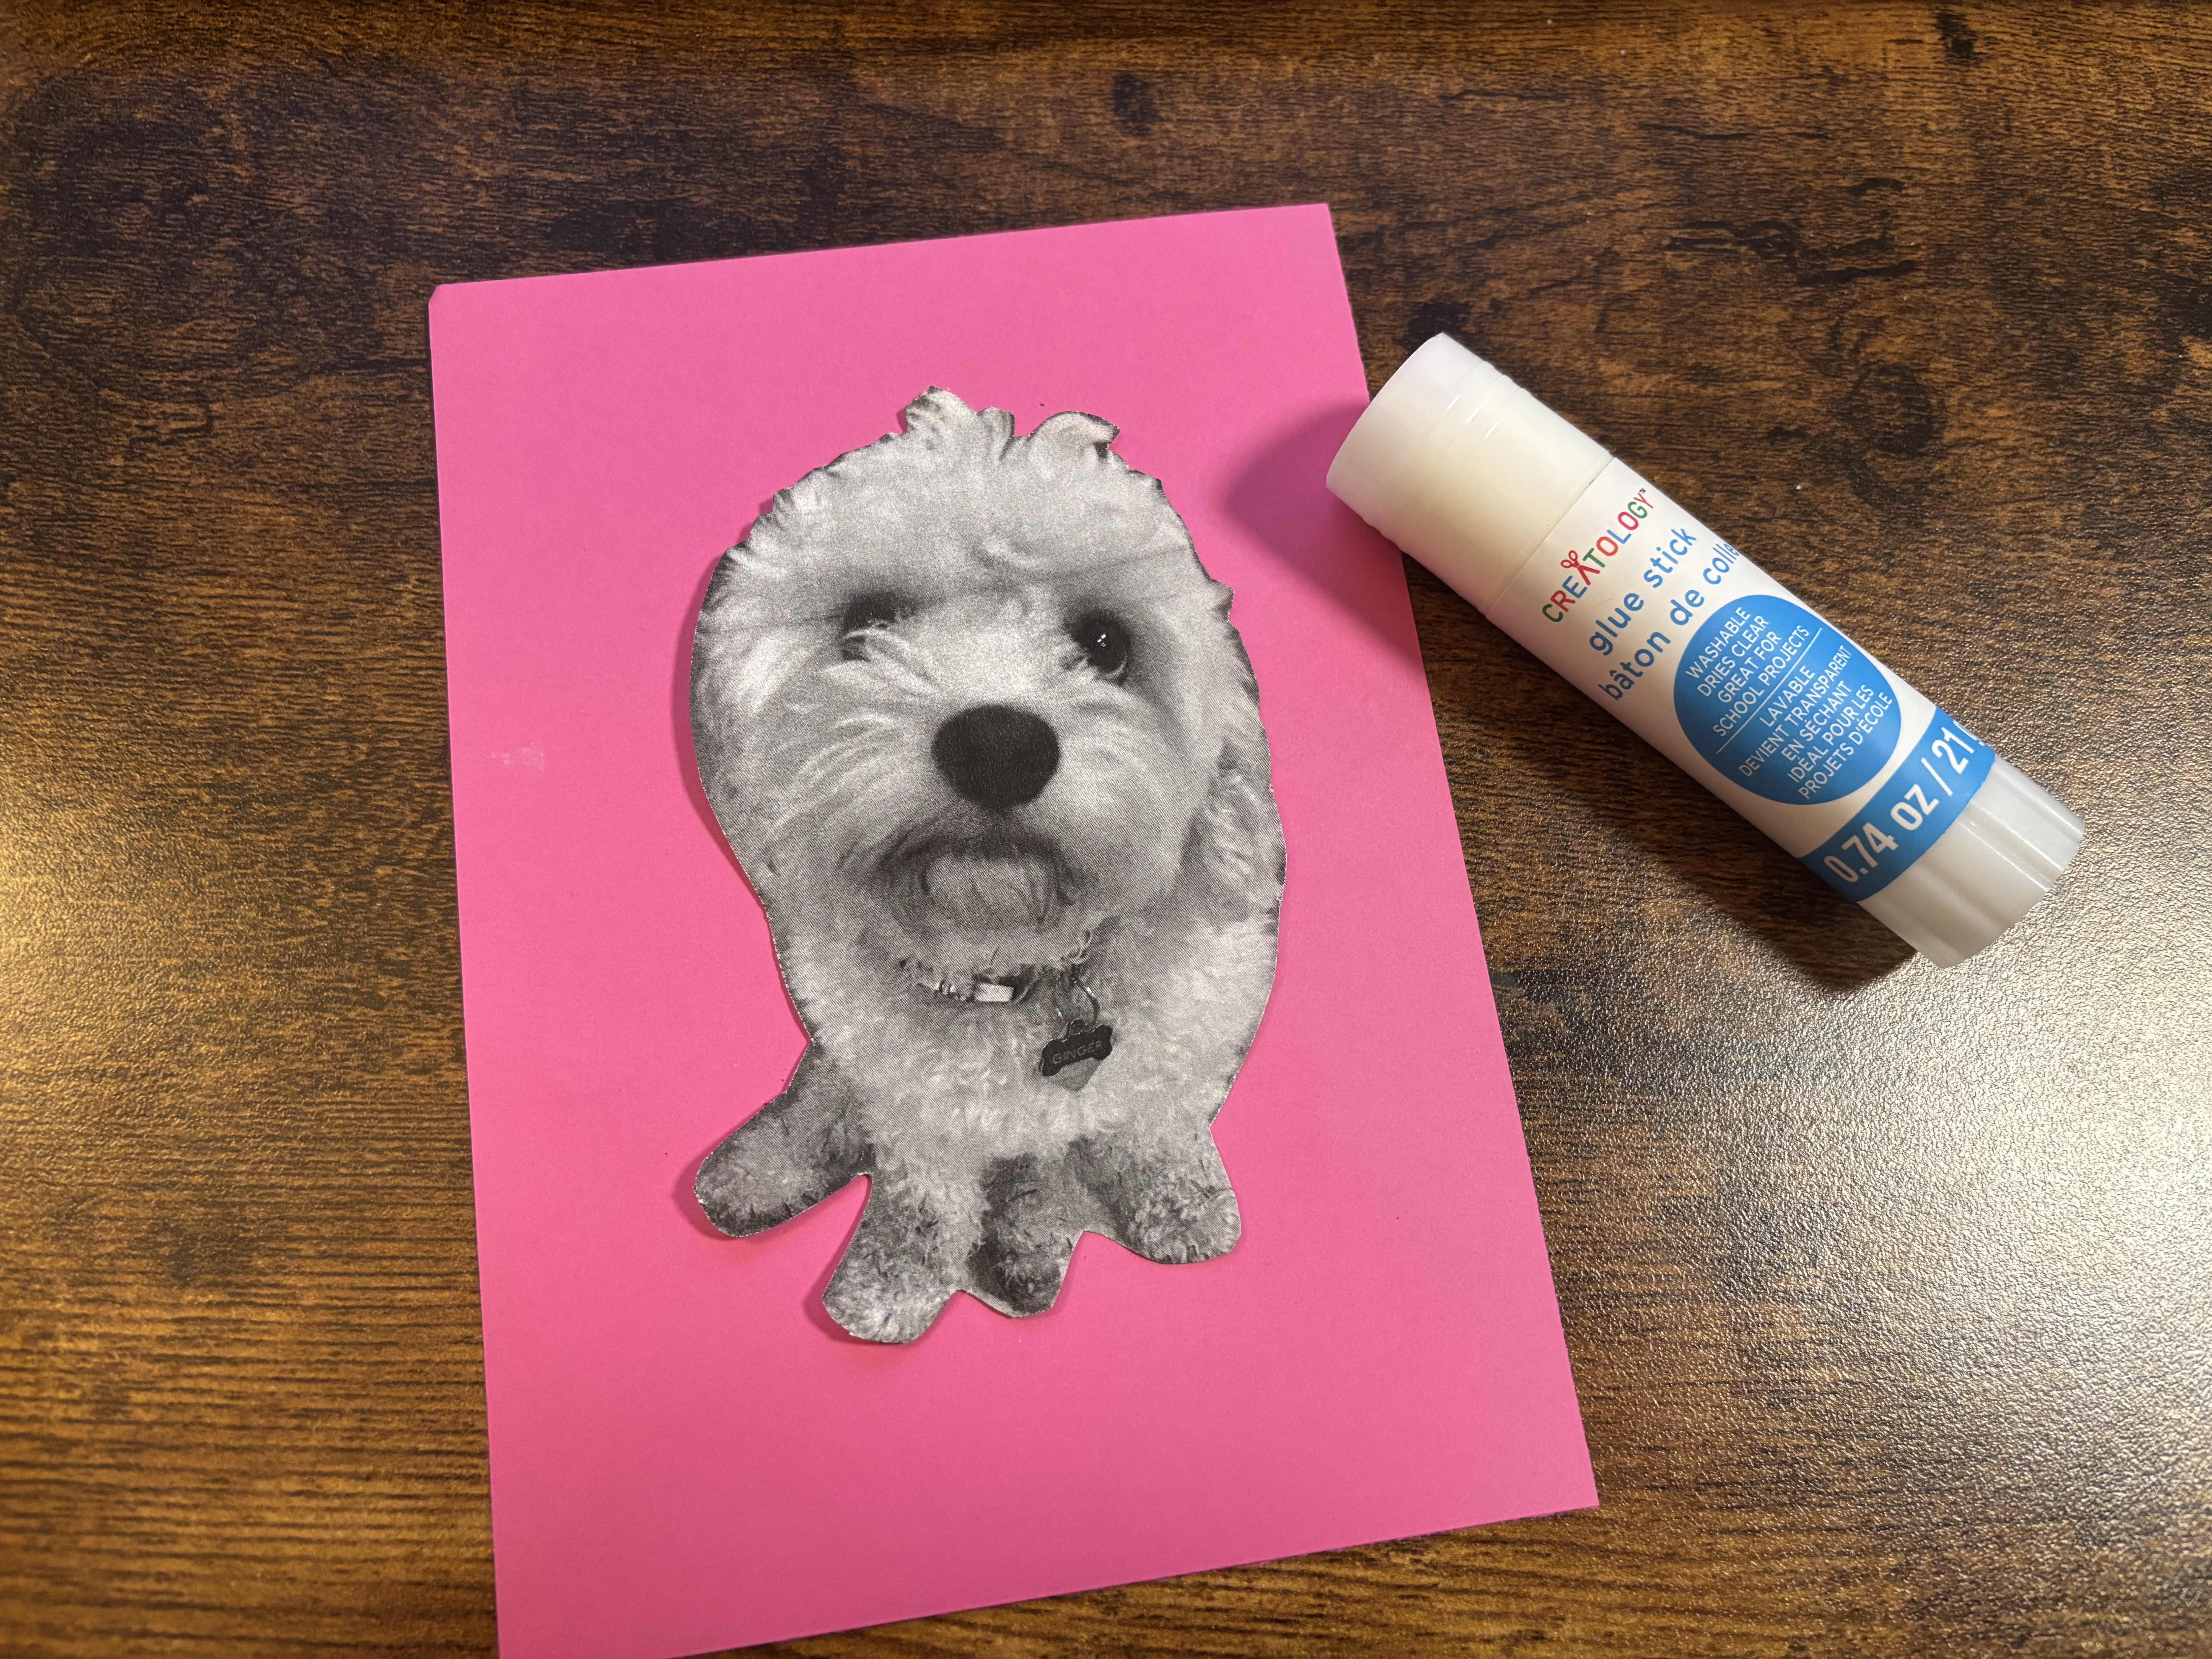
    Step 3: Glue your pet to your cardstock

    Use a glue stick to glue your pet to a piece of sturdy cardstock in your choice of colors. We cut our cardstock to 5 inches wide by 7 inches tall so it would fit in our frame, but you can make your pet portrait any size you like!

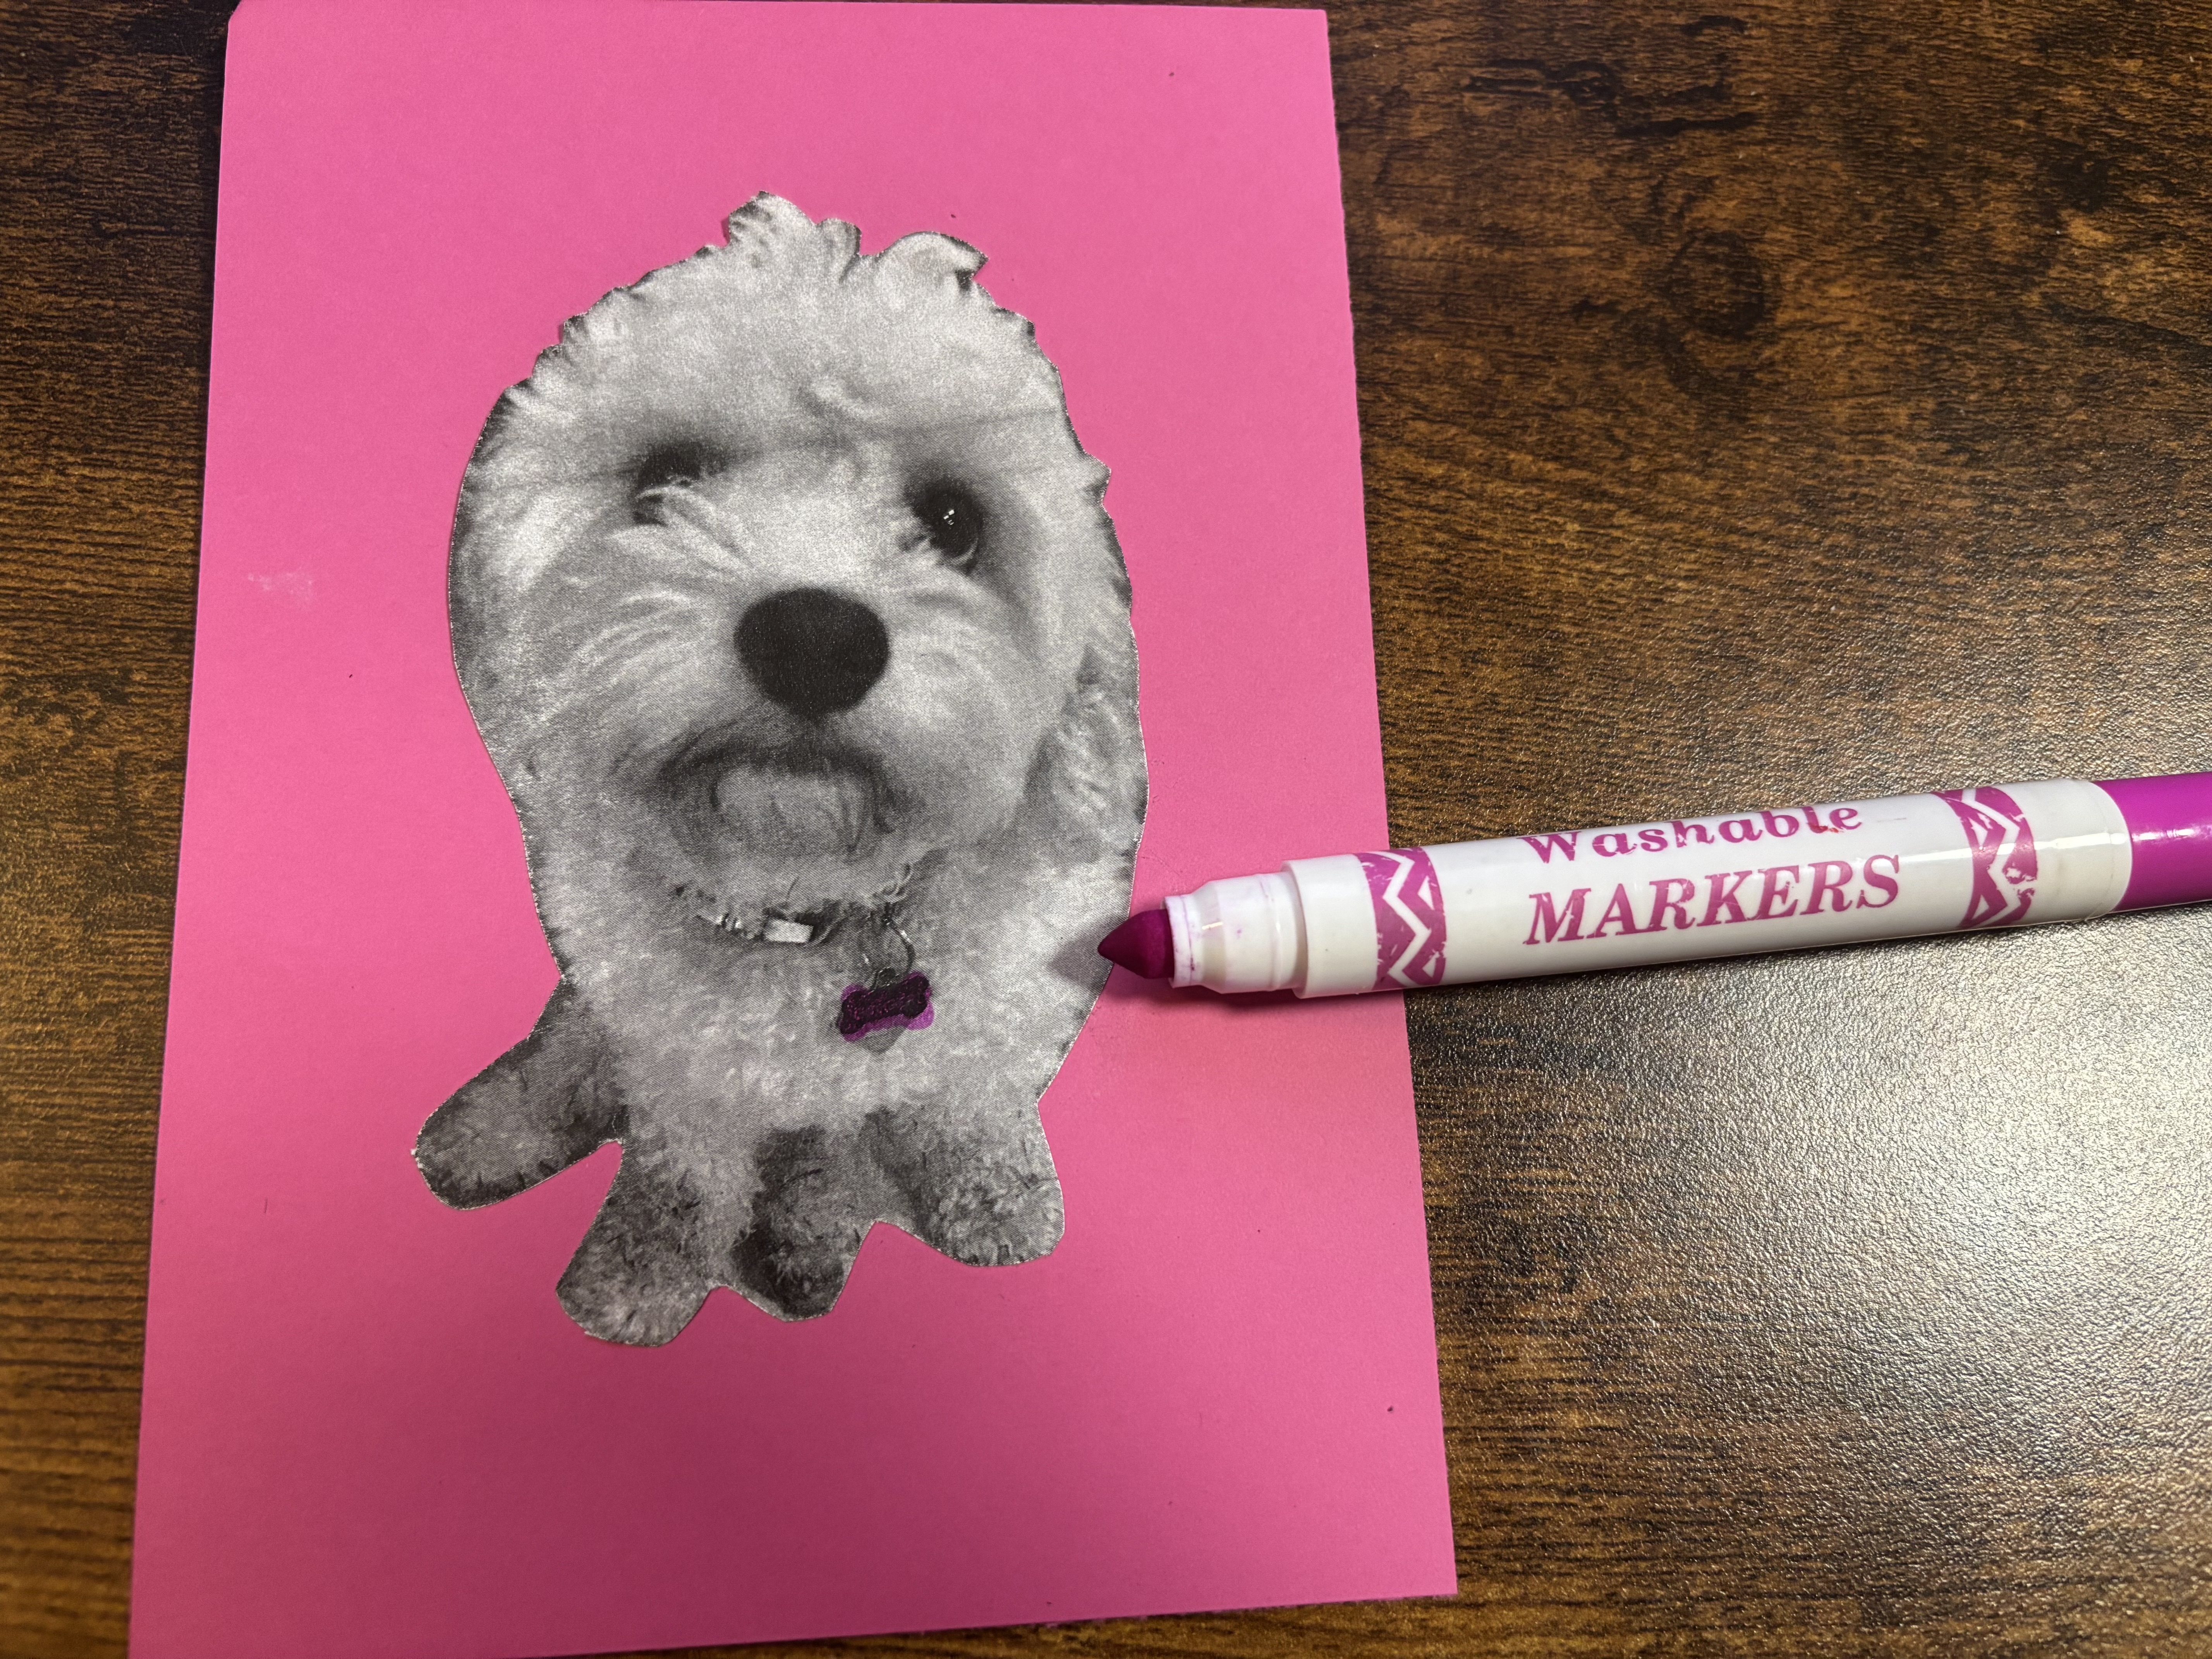
    Step 4: Add colored details with markers

    We really wanted our pet's name tag to match the background, so we used a pink marker to color it in. You could make your pet green, give it a dark red nose, or a polka dot collar. Get creative and show off your pet's unique personality!

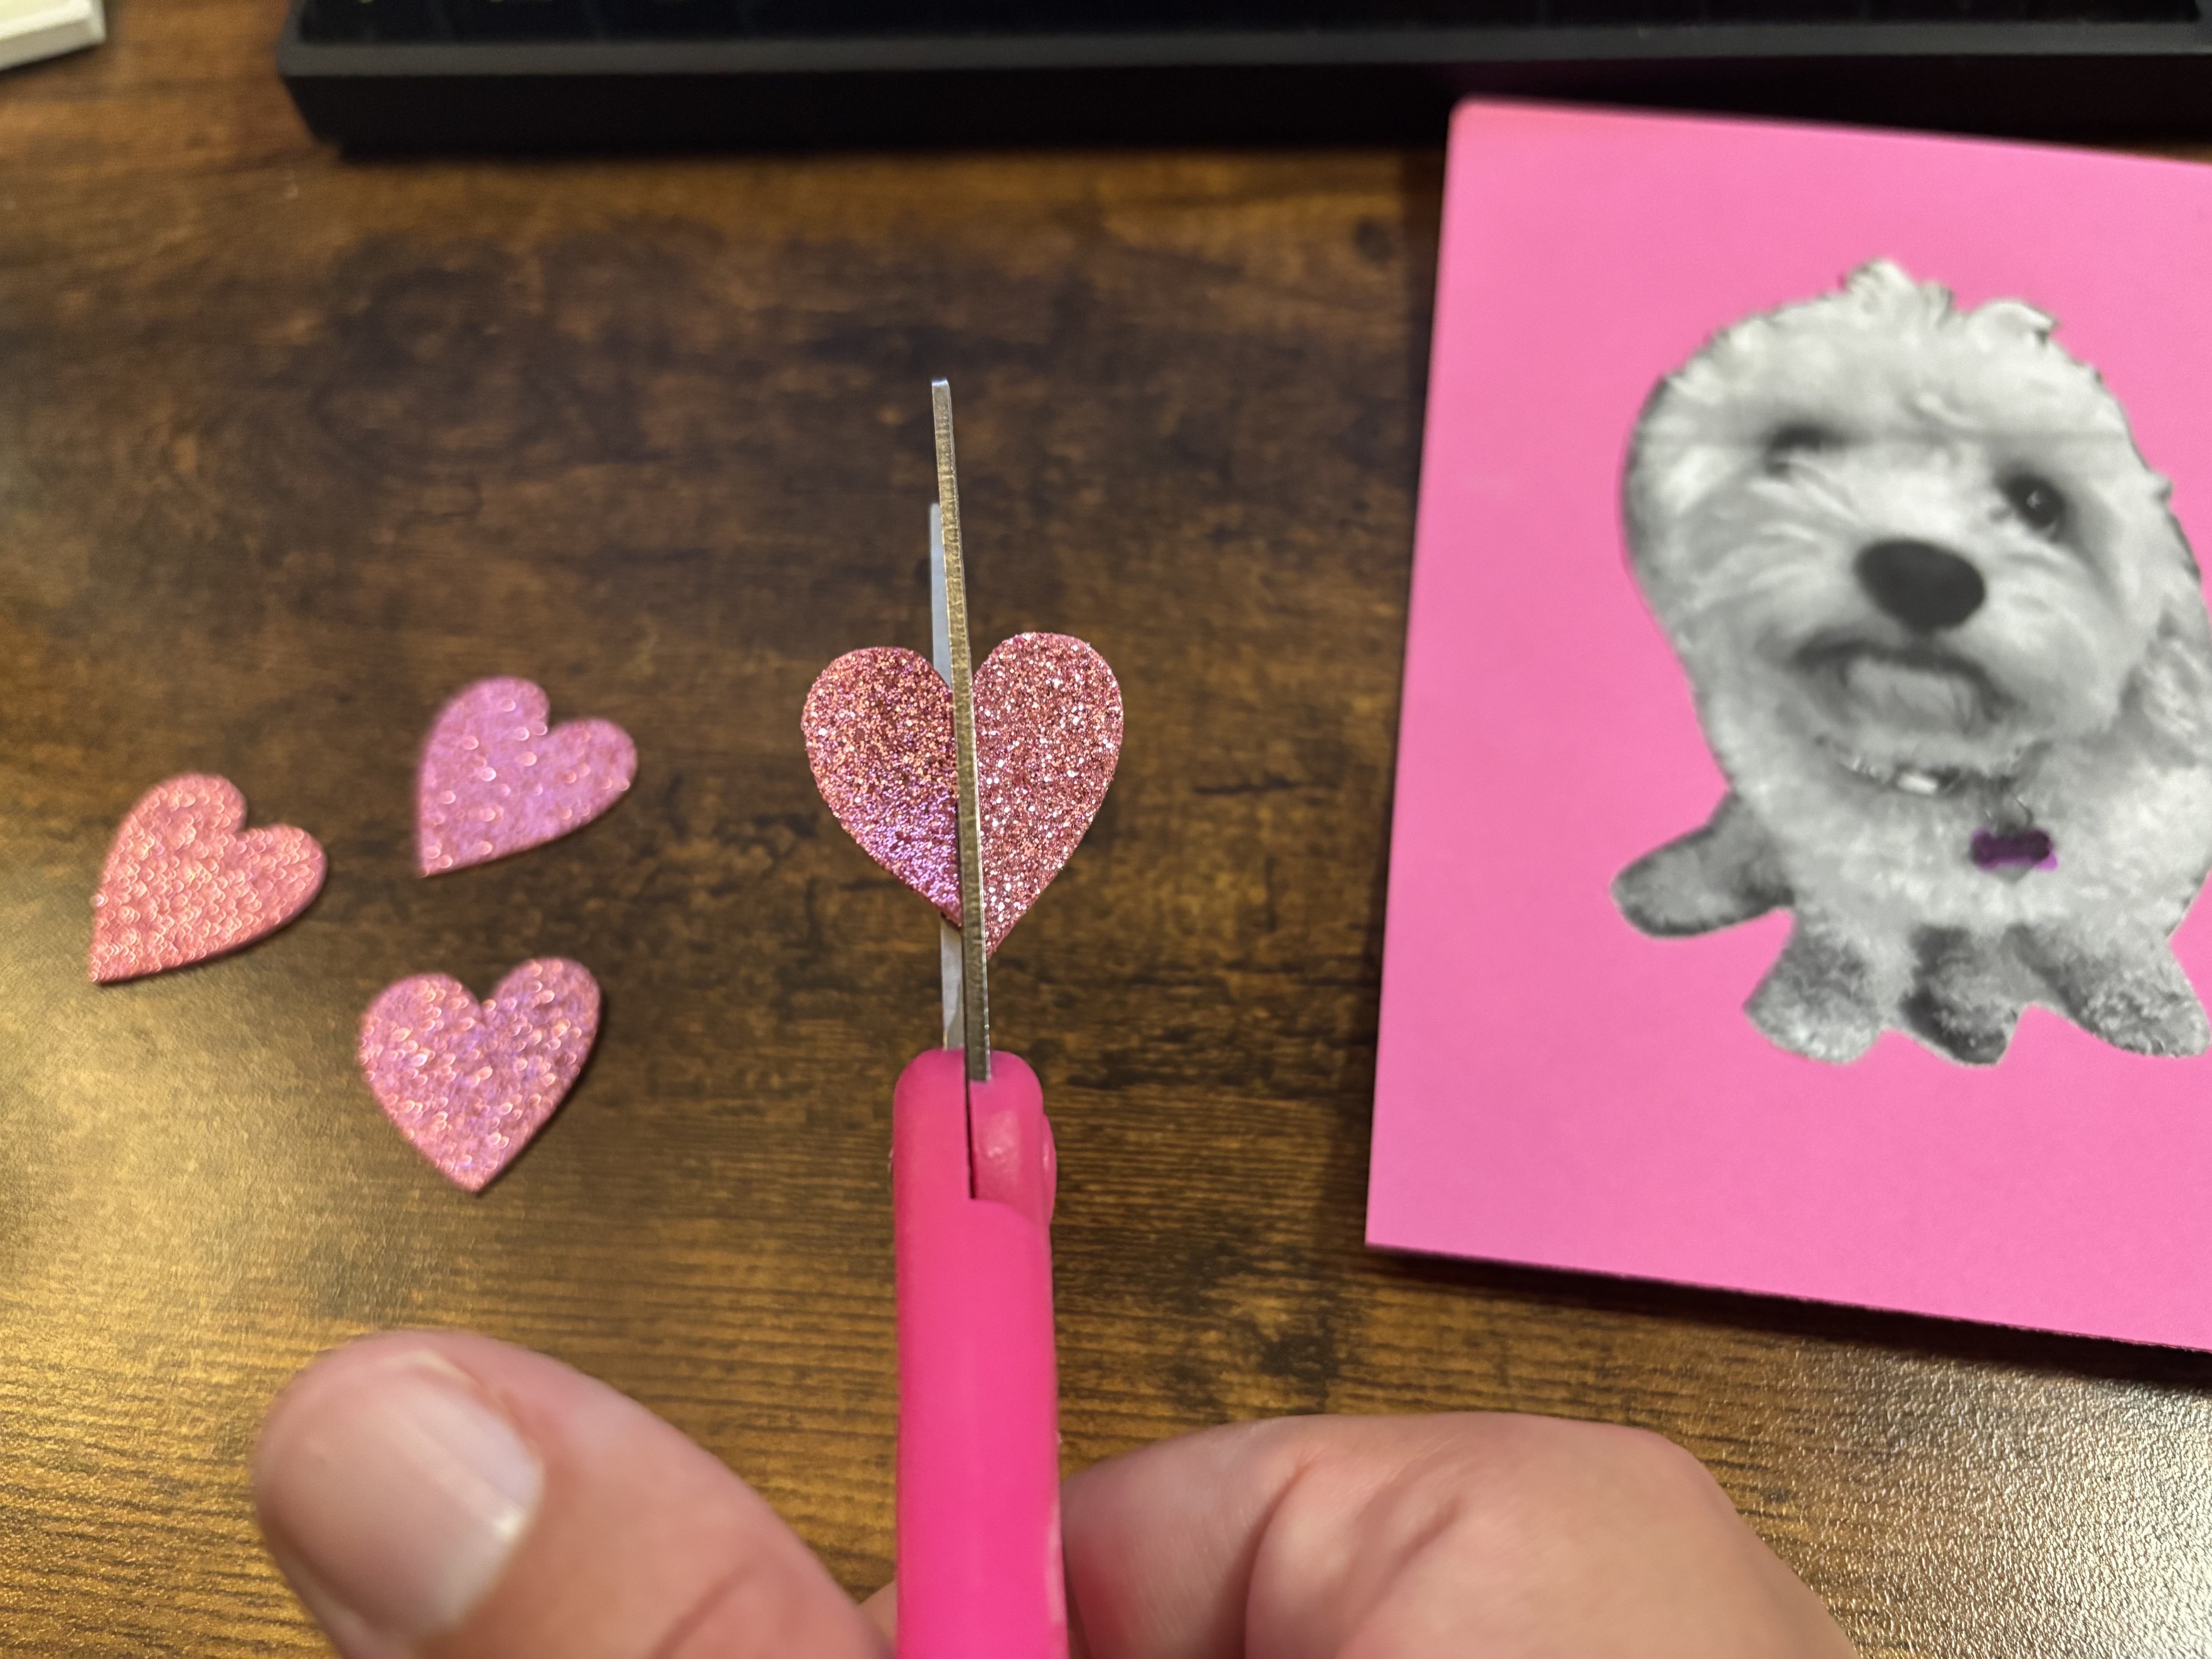
    Step 5: Use stickers in fun ways

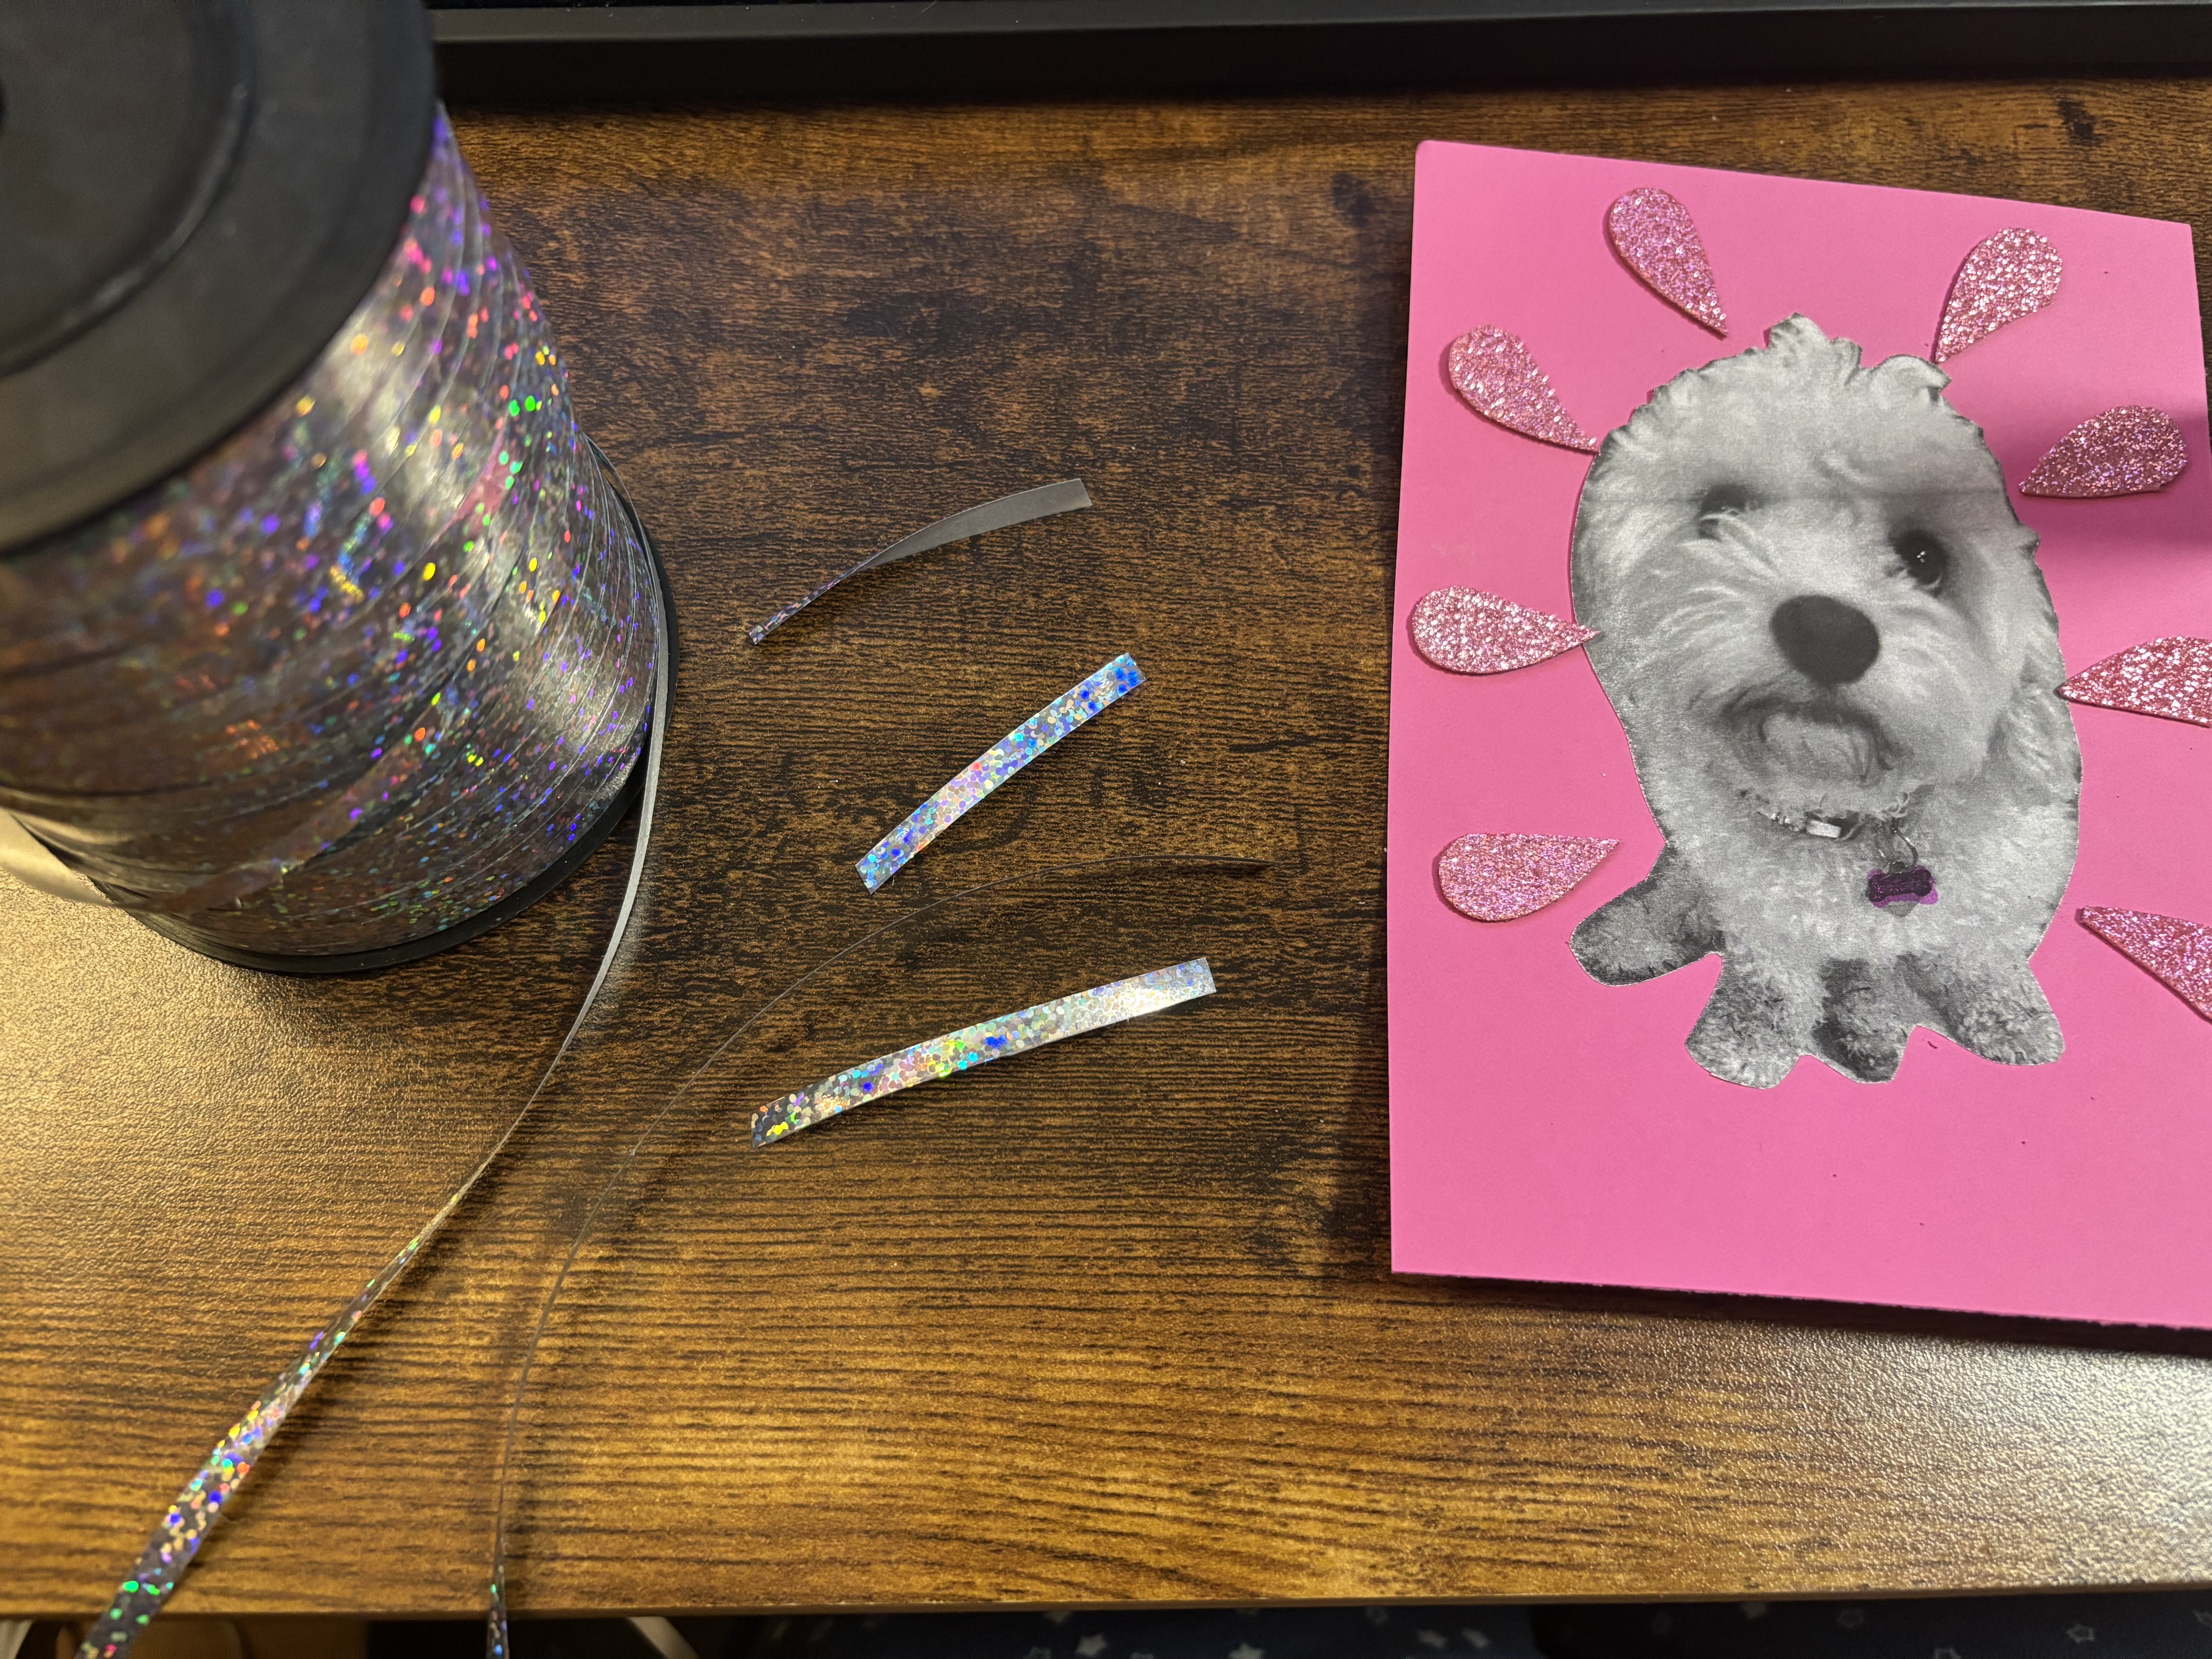
    You can decorate your background however you choose! We decided to use some sparkly heart stickers left over from another project. By cutting them in half, we made tear drop shapes that made a great embellishment.

    Step 6: Use unique supplies

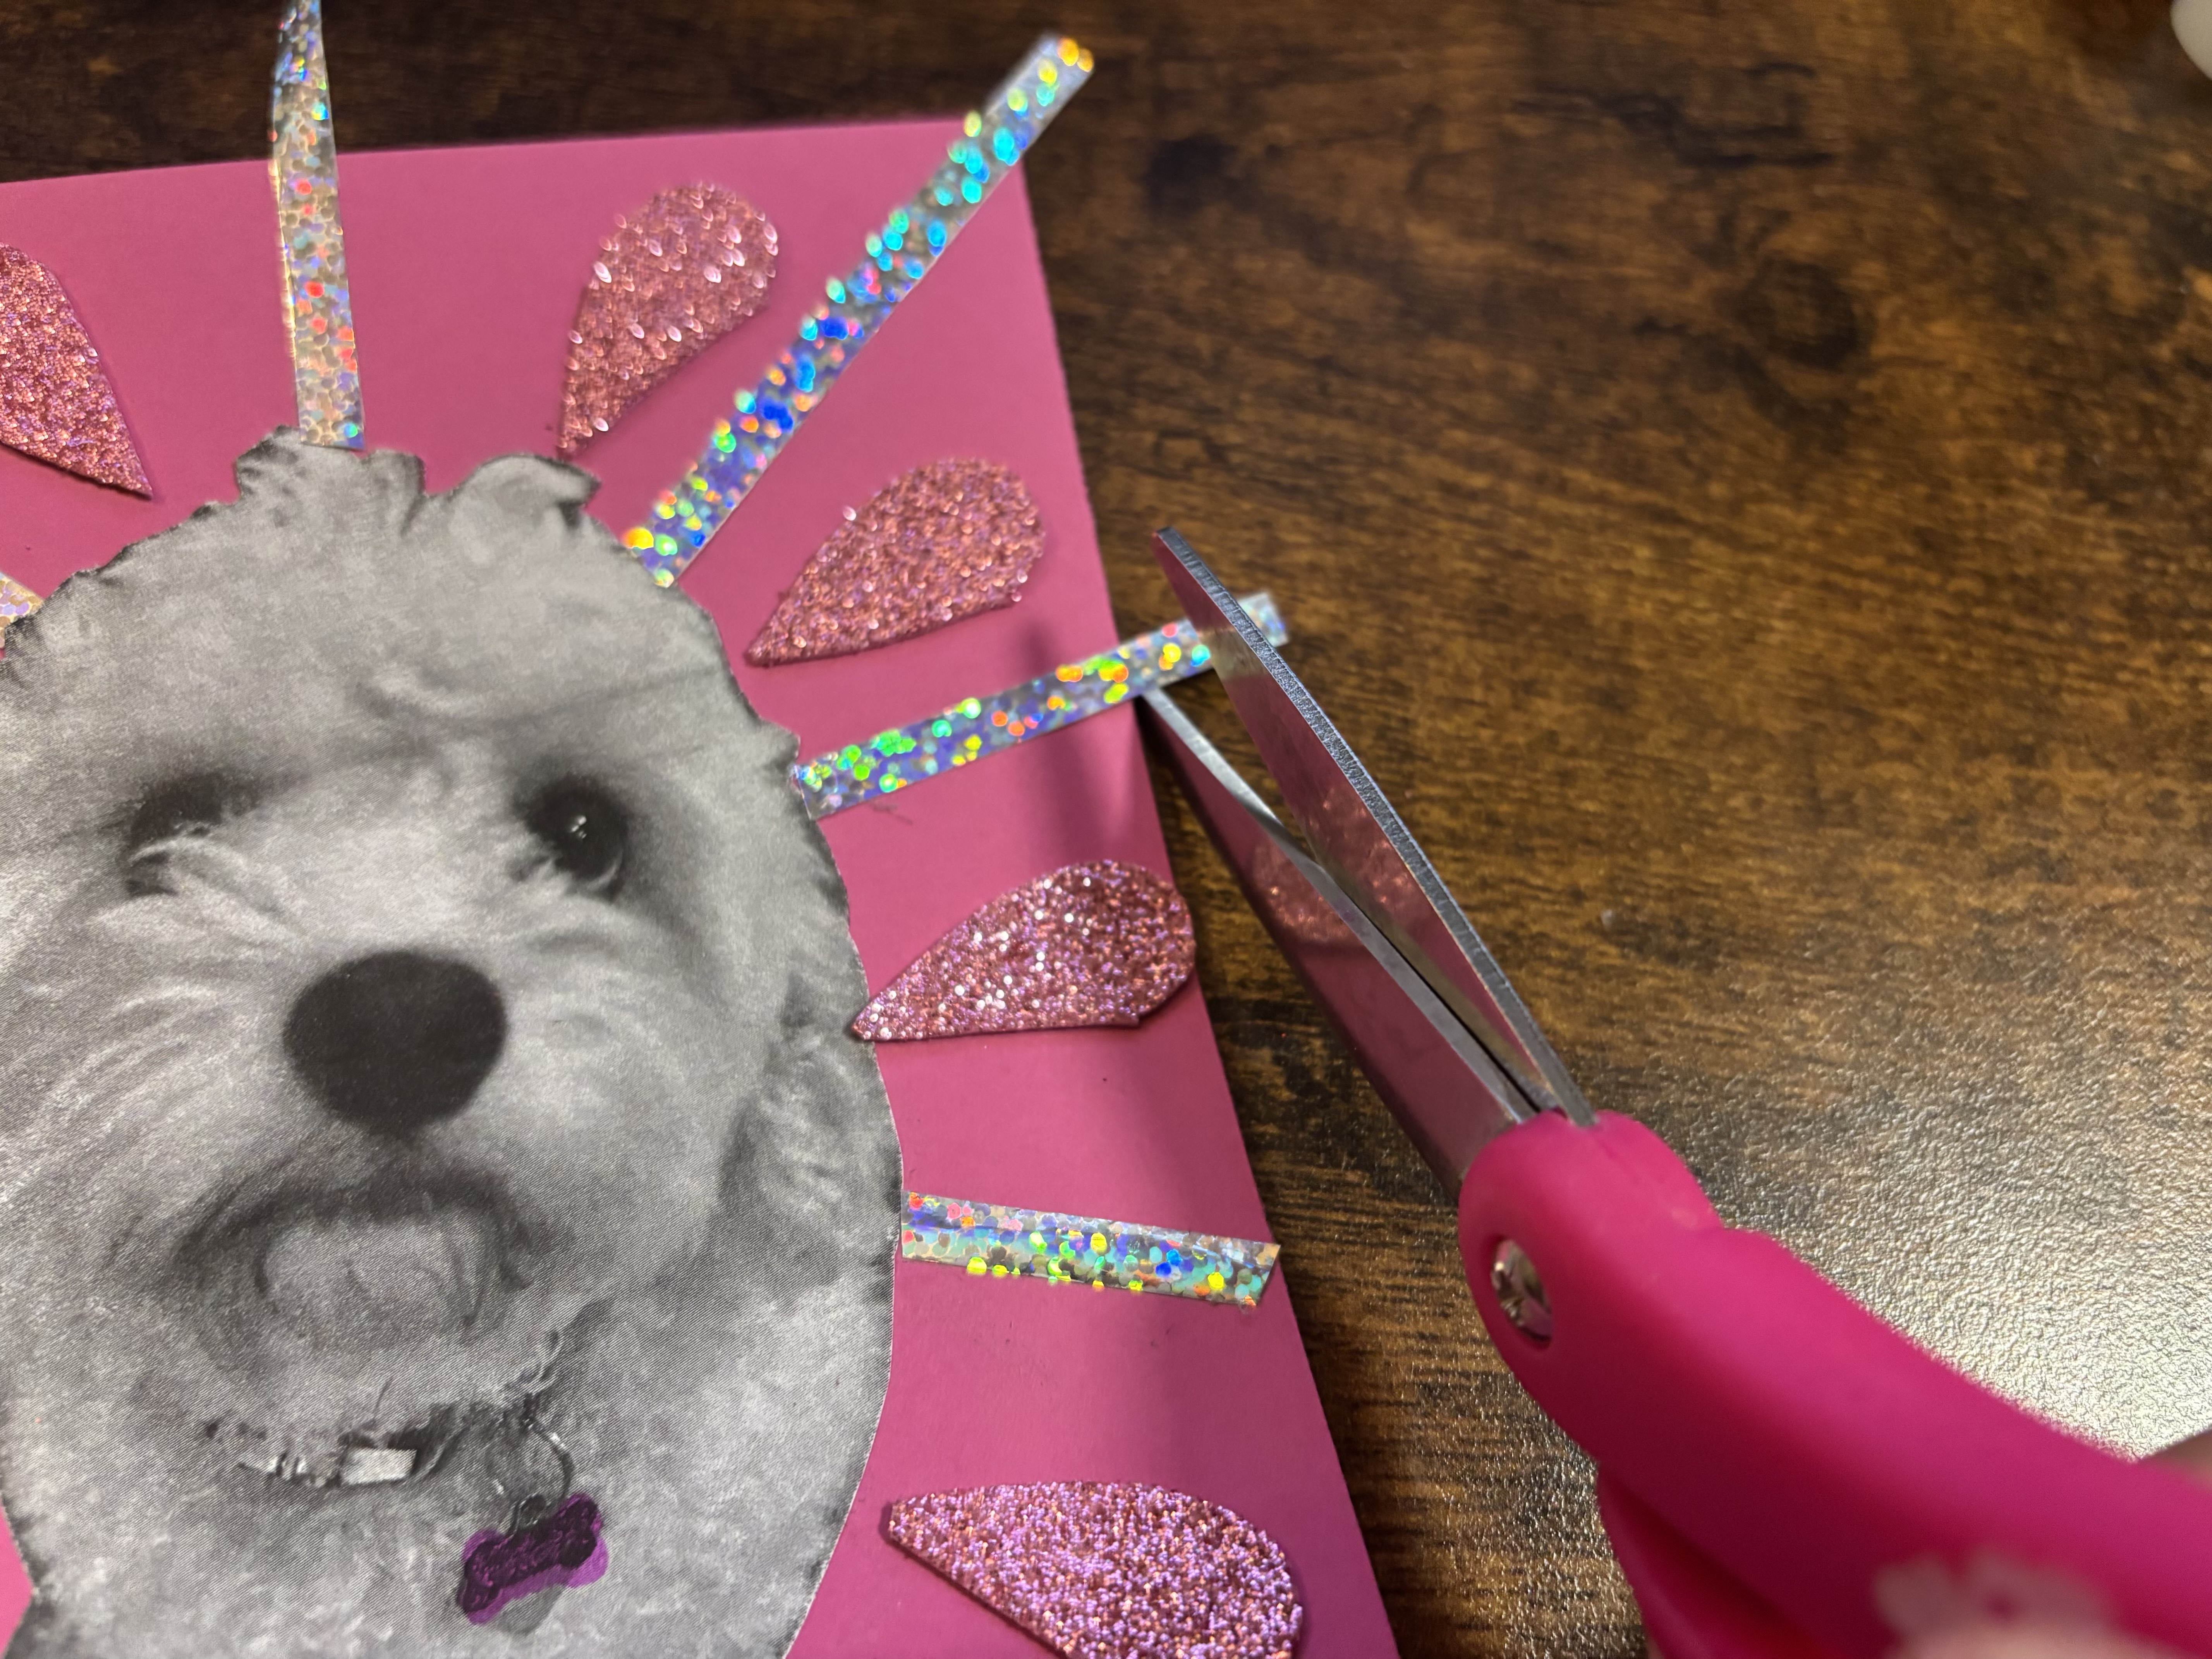
    We thought our background needed some extra sparkle, so we found this shiny wrapping ribbon. We cut six strips to fit between our tear drops and arranged them in a semi-circle around our pet.

    Step 7: Don't be afraid to go off the edges

    When working with things like ribbon, it can be hard to cut it to exactly the right size before you glue it down. We left our ribbon long on purpose so it would be easier to work with, then trimmed off the extra when the glue was dry.

    Step 8: Add a floor

    HOT! Grown-up required
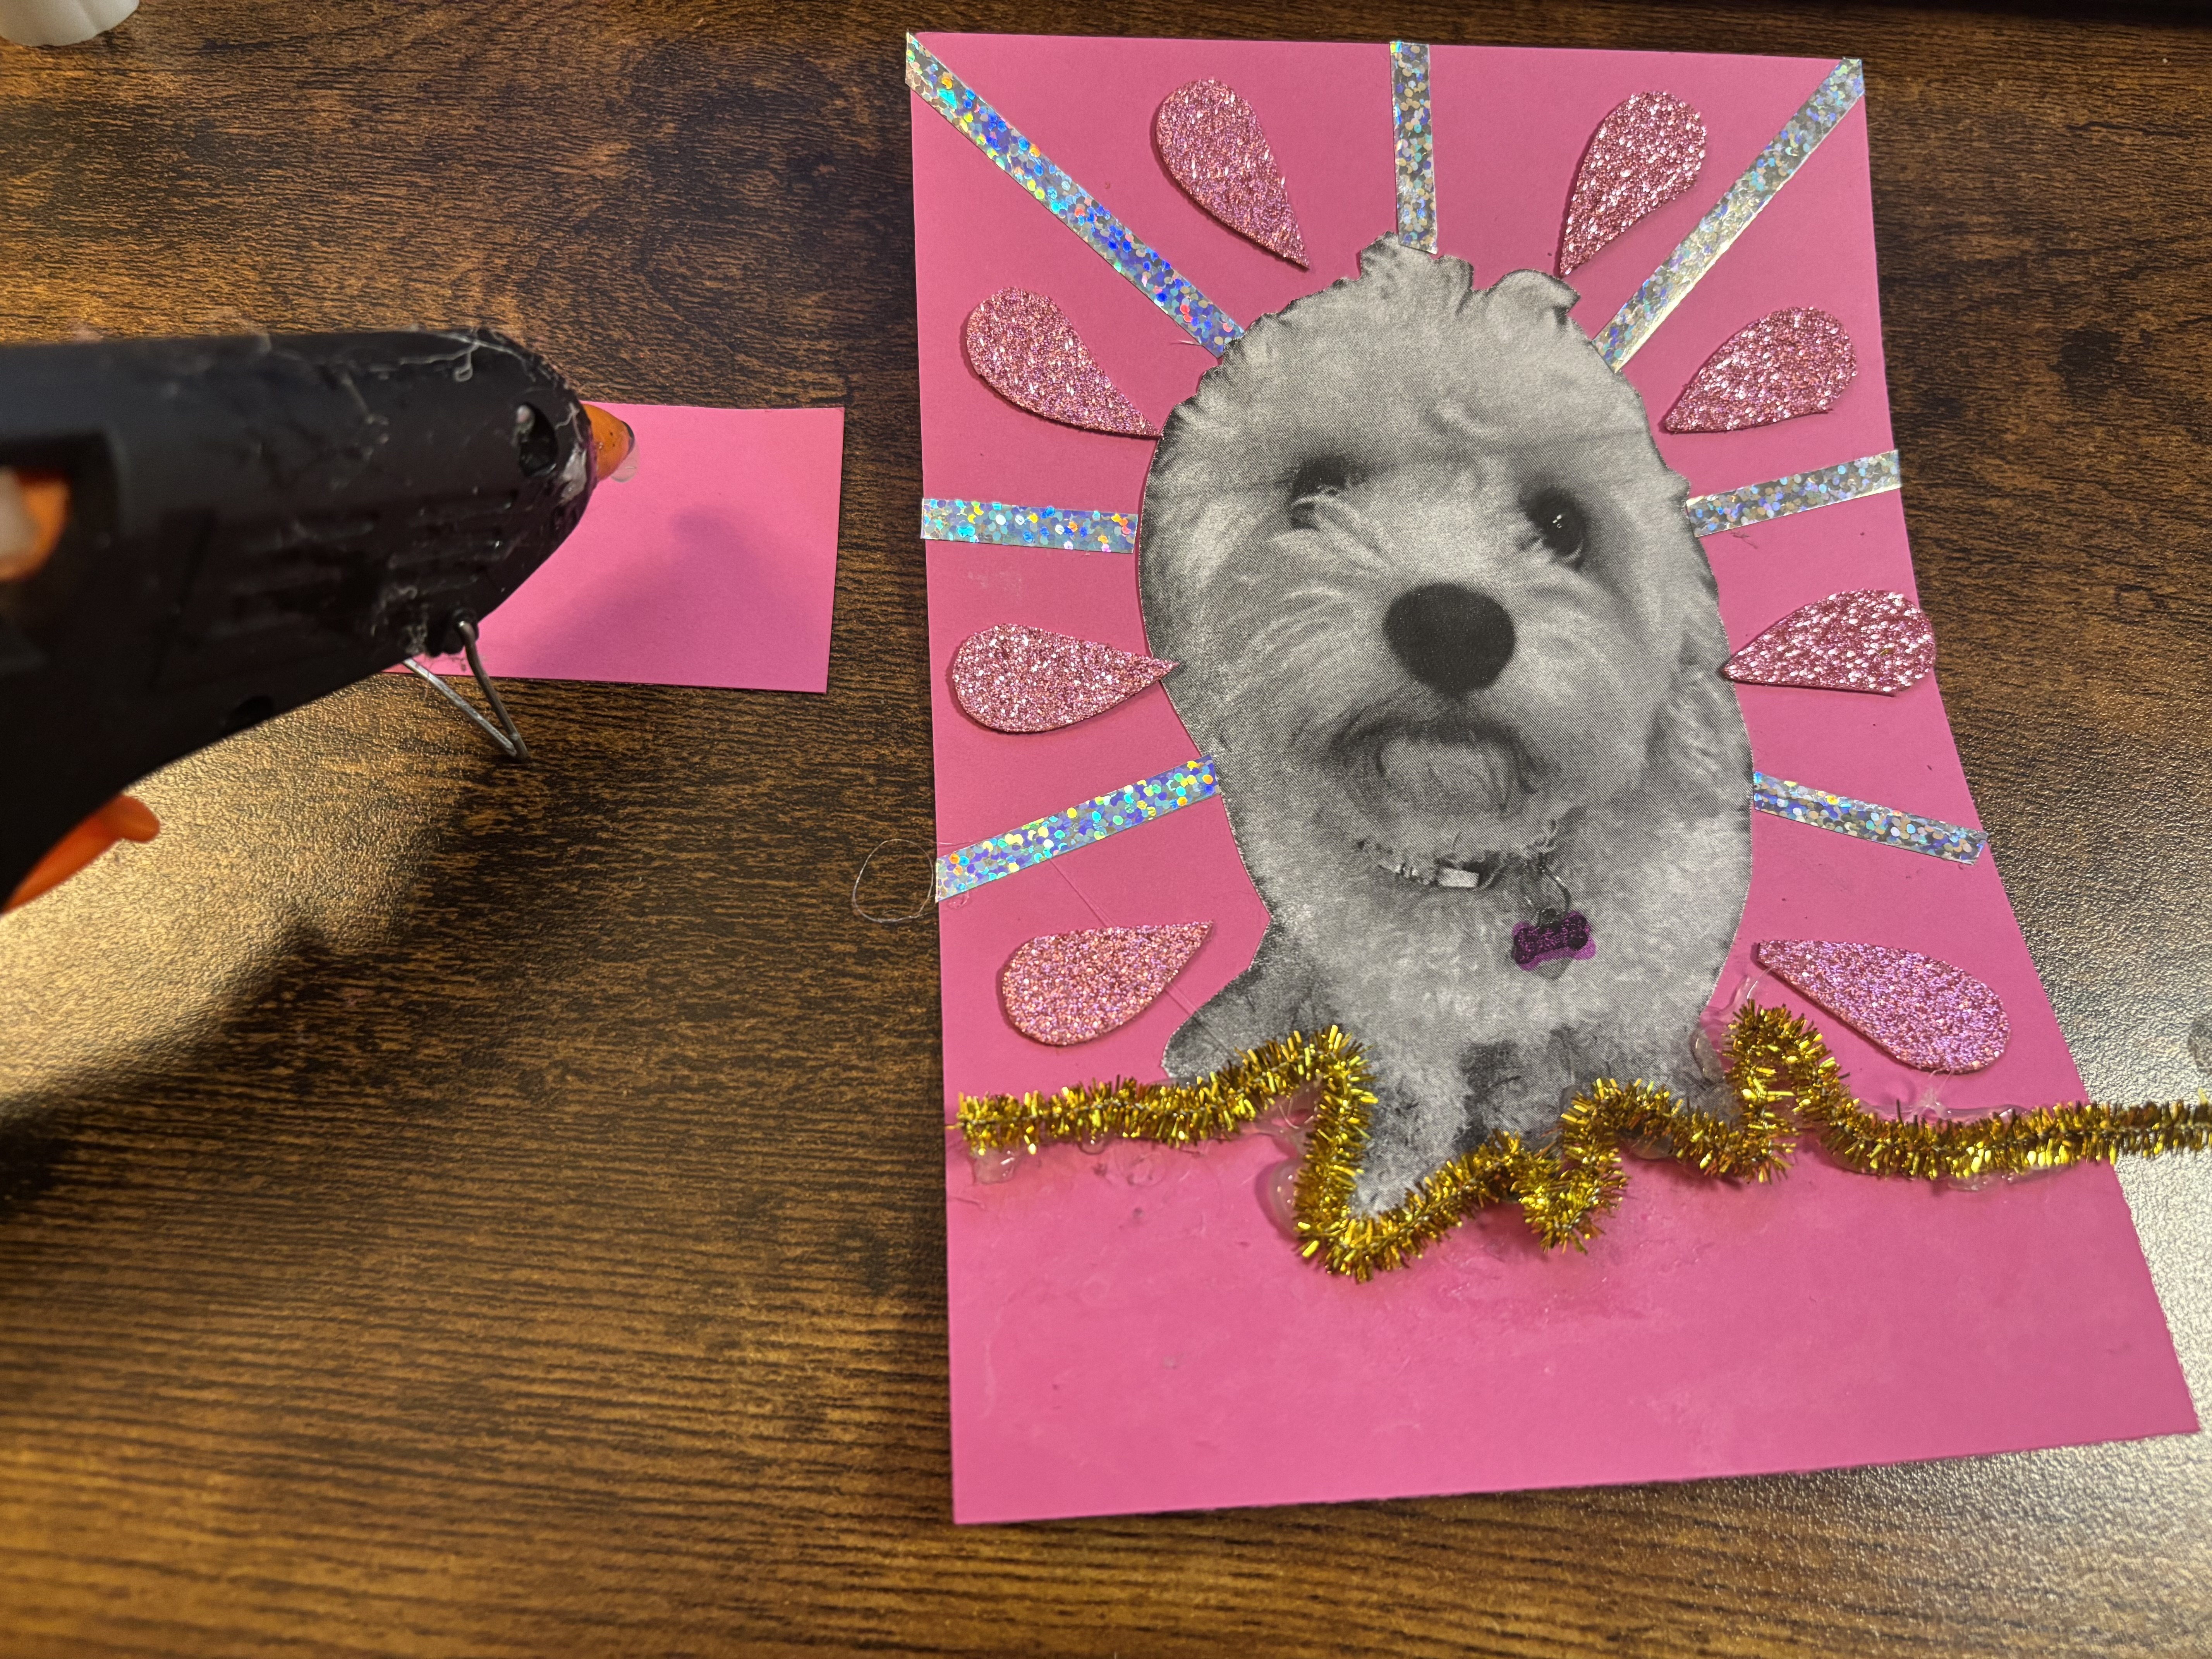
    We wanted it to look like our pet was standing on a fuzzy carpet, so we got creative with sparkly gold pipe cleaners. Regular glue doesn't work very well on pipe cleaners, so we used a low-temp glue gun. Ask for help if you want to use this supply, or find fuzzy stickers, yarn, or other unique supplies to decorate your portrait with.

    Step 9: Add your finishing details

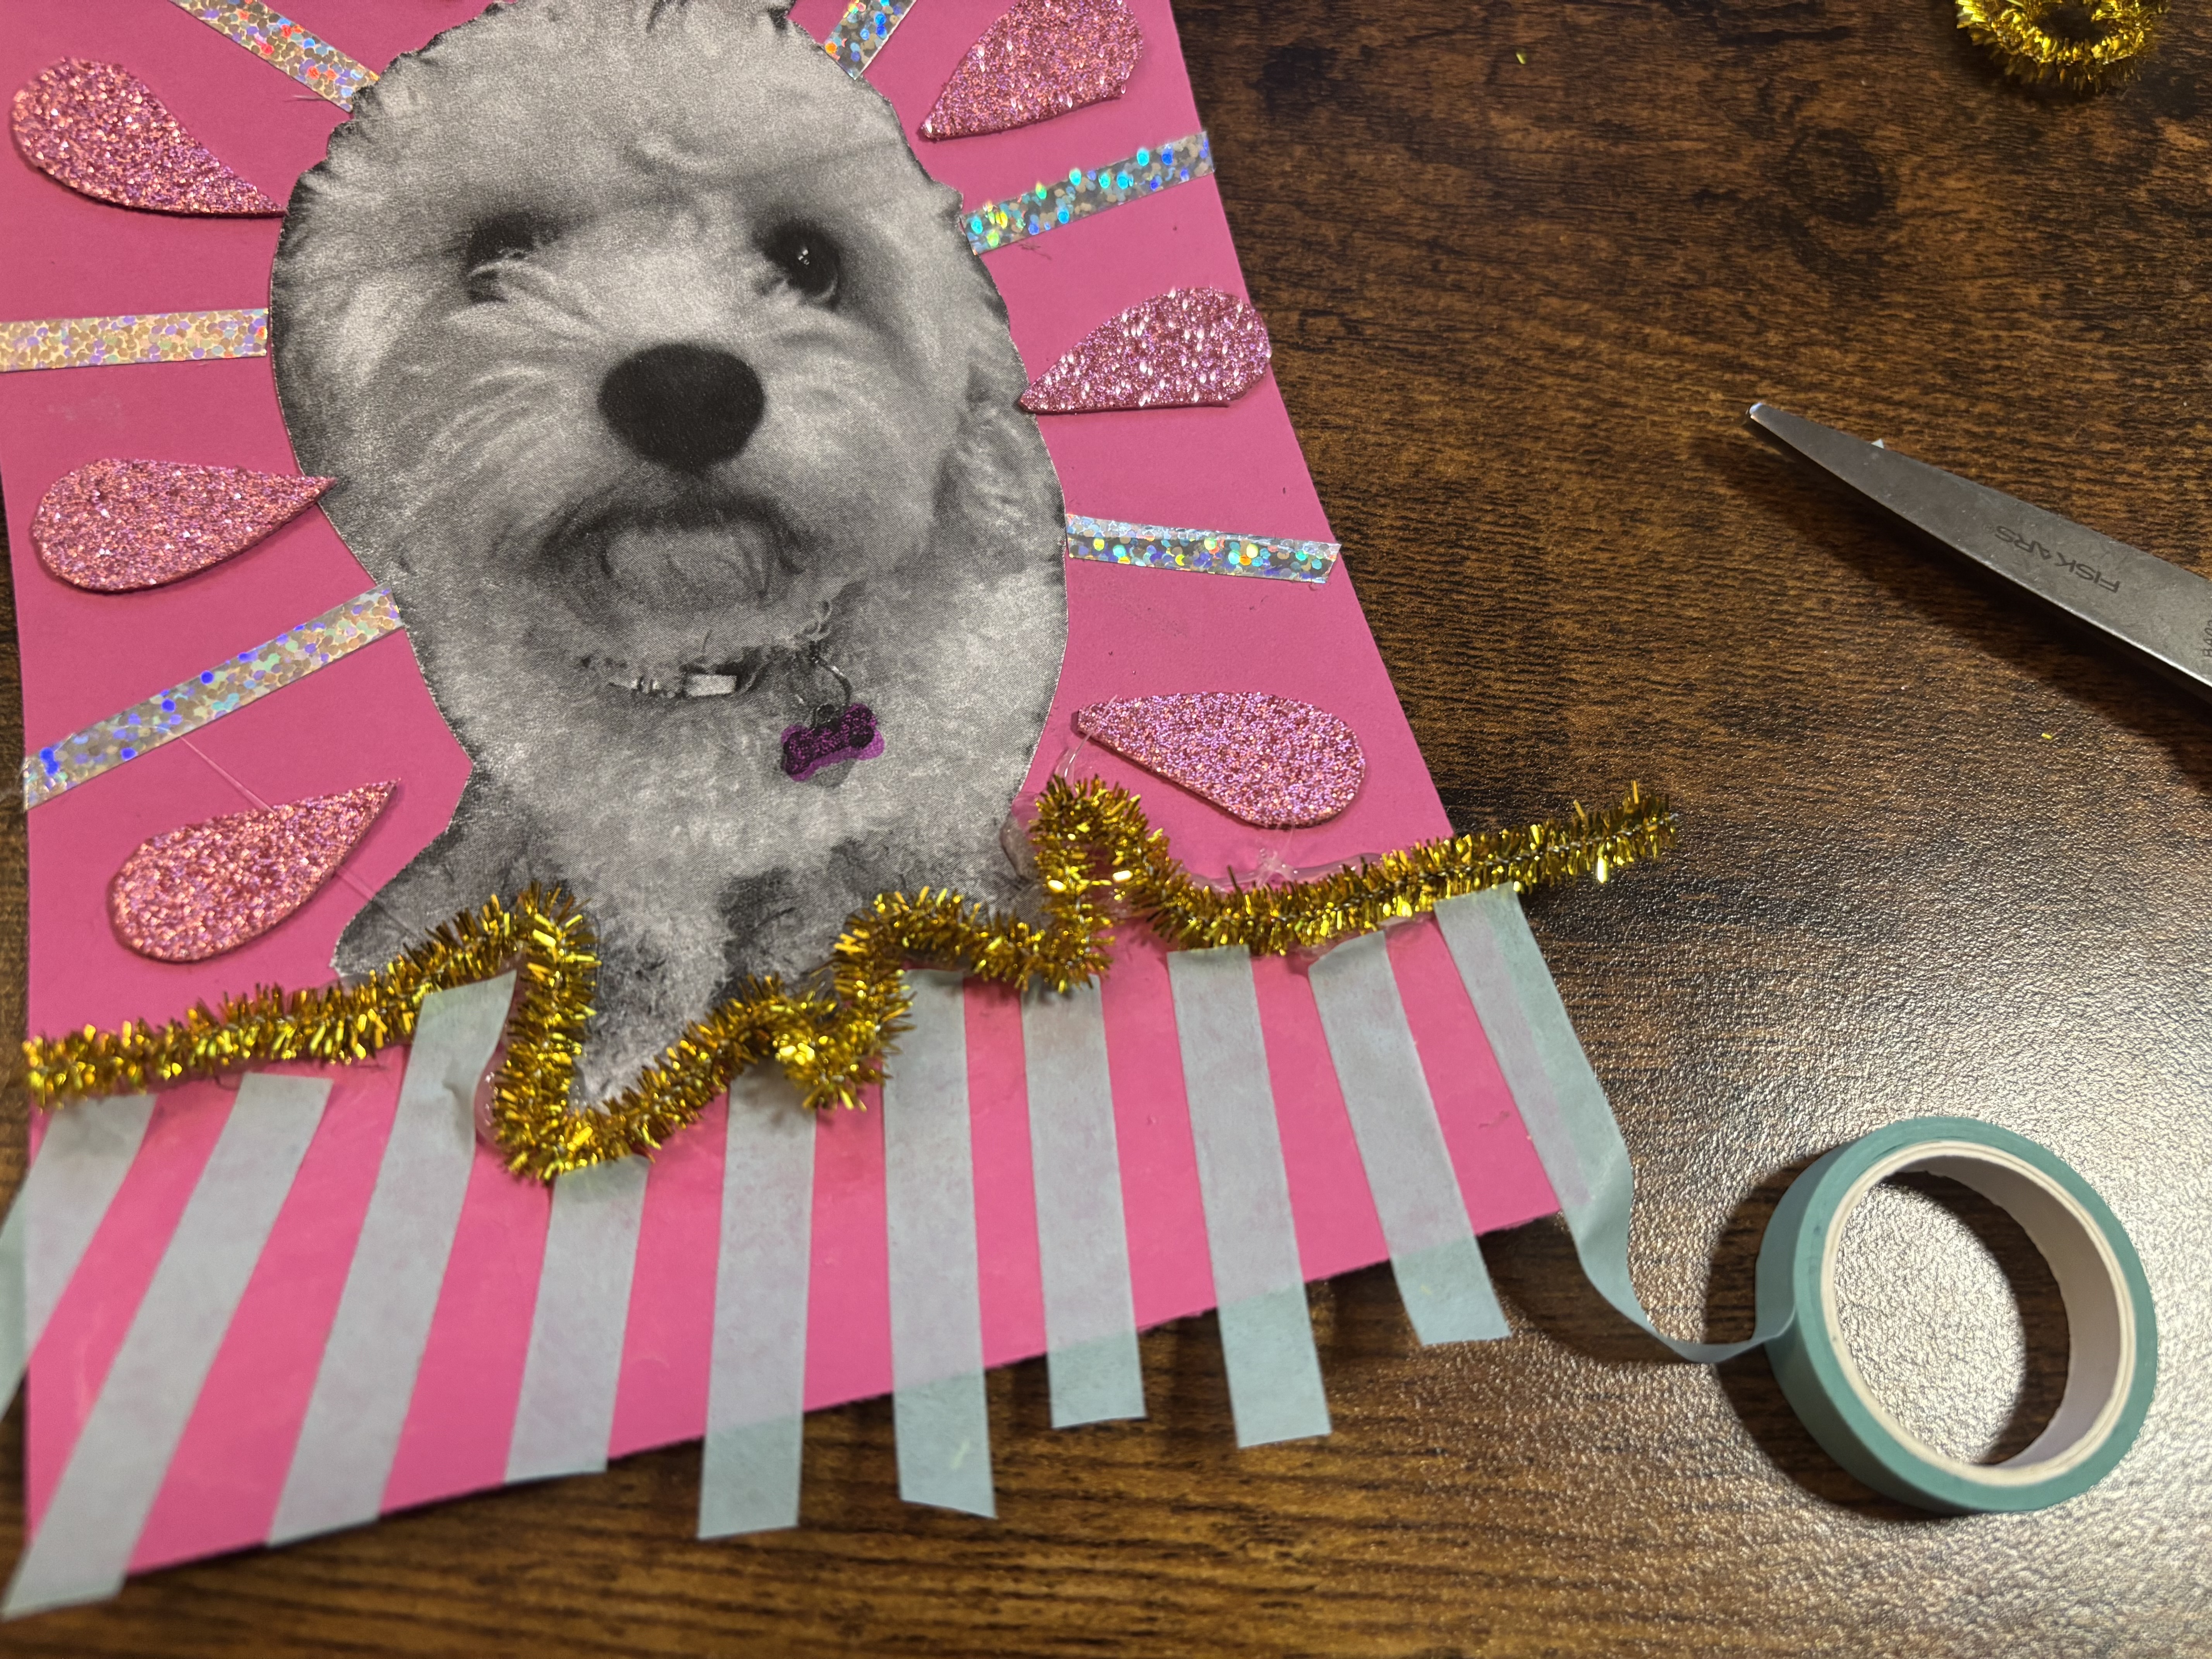
    We LOVE using washi tape, and this was the perfect project to get crafty with it. We used it to fill in more details of our floor. Just like with our ribbon, we left extra hanging off the edge so we could trim it off neatly when we were done.

    Step 10: Frame and display your creation

    Once you're done, place your work of art in a frame to make it look extra fancy! We removed the glass from our frame because we didn't want the pipe cleaners to look squished. We needed to trim our pipe cleaners away from the edges just a little to make it fit. If you have any tall decorations, you might need to do the same.
  3. 3

    Clean up

    Put things away so your space is tidy for next time.

    Tidy up our space

    Put away our supplies

    Check off each supply when it is put away — and any clean-up tips underneath are done too. You might find a fun surprise!

    • A cartoon of Stickers
      Where they belong:
    • A cartoon of Markers
      Where they belong:
      • — Don't forget! Close all marker caps tightly.
    • A cartoon of Cardstock
      Where they belong:
    • A cartoon of Washi Tape
      Where they belong:
    • A cartoon of Ribbons
      Where they belong:
    • A cartoon of Paper
      Where they belong:
    • A cartoon of Pipe Cleaners
      Where they belong:
    • A cartoon of Glue Sticks
      Where they belong:
      • — Don't forget! Put cap on glue sticks tightly.
    • A cartoon of Hot Glue Guns
      Where they belong:
    • A cartoon of Printer
      Where they belong:

    Update what we have left

    Did we run out of anything while making this project? Update our supply cupboard so that we know exactly what we have for next time.

    This project could unlock 2 creative buddies. Sign in to unlock them.

  4. 4

    Save

    Your creative buddy says:
    "Way to stick with it!"

    Create a free account to save your digital masterpiece to the Art Gallery.

Use what’s already at home

Snap a junk-drawer photo and GlueStick finds projects you can start in minutes — no store trip, less expense, more creative afternoons.

+ 350 more
Supply Snap

About the Author