About This Project

A 20–40 minutes craft for ages 3–10, using supplies you likely already have — LED Tea Lights, Googly Eyes, and White Glue.

GlueStick supports kids from setup to cleanup. After they choose a project, we guide them through gathering the supplies, making it, and cleaning up when they're done. We'll even help them share it safely with trusted family and friends.

Ad-free and kid-safe library — designed by a mom who wants kids to explore and create independently.

Project Tags
  1. 1

    Find Supplies

    Do you have everything you need?
    Create a free GlueStick account to track supplies and see if you have what you need at a glance. Leave your kids tips about where supplies are stored in your household so they can set up and clean up their creative spaces independently.
    00:00
    A cartoon of LED Tea Lights
    Unknown cupboard quantity You have: unknown
    A cartoon of Googly Eyes
    Unknown cupboard quantity You have: unknown
    A cartoon of White Glue
    Unknown cupboard quantity You have: unknown
    A cartoon of Foam Brushes
    Unknown cupboard quantity You have: unknown
    A cartoon of Tissue Paper
    Unknown cupboard quantity You have: unknown
    A cartoon of Construction Paper
    Unknown cupboard quantity You have: unknown
    A cartoon of Decoupage Medium
    Unknown cupboard quantity You have: unknown
    A cartoon of Glass Jars
    Unknown cupboard quantity You have: unknown
    A cartoon of Water
    Unknown cupboard quantity You have: unknown
    A cartoon of String
    Unknown cupboard quantity You have: unknown
  2. 2

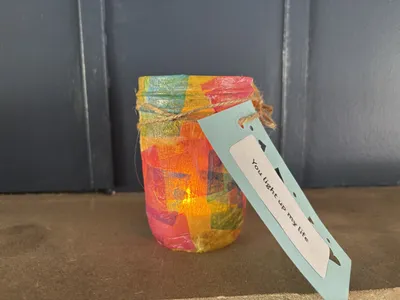
    Make Halloween Glass Jar Luminaries

    Your creative buddy says:
    "Are you as excited to make this as I am?"

    Step 1: Cut your tissue paper

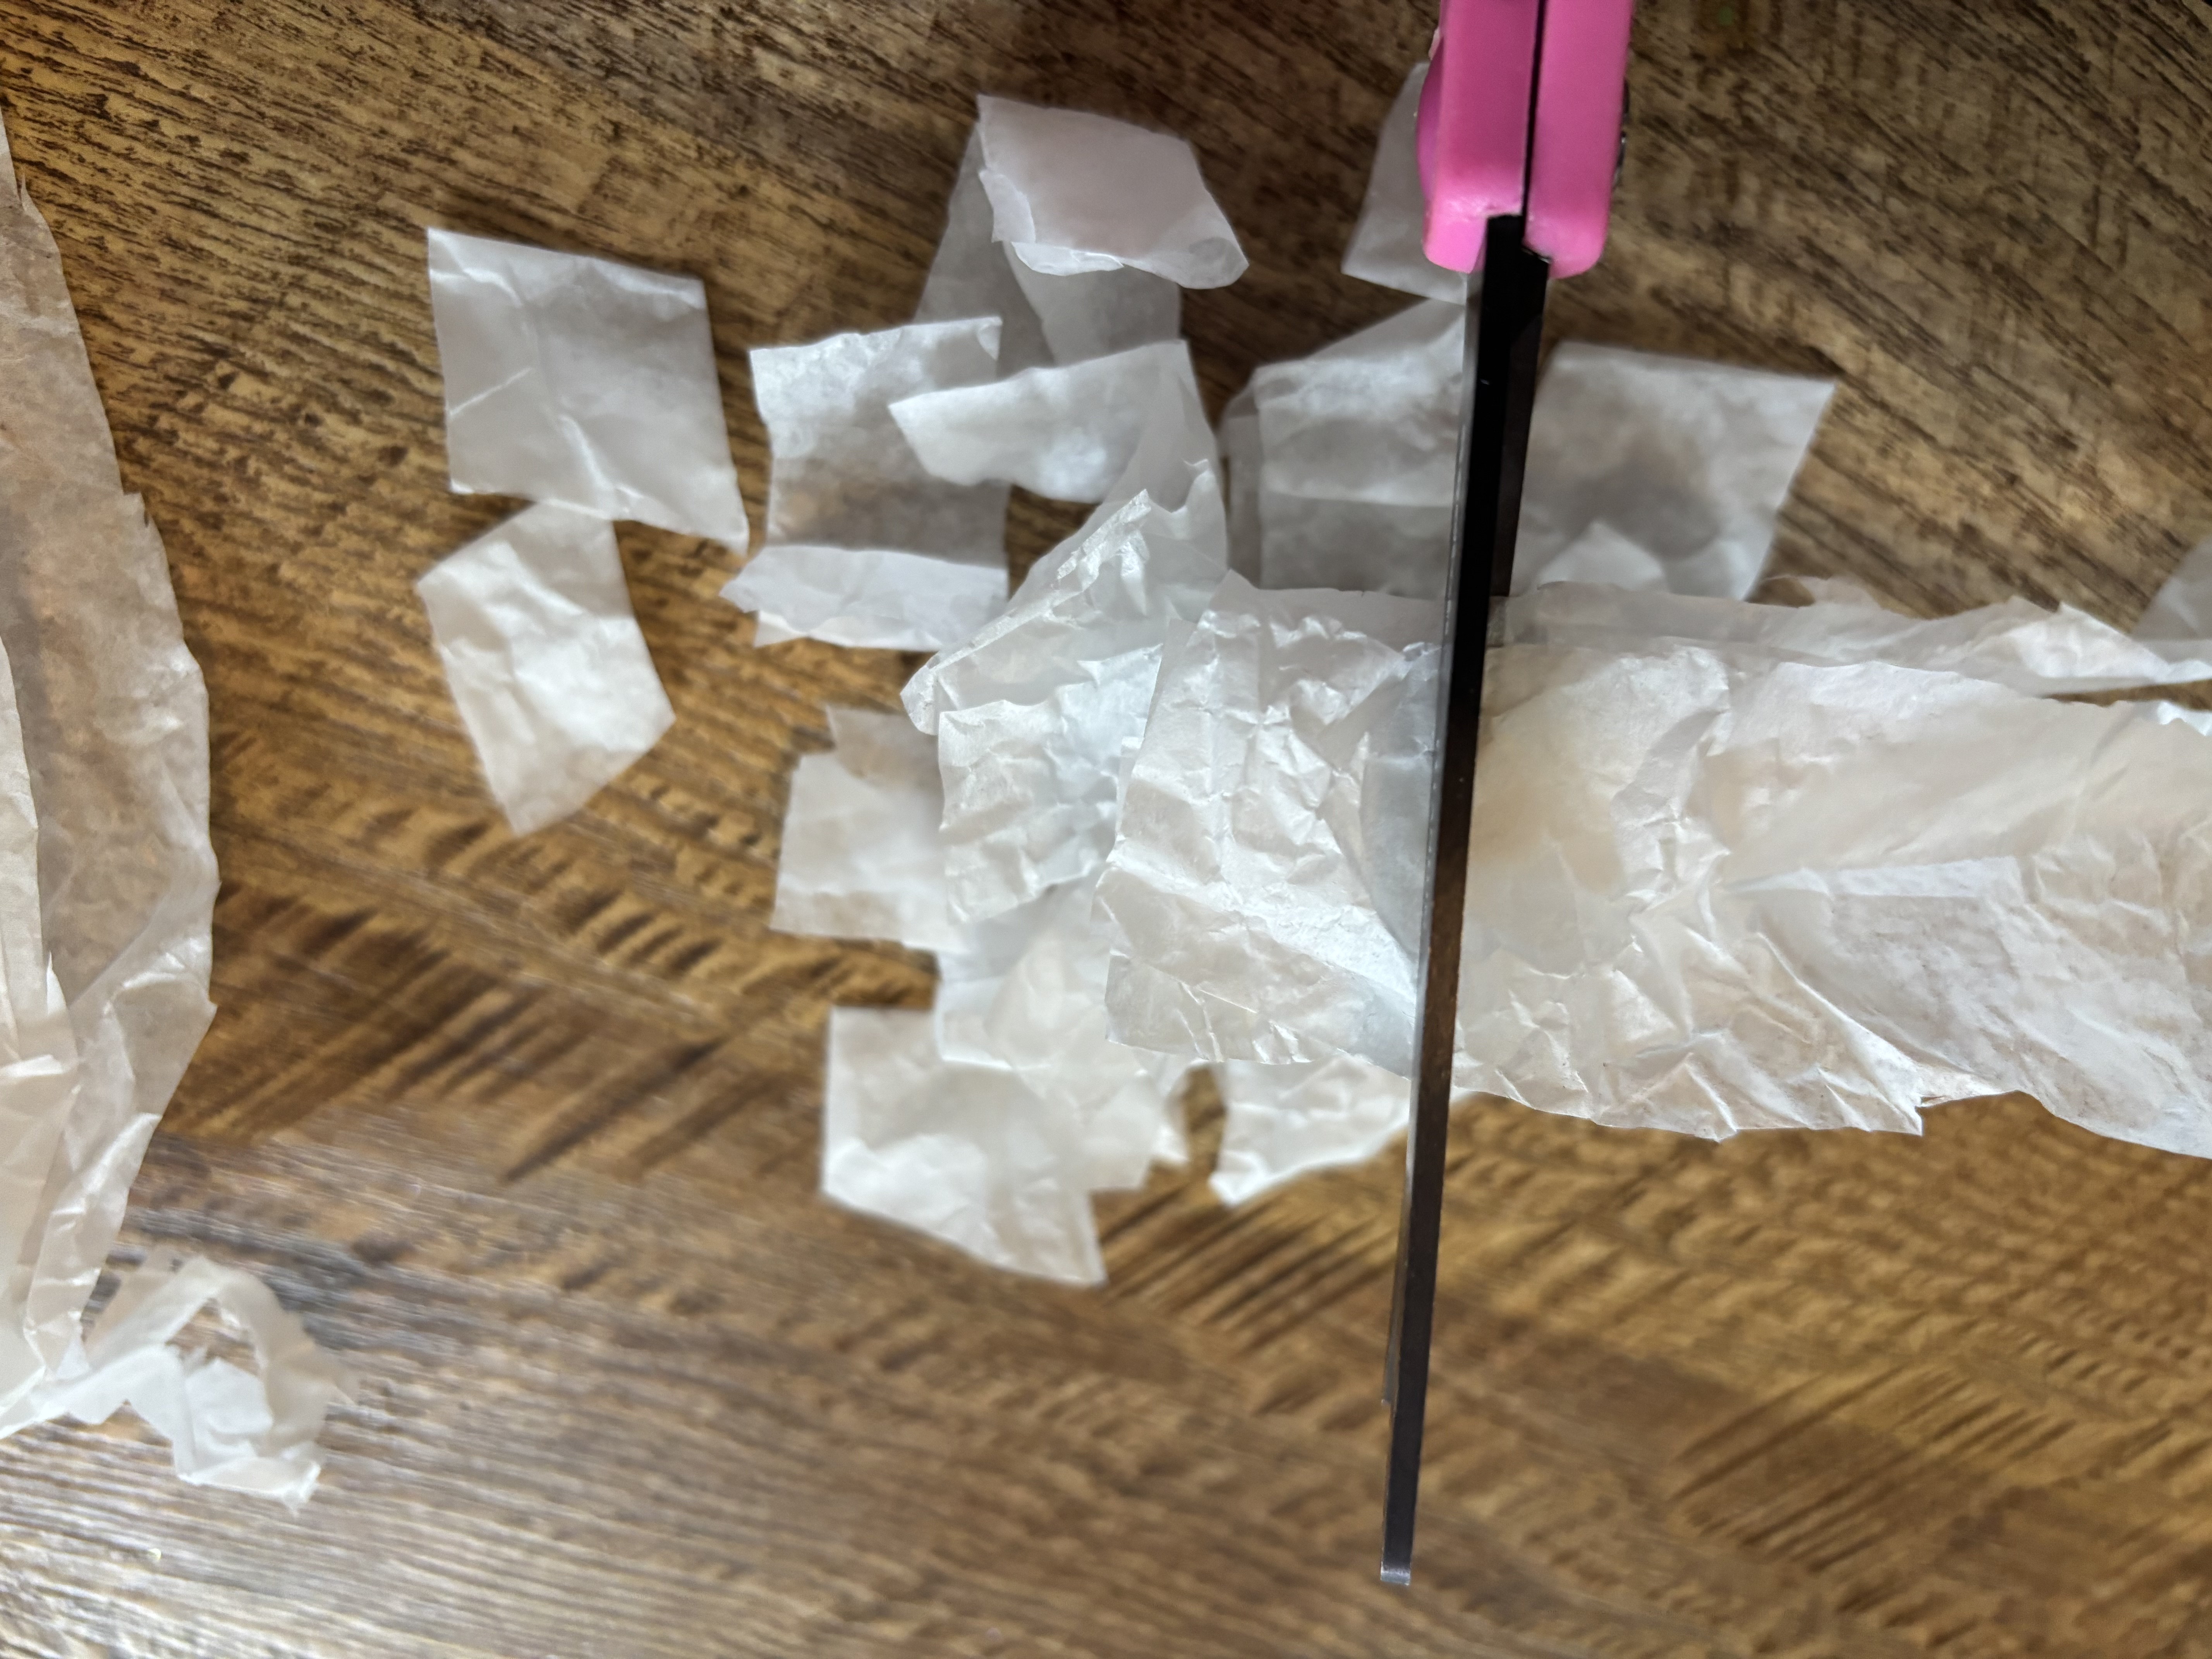
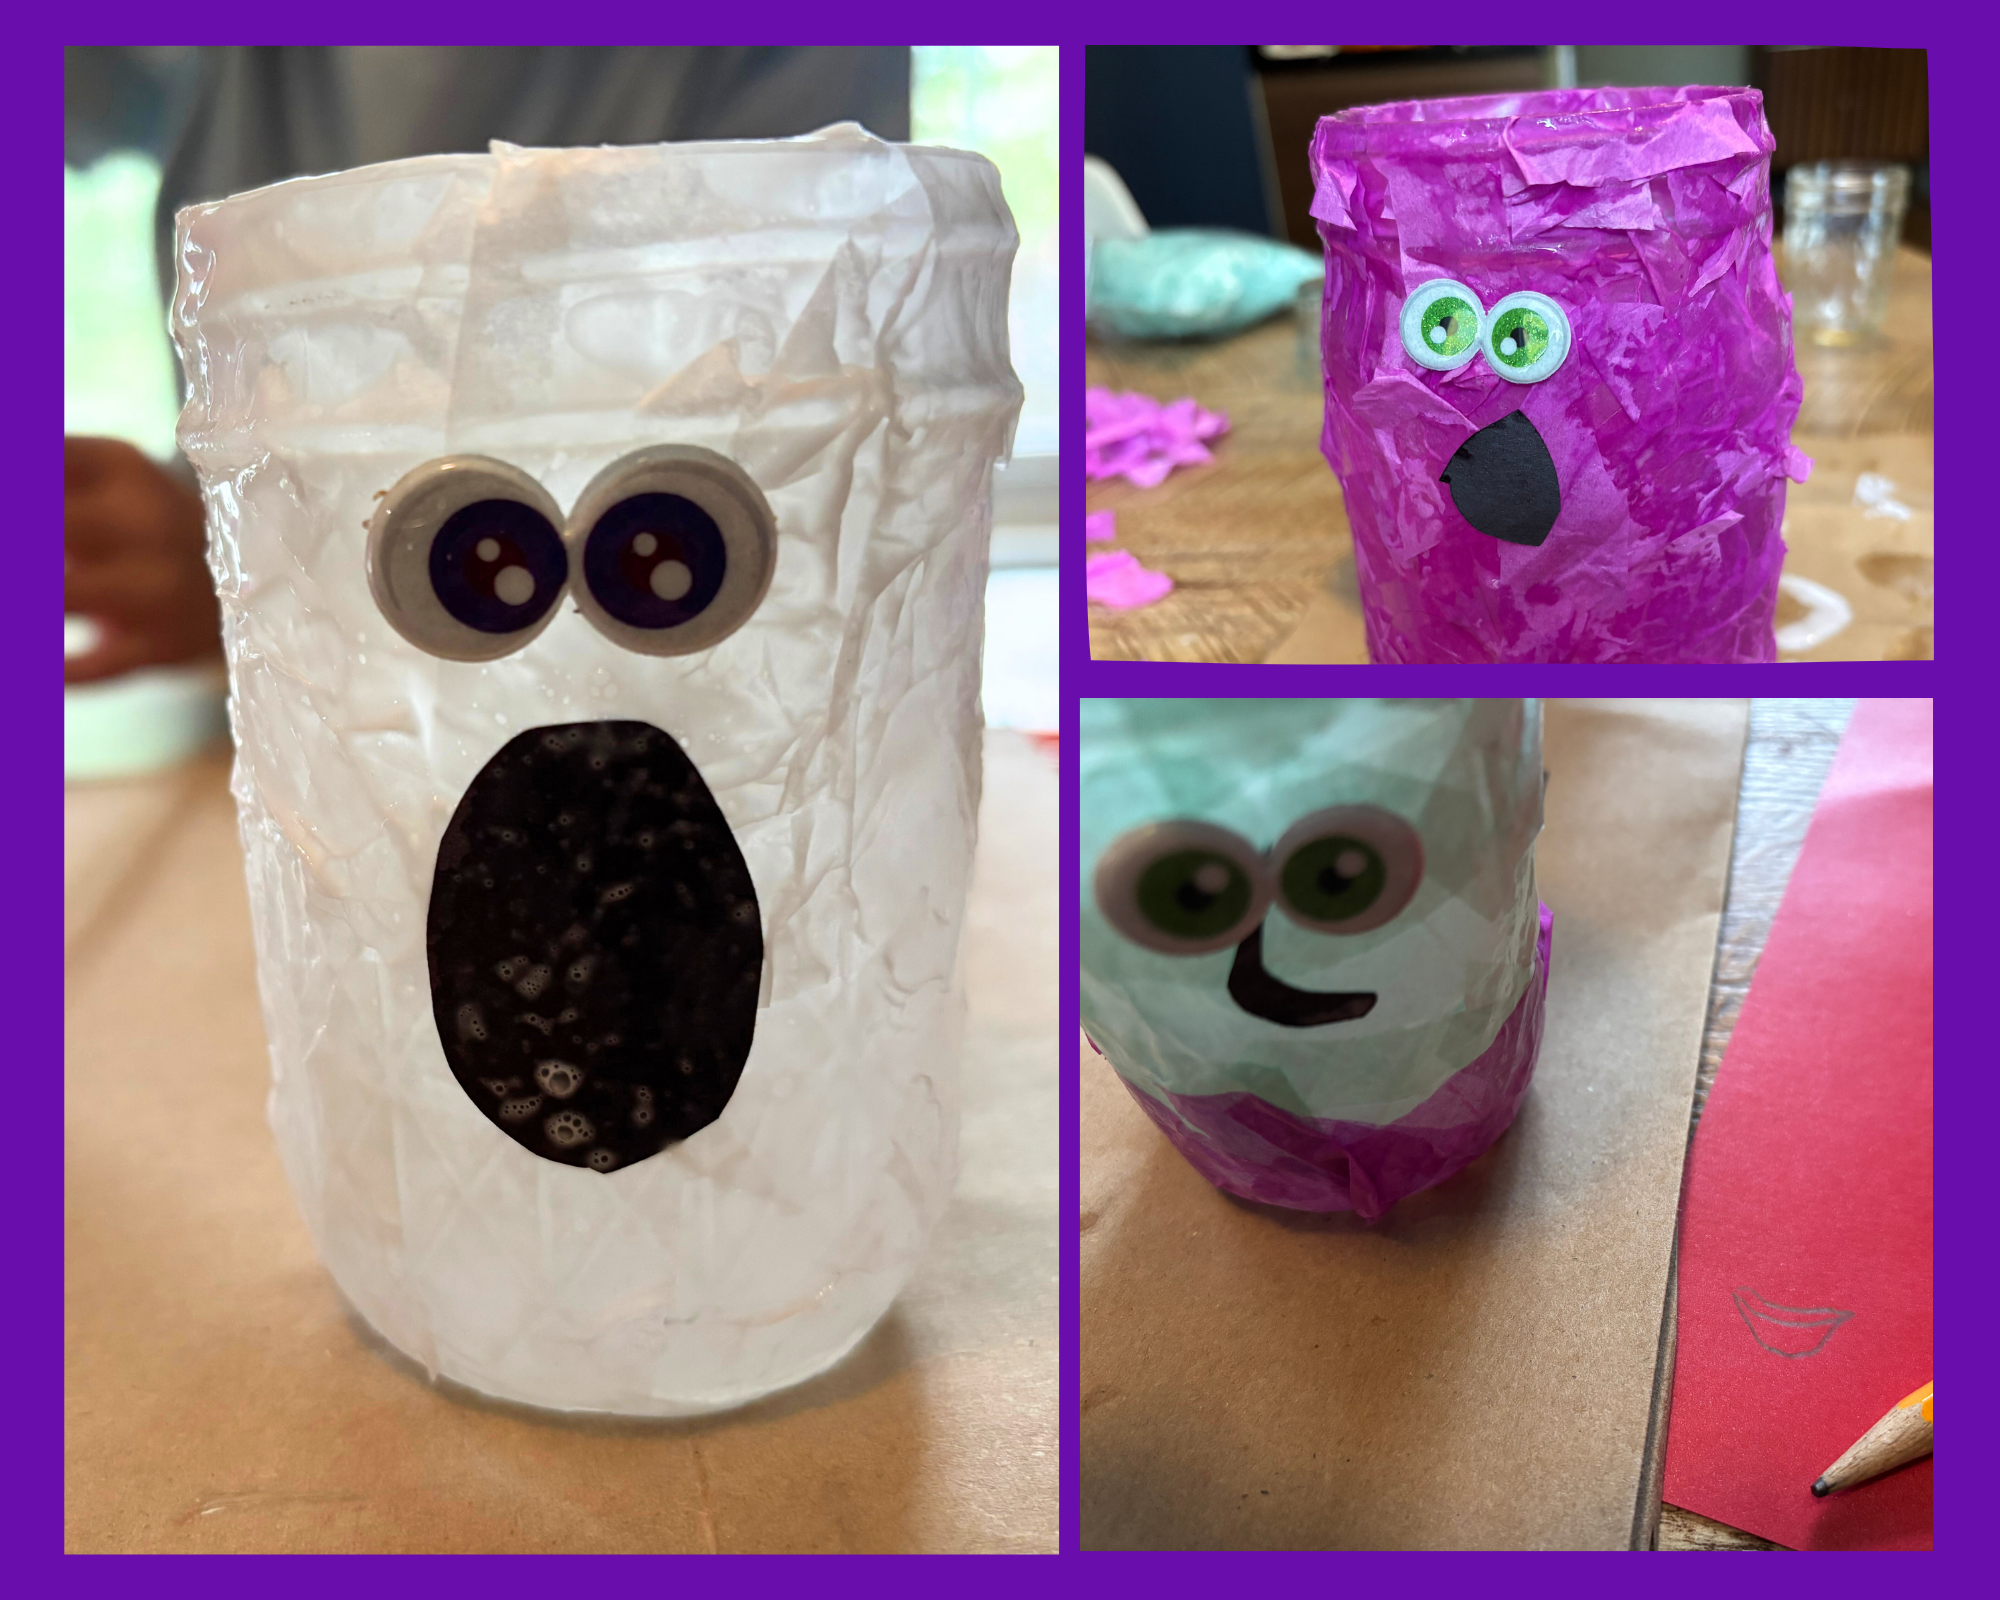
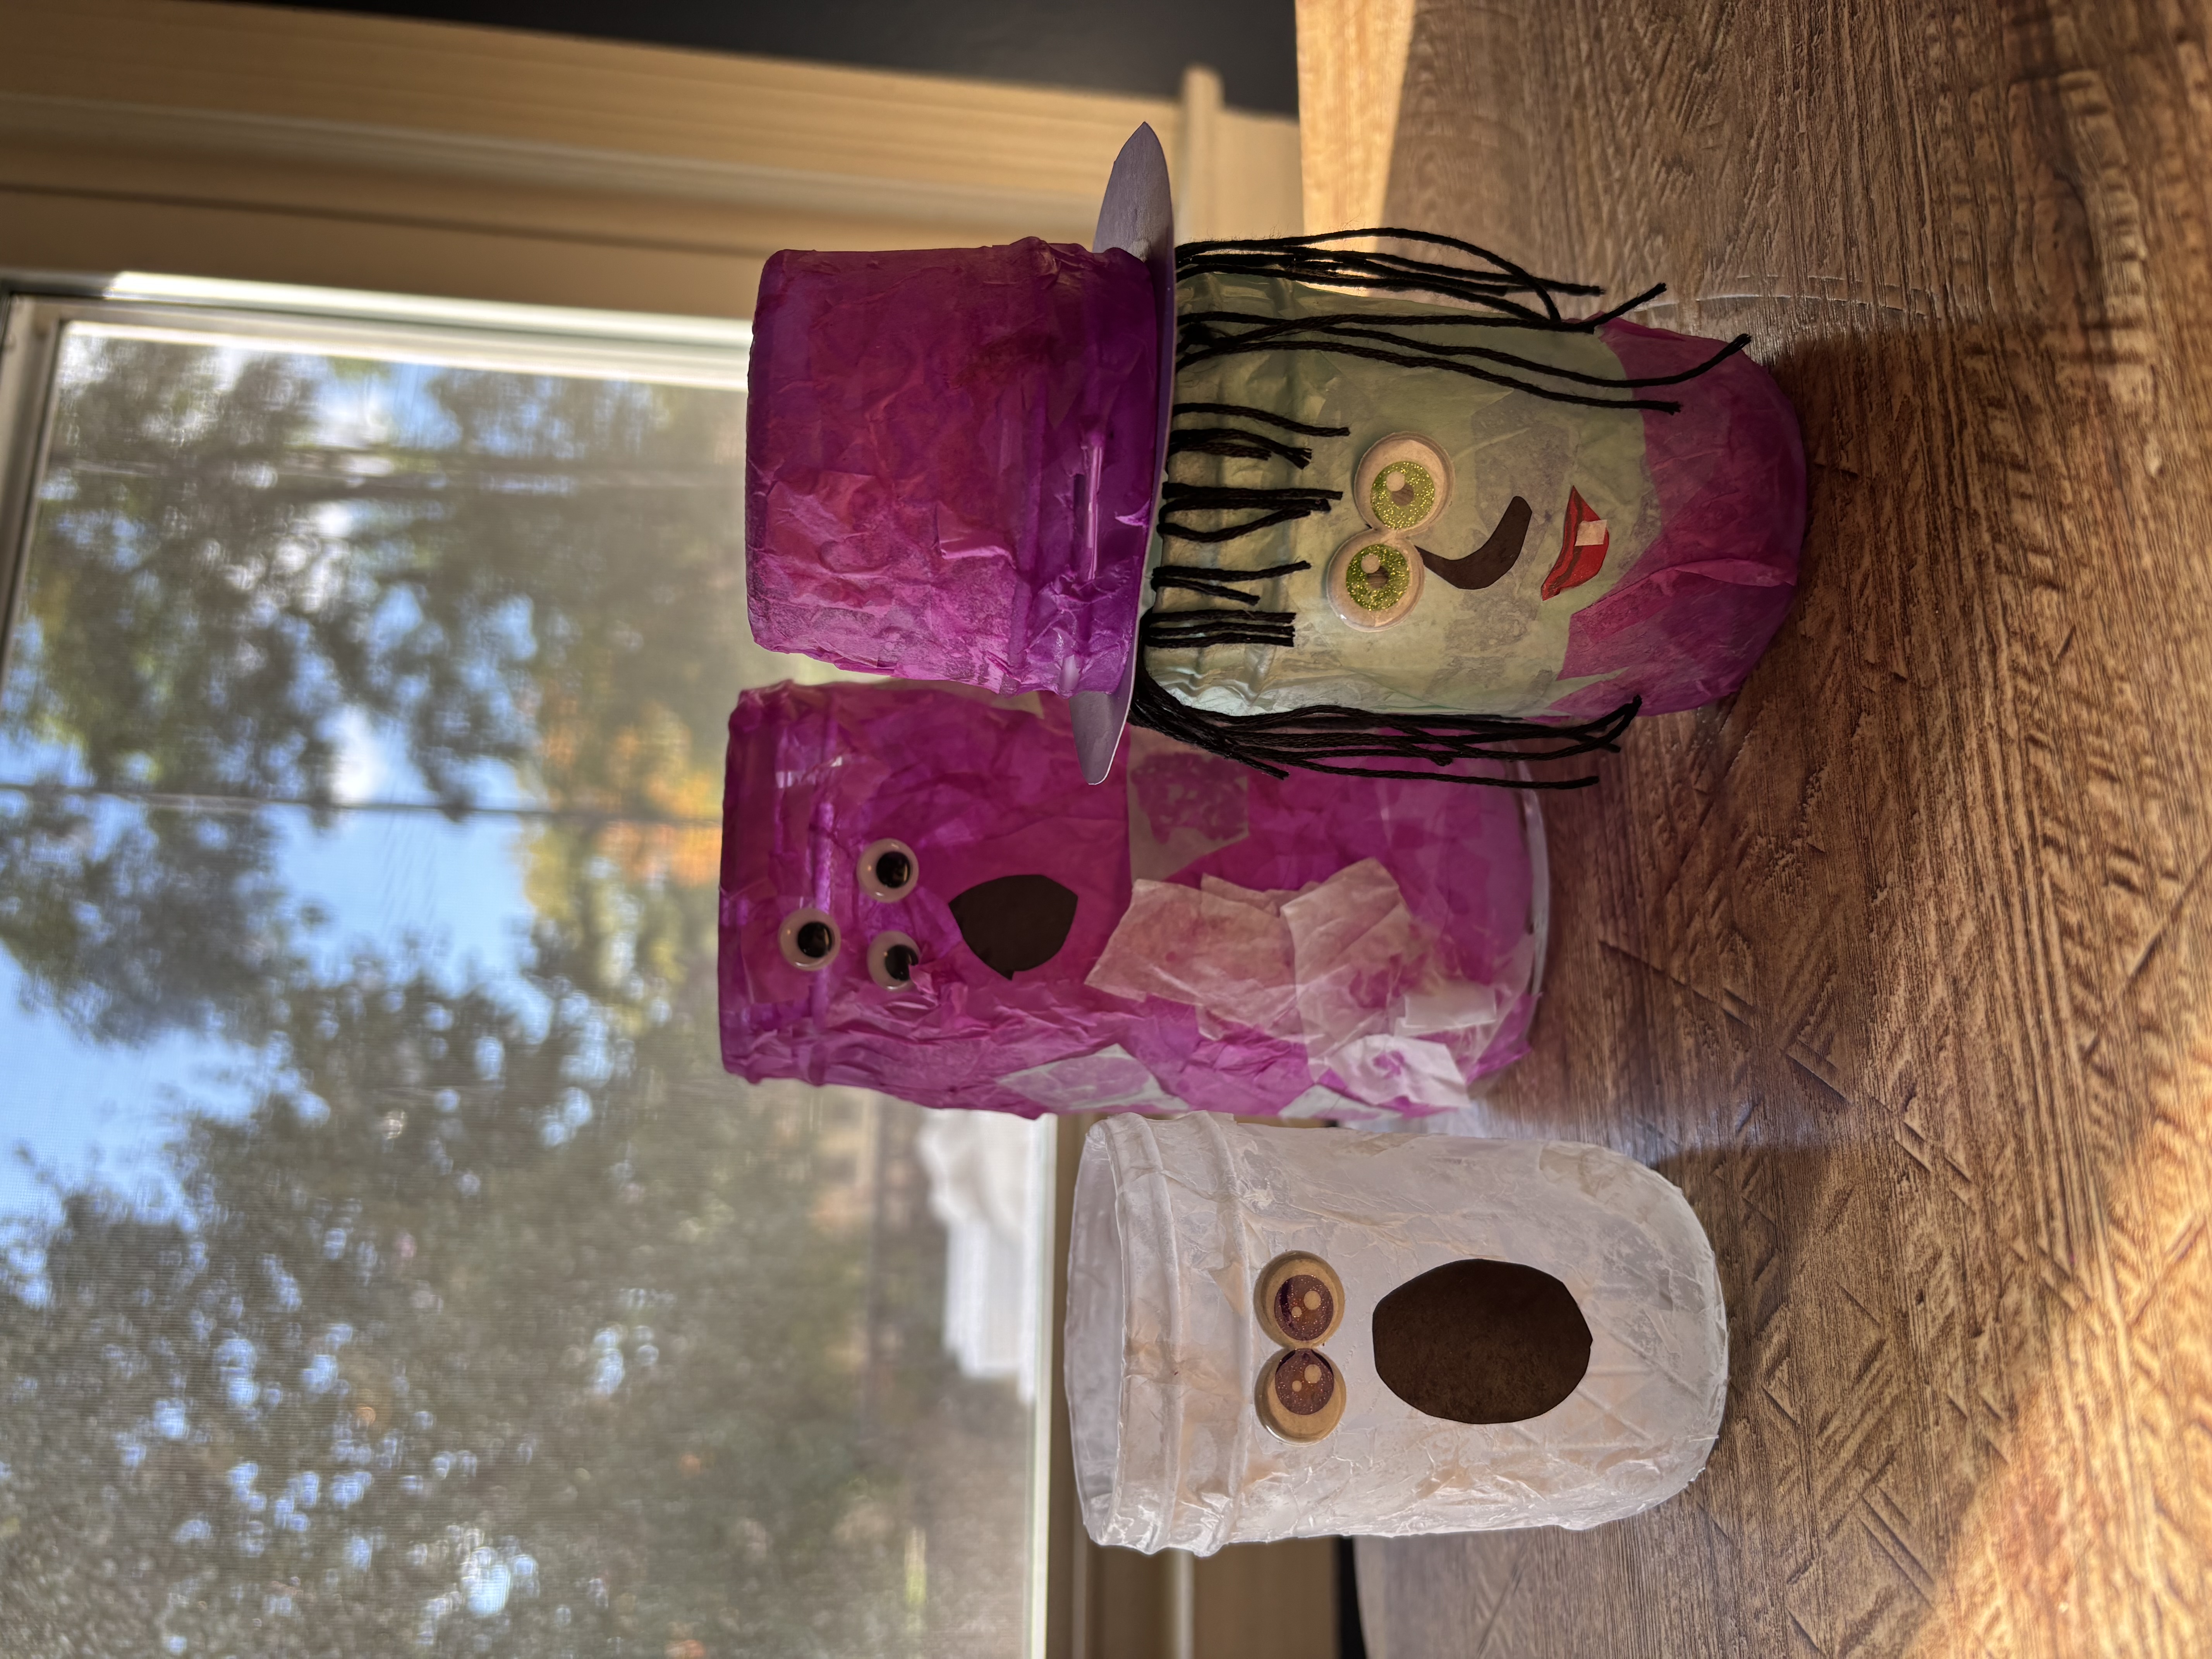
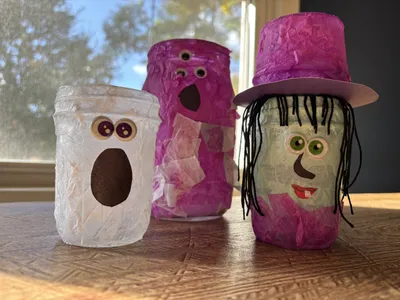
    Gather the tissue paper you want to use. We used white for ghosts, and green and purple for our monster and witch. Green would also make a great Frankenstein, or orange would be fun for a jack-o-lantern themed project. Tear or cut the tissue paper into small squares, no more than one-inch across.

    Step 2: Paint on your adhesive

    May need grown-up help
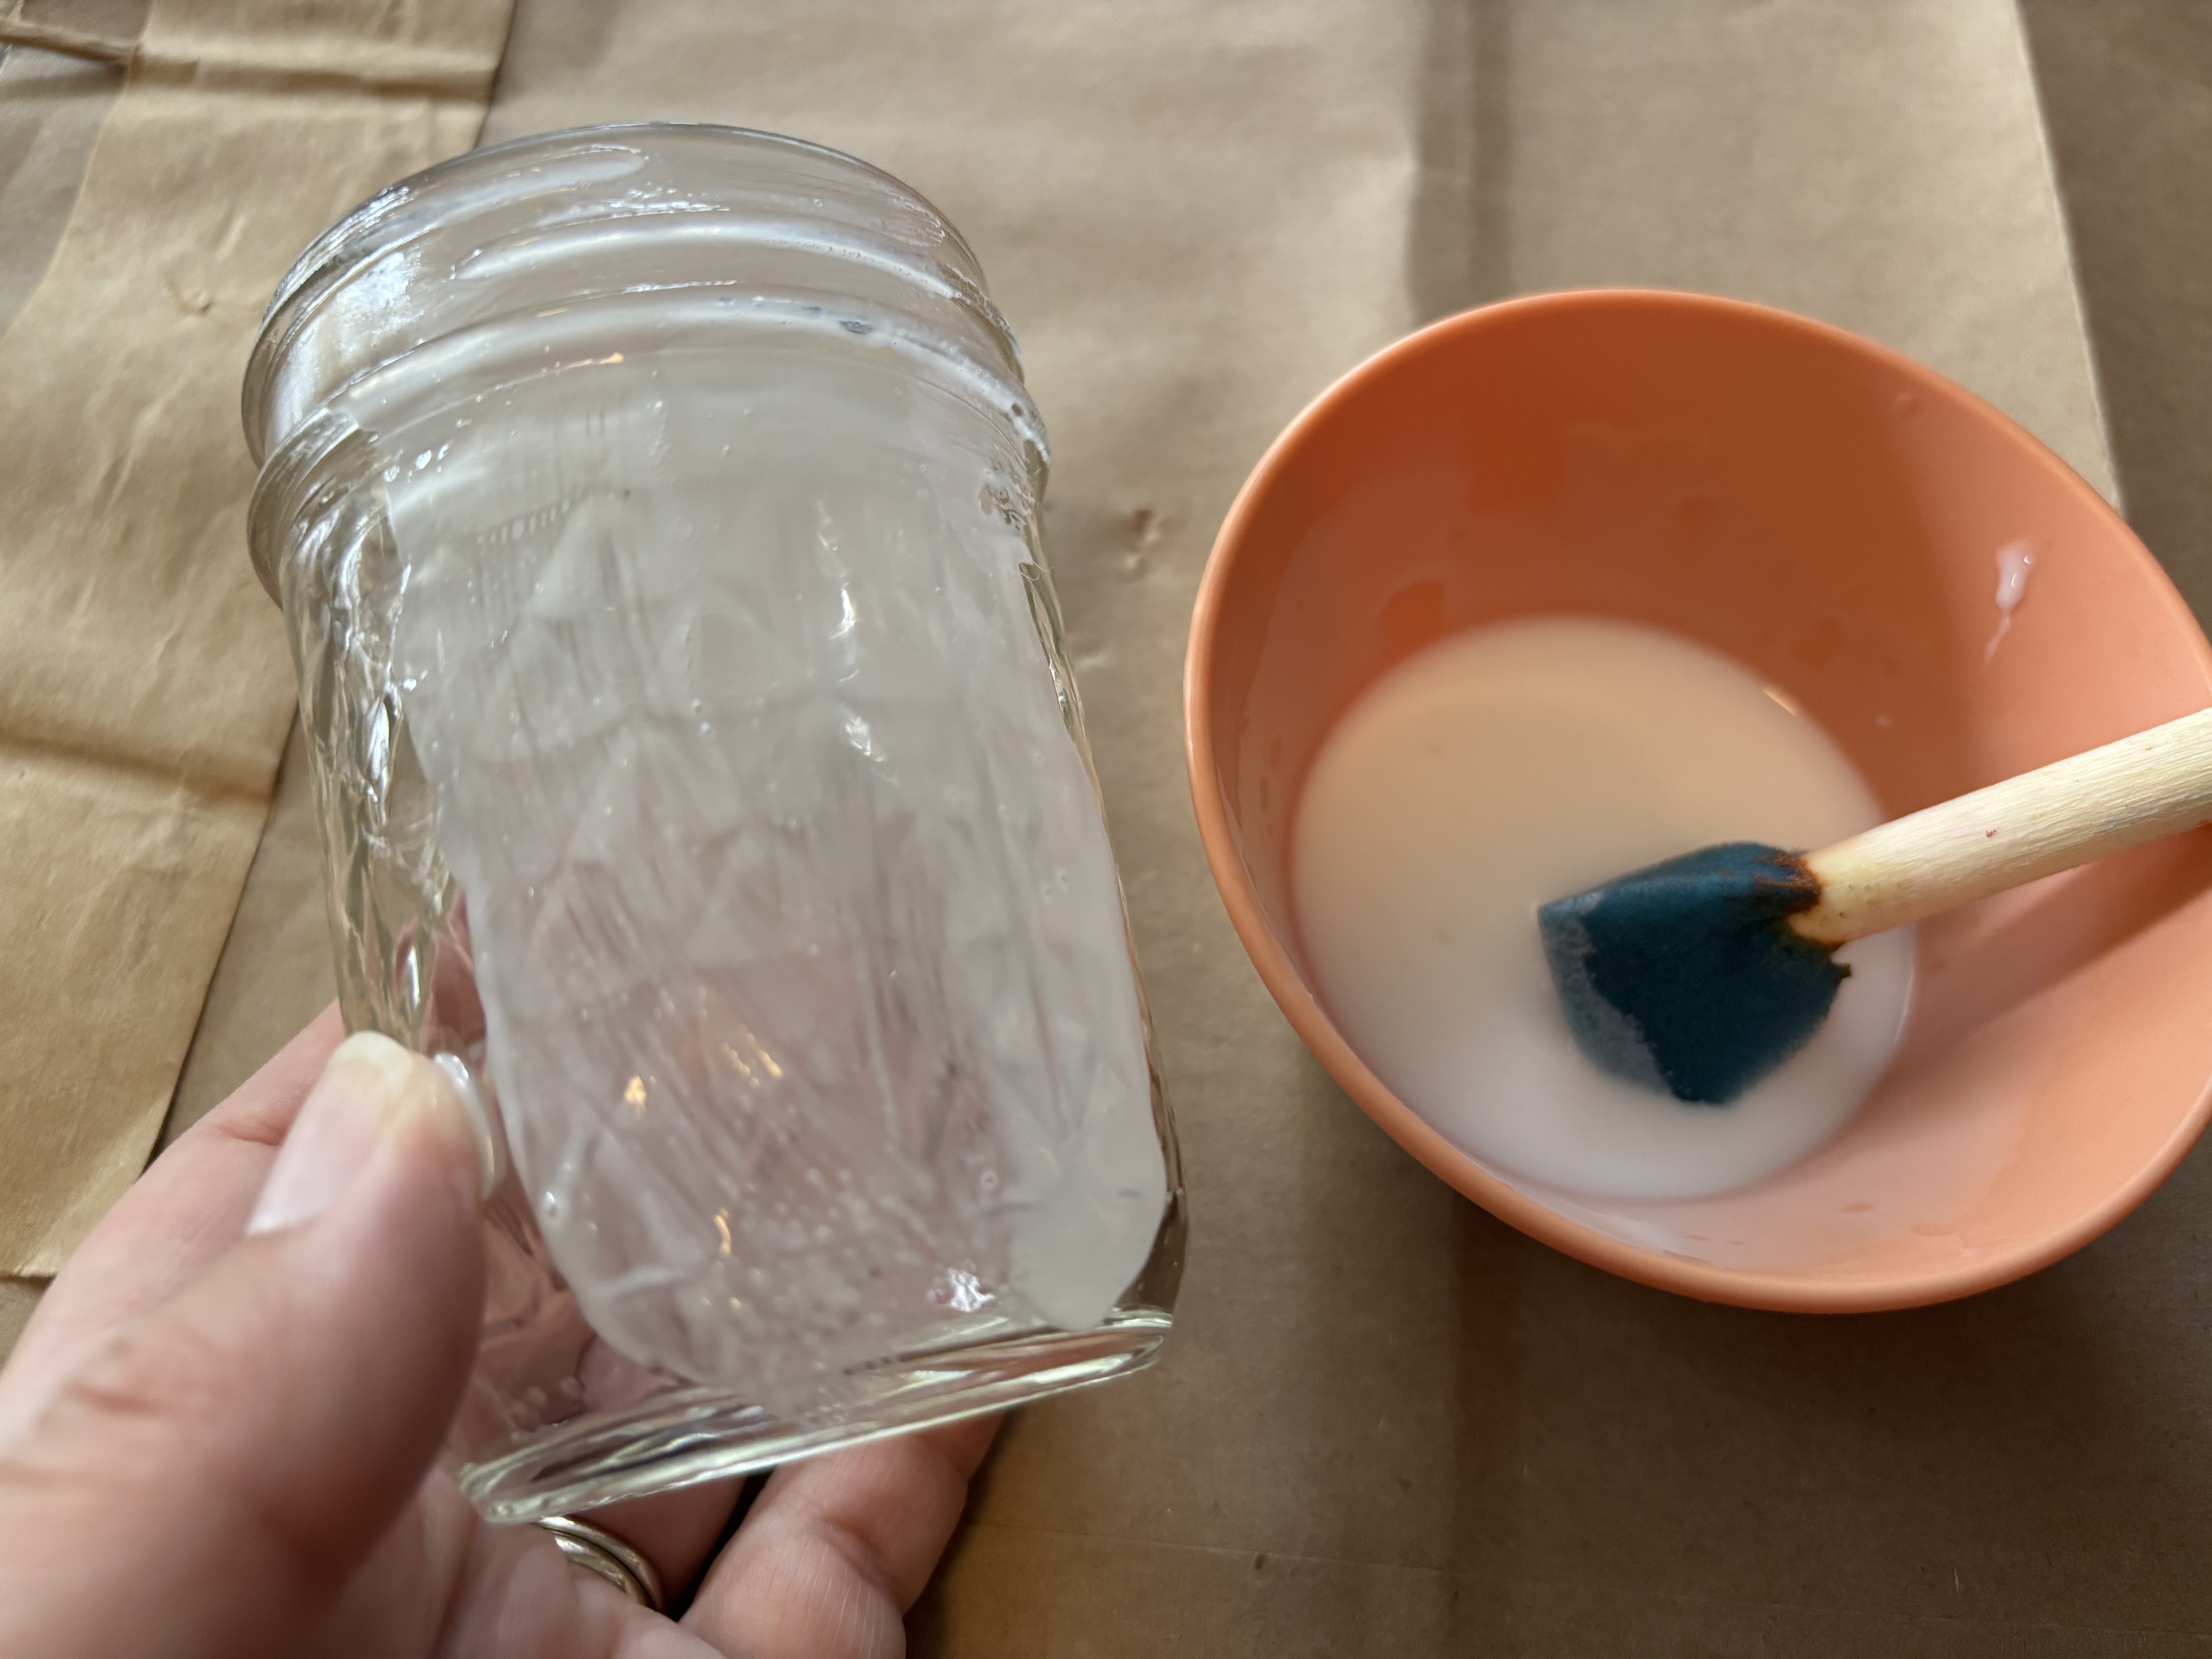
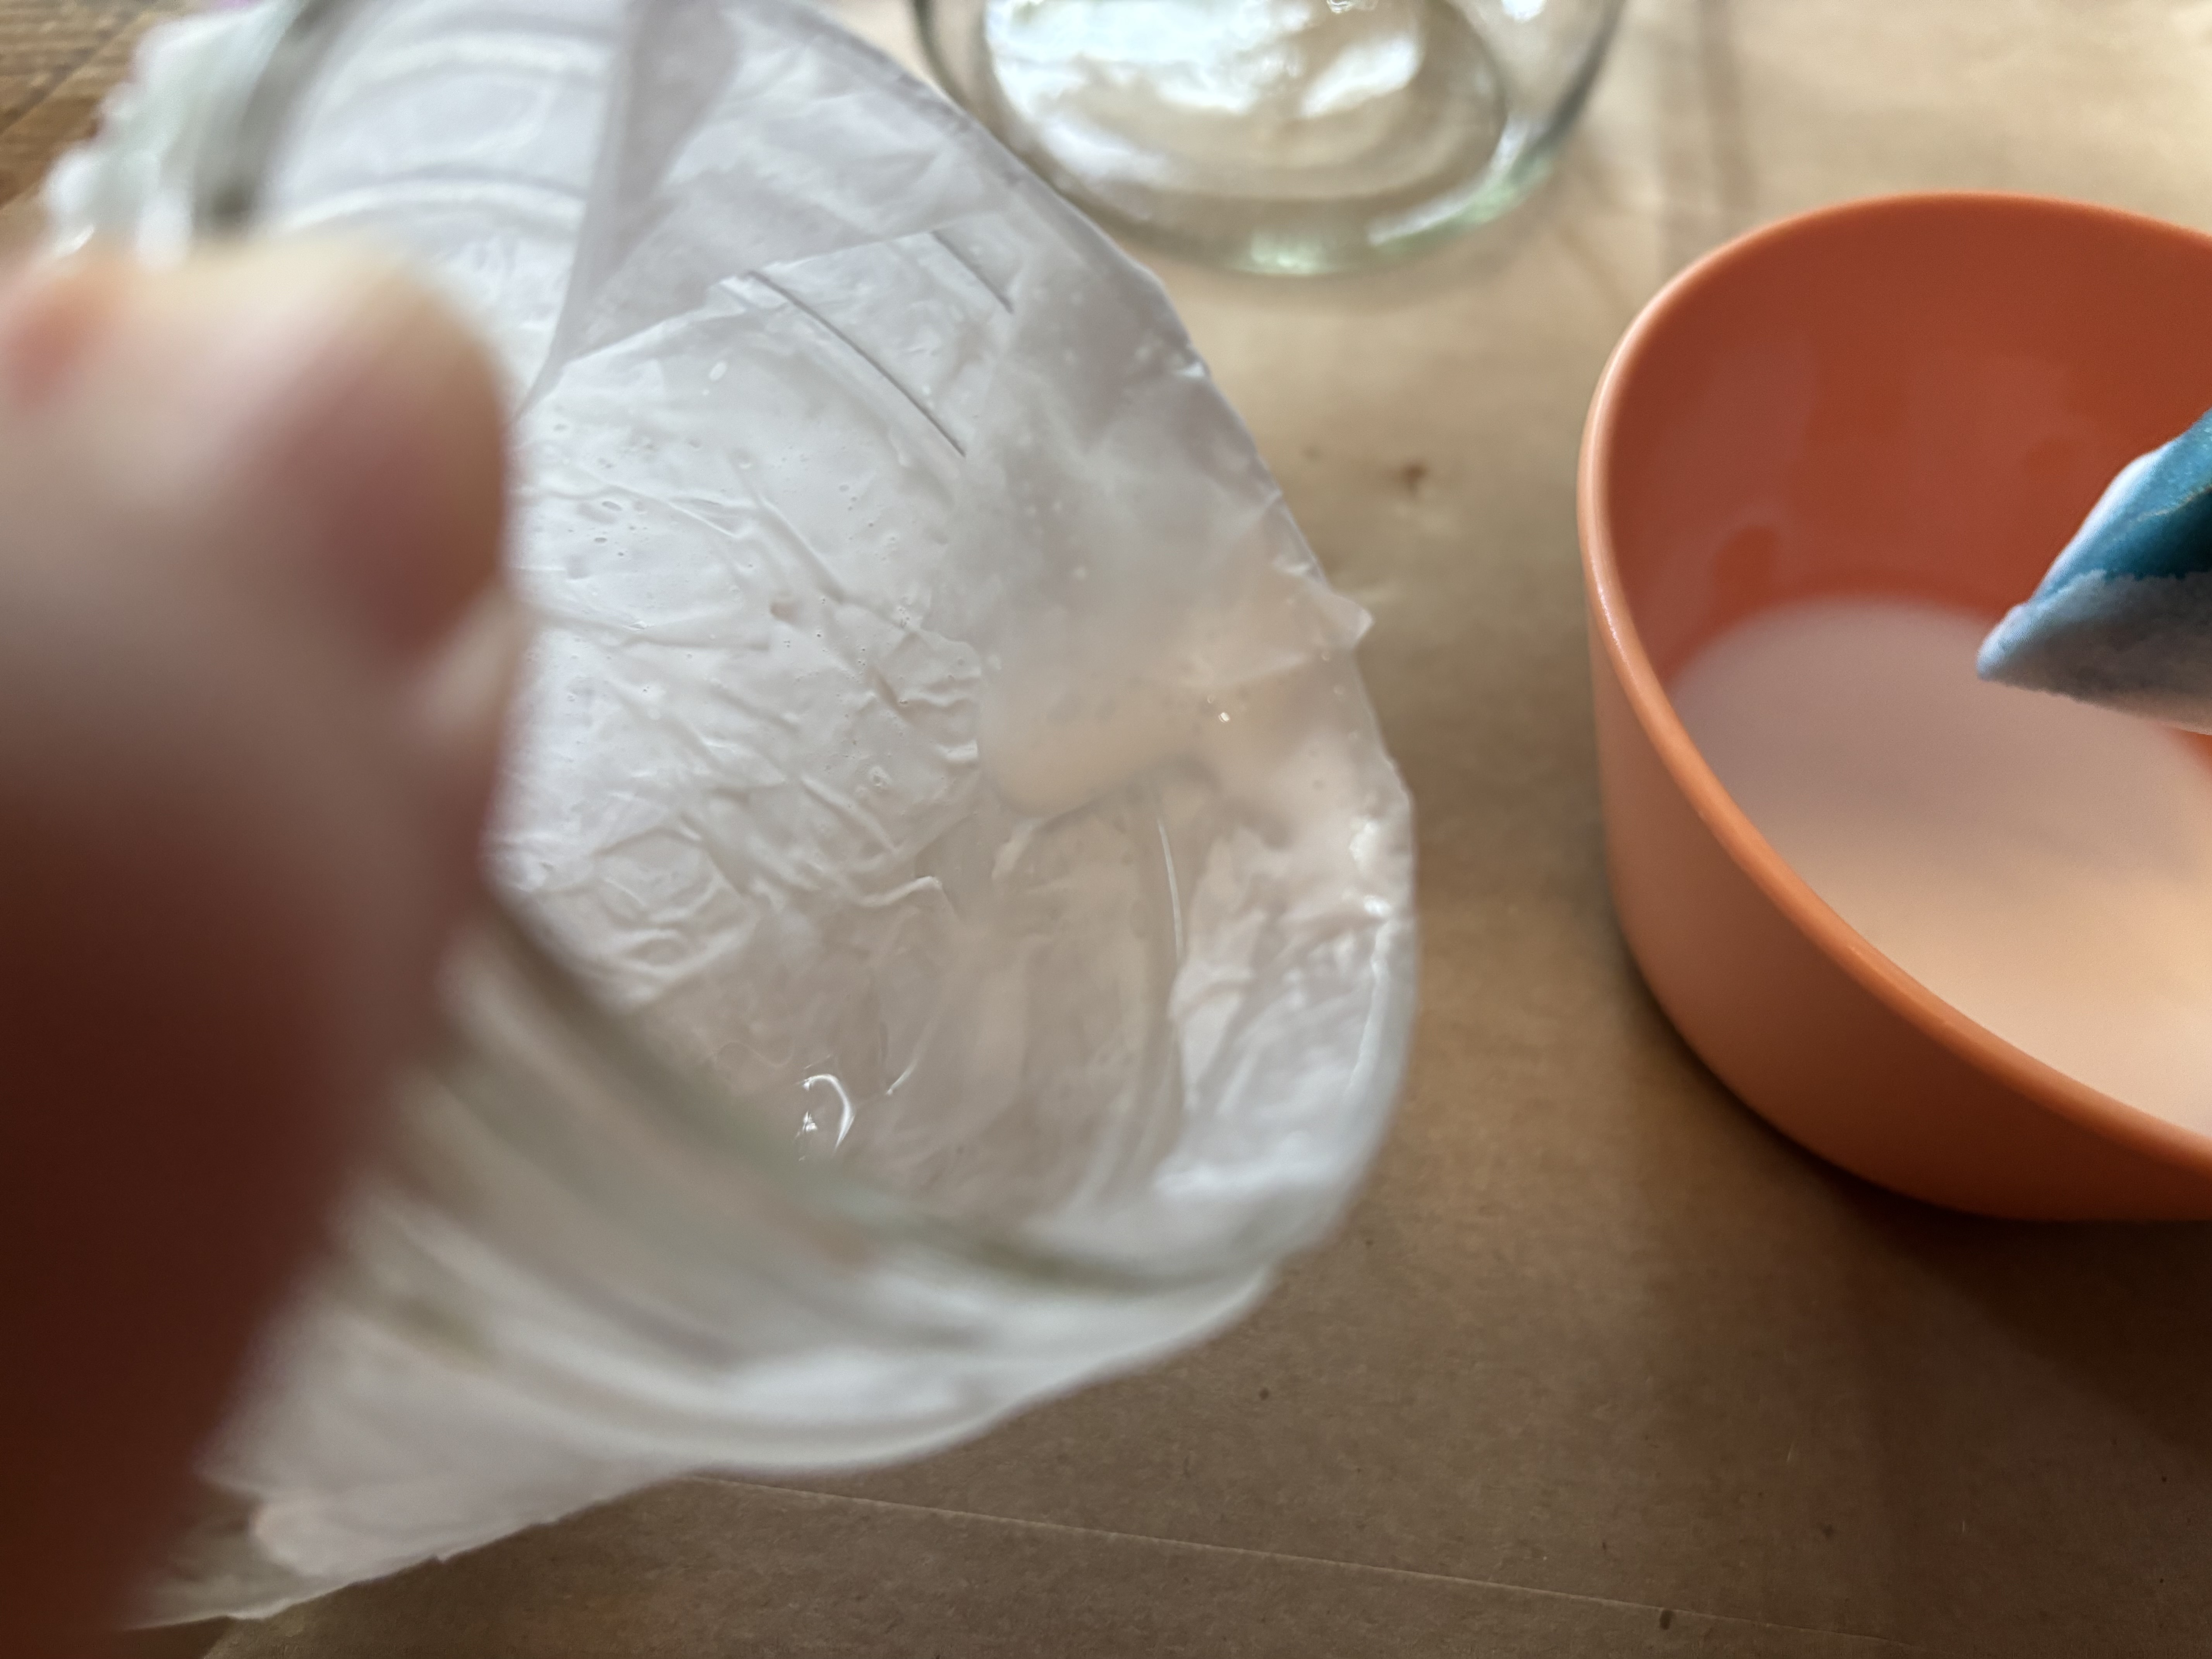
    First, decide if you'll use watered down glue or Mod Podge. Mod Podge is easier, and gives a glossier finish to your jar. If you use watered down glue, add a few drops of water per tablespoon of glue and mix in a small bowl. Work in small sections to avoid getting too sticky. Use a small foam brush to paint your glue or Mod Podge directly onto the jar.

    Step 3: Add Tissue Paper

    May need grown-up help
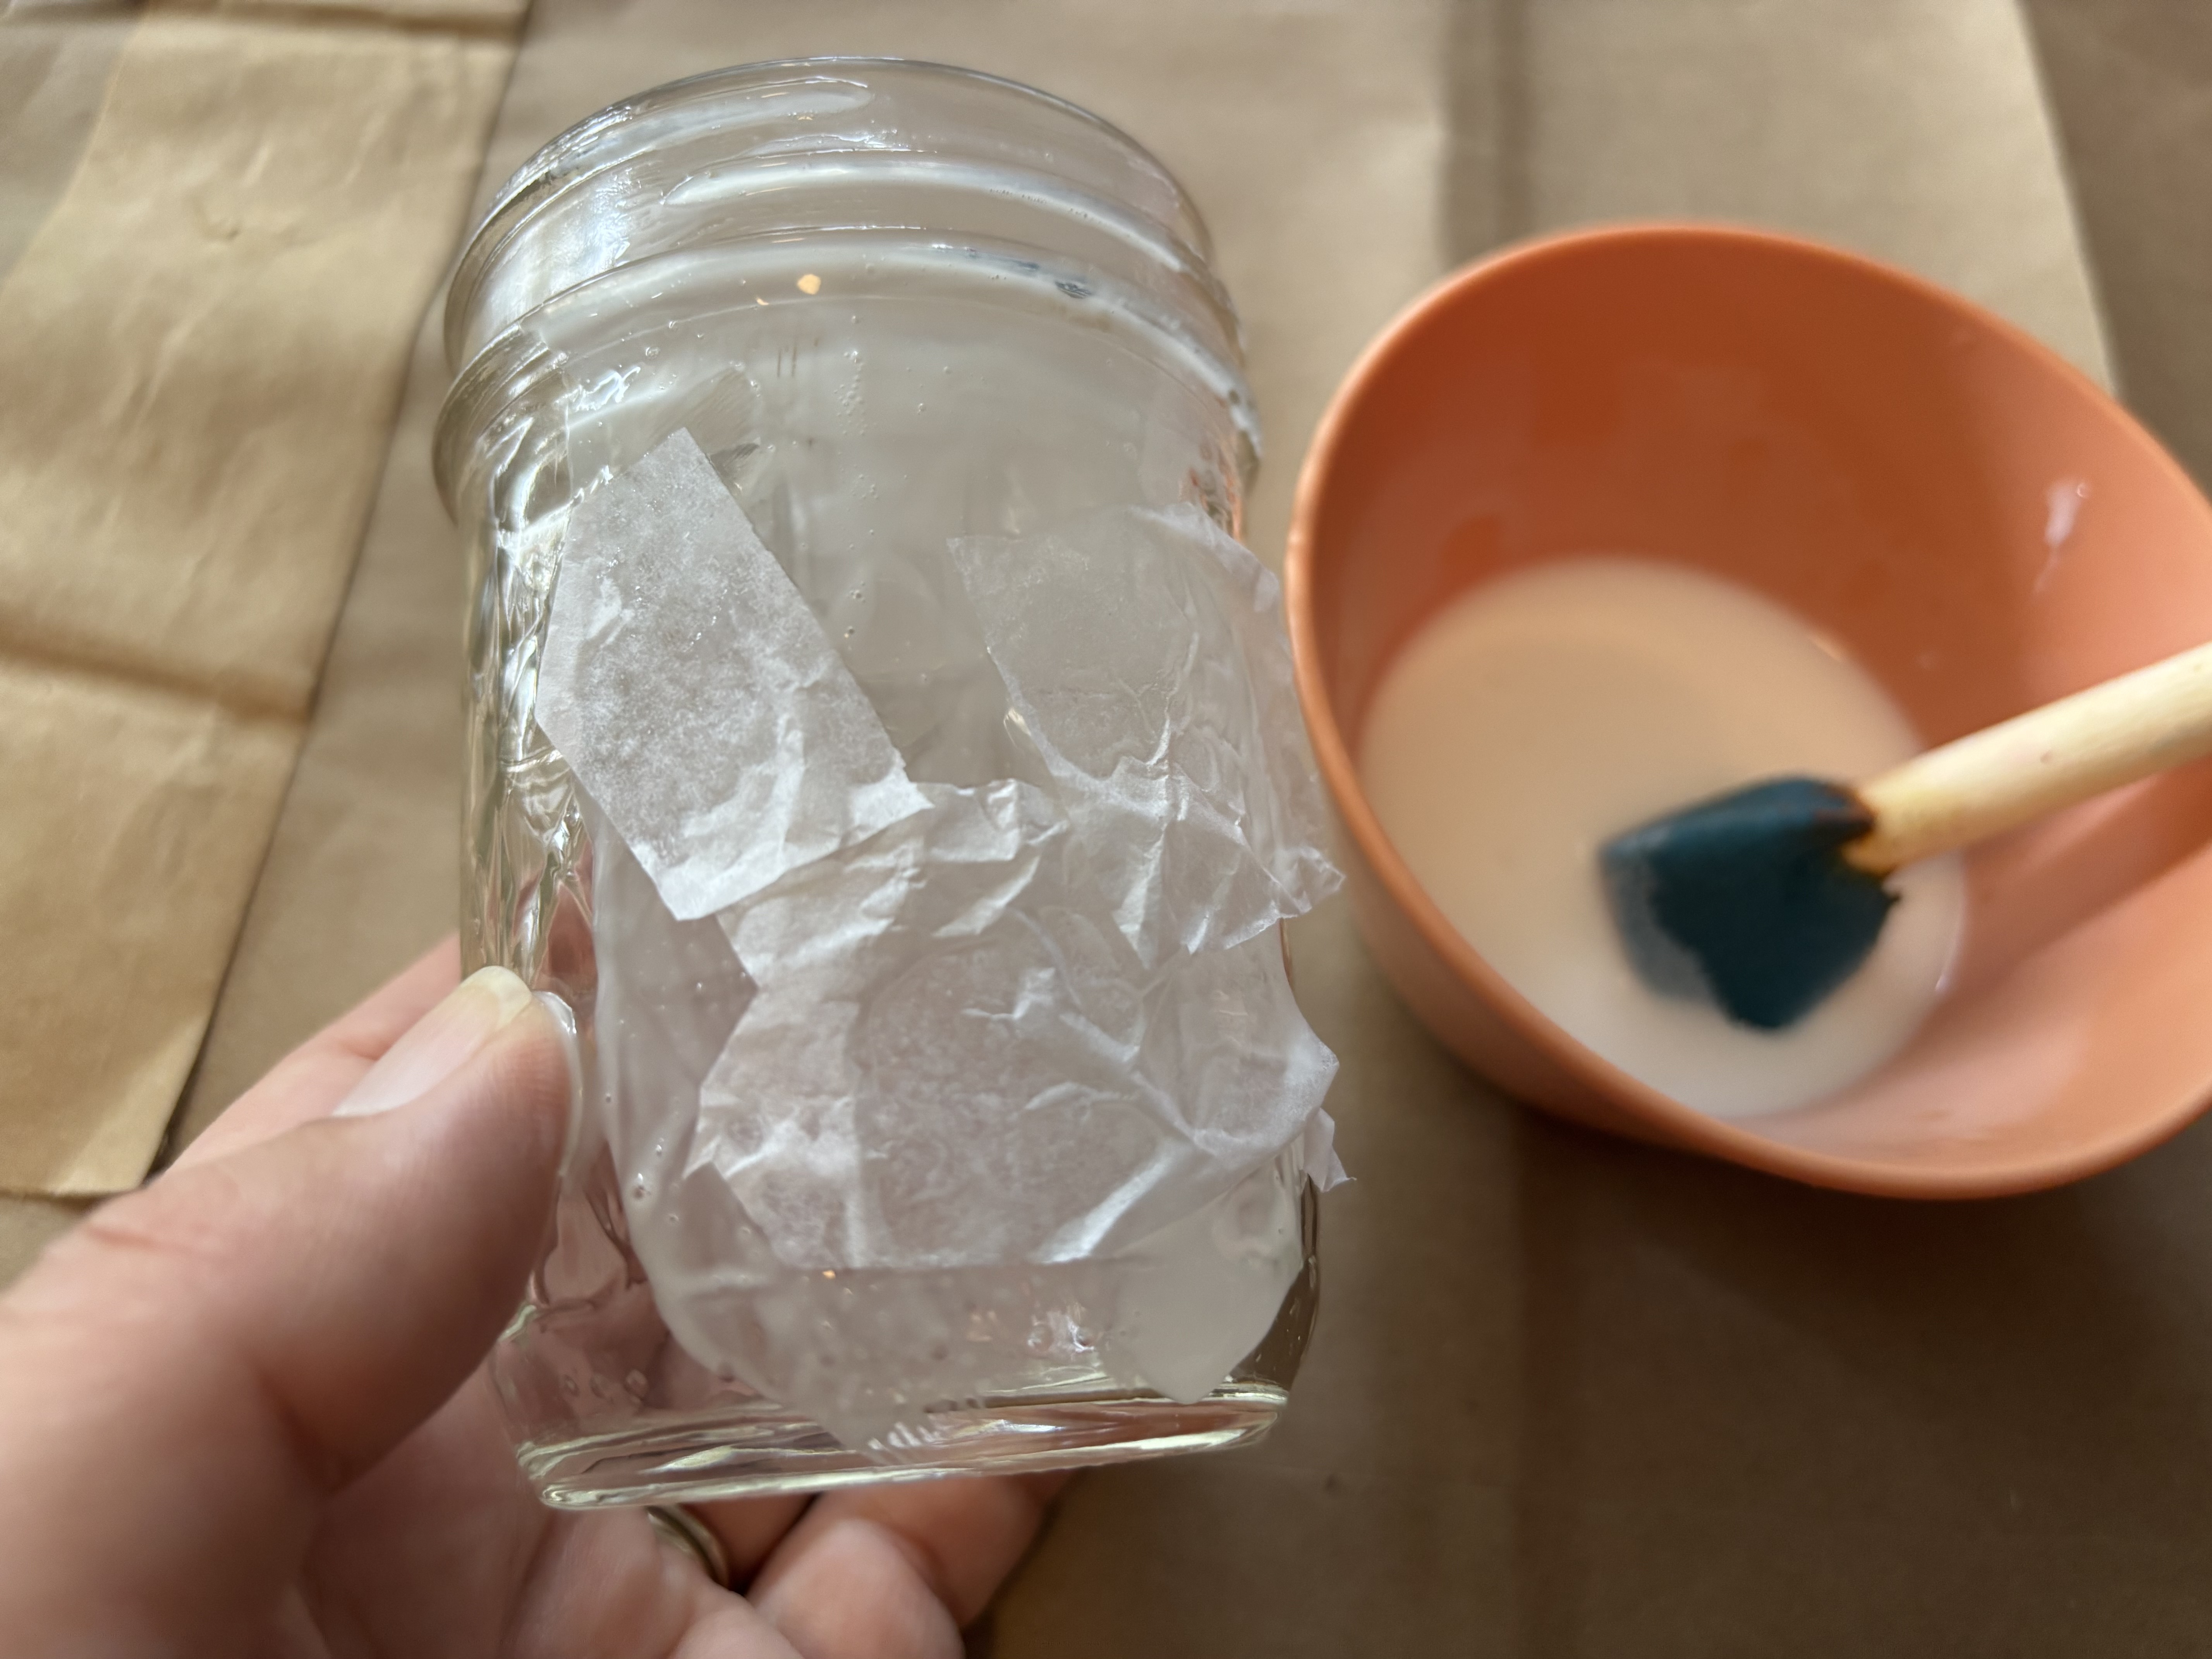
    Add your pieces of tissue paper wherever you've painted on the glue. Use your foam brush to paint more adhesive over the top of every piece to make sure it's on tight. Overlap your pieces of tissue paper so there are no clear spots remaining.

    Step 4: Don't forget the rim

    May need grown-up help
    When doing the rim of your jar, make sure you have lots of adhesive on the edge and just along the inside of your jar. Fold pieces of tissue paper over the edge, then add more adhesive on top to tack it down, just like on the rest of the jar. We find that folding the tissue paper over the edge gives the nicest, most finished look to the project.

    Step 5: Add your face

    May need grown-up help
    Add a face to your project! Cut out a mouth, nose, and eyes from construction paper. You can also use googly eyes or stickers if you have them. We added ours when the adhesive was still wet. If your face pieces are large and heavy, you may need to wait til the tissue paper glue dries and add them afterwards with a stronger glue, like hot glue.

    Step 6: (Optional) Hair

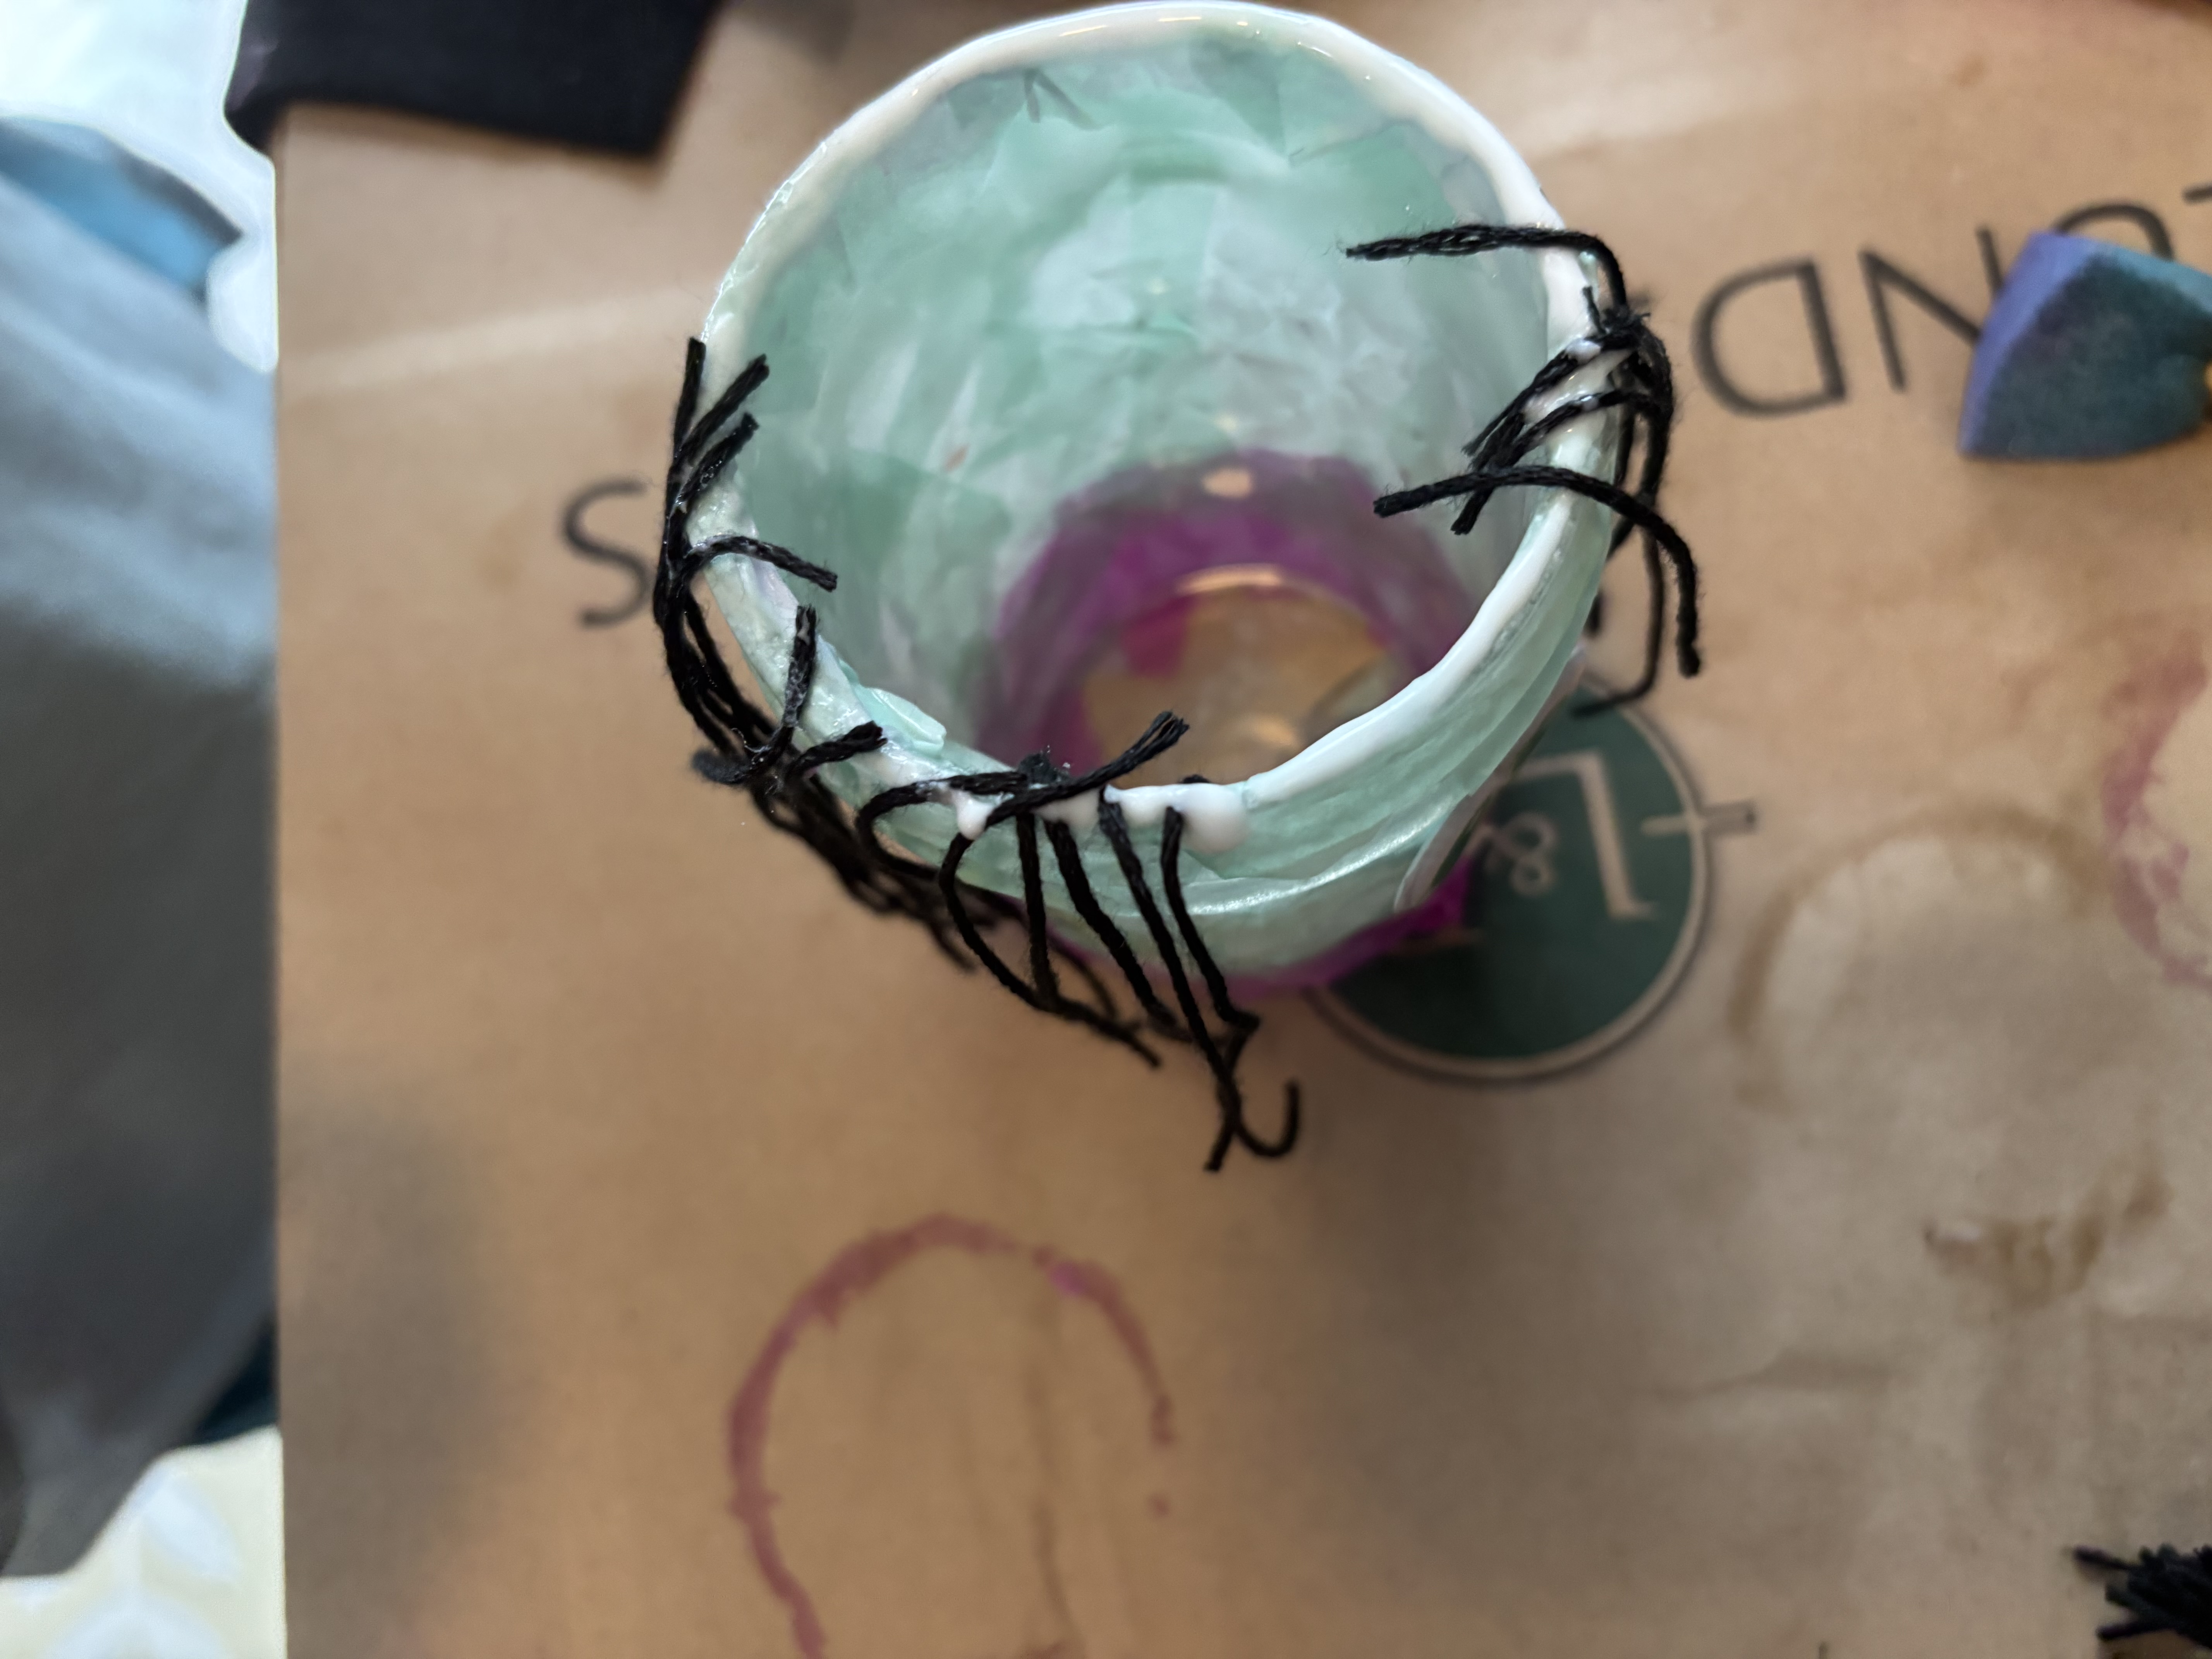
    To add hair to your jar, cut pieces of string or yarn to the length you want. Add a thin line of glue all around the edge of your jar. Lay the string or yarn on top.

    Step 7: (Optional) Witch's Hat

    May need grown-up help
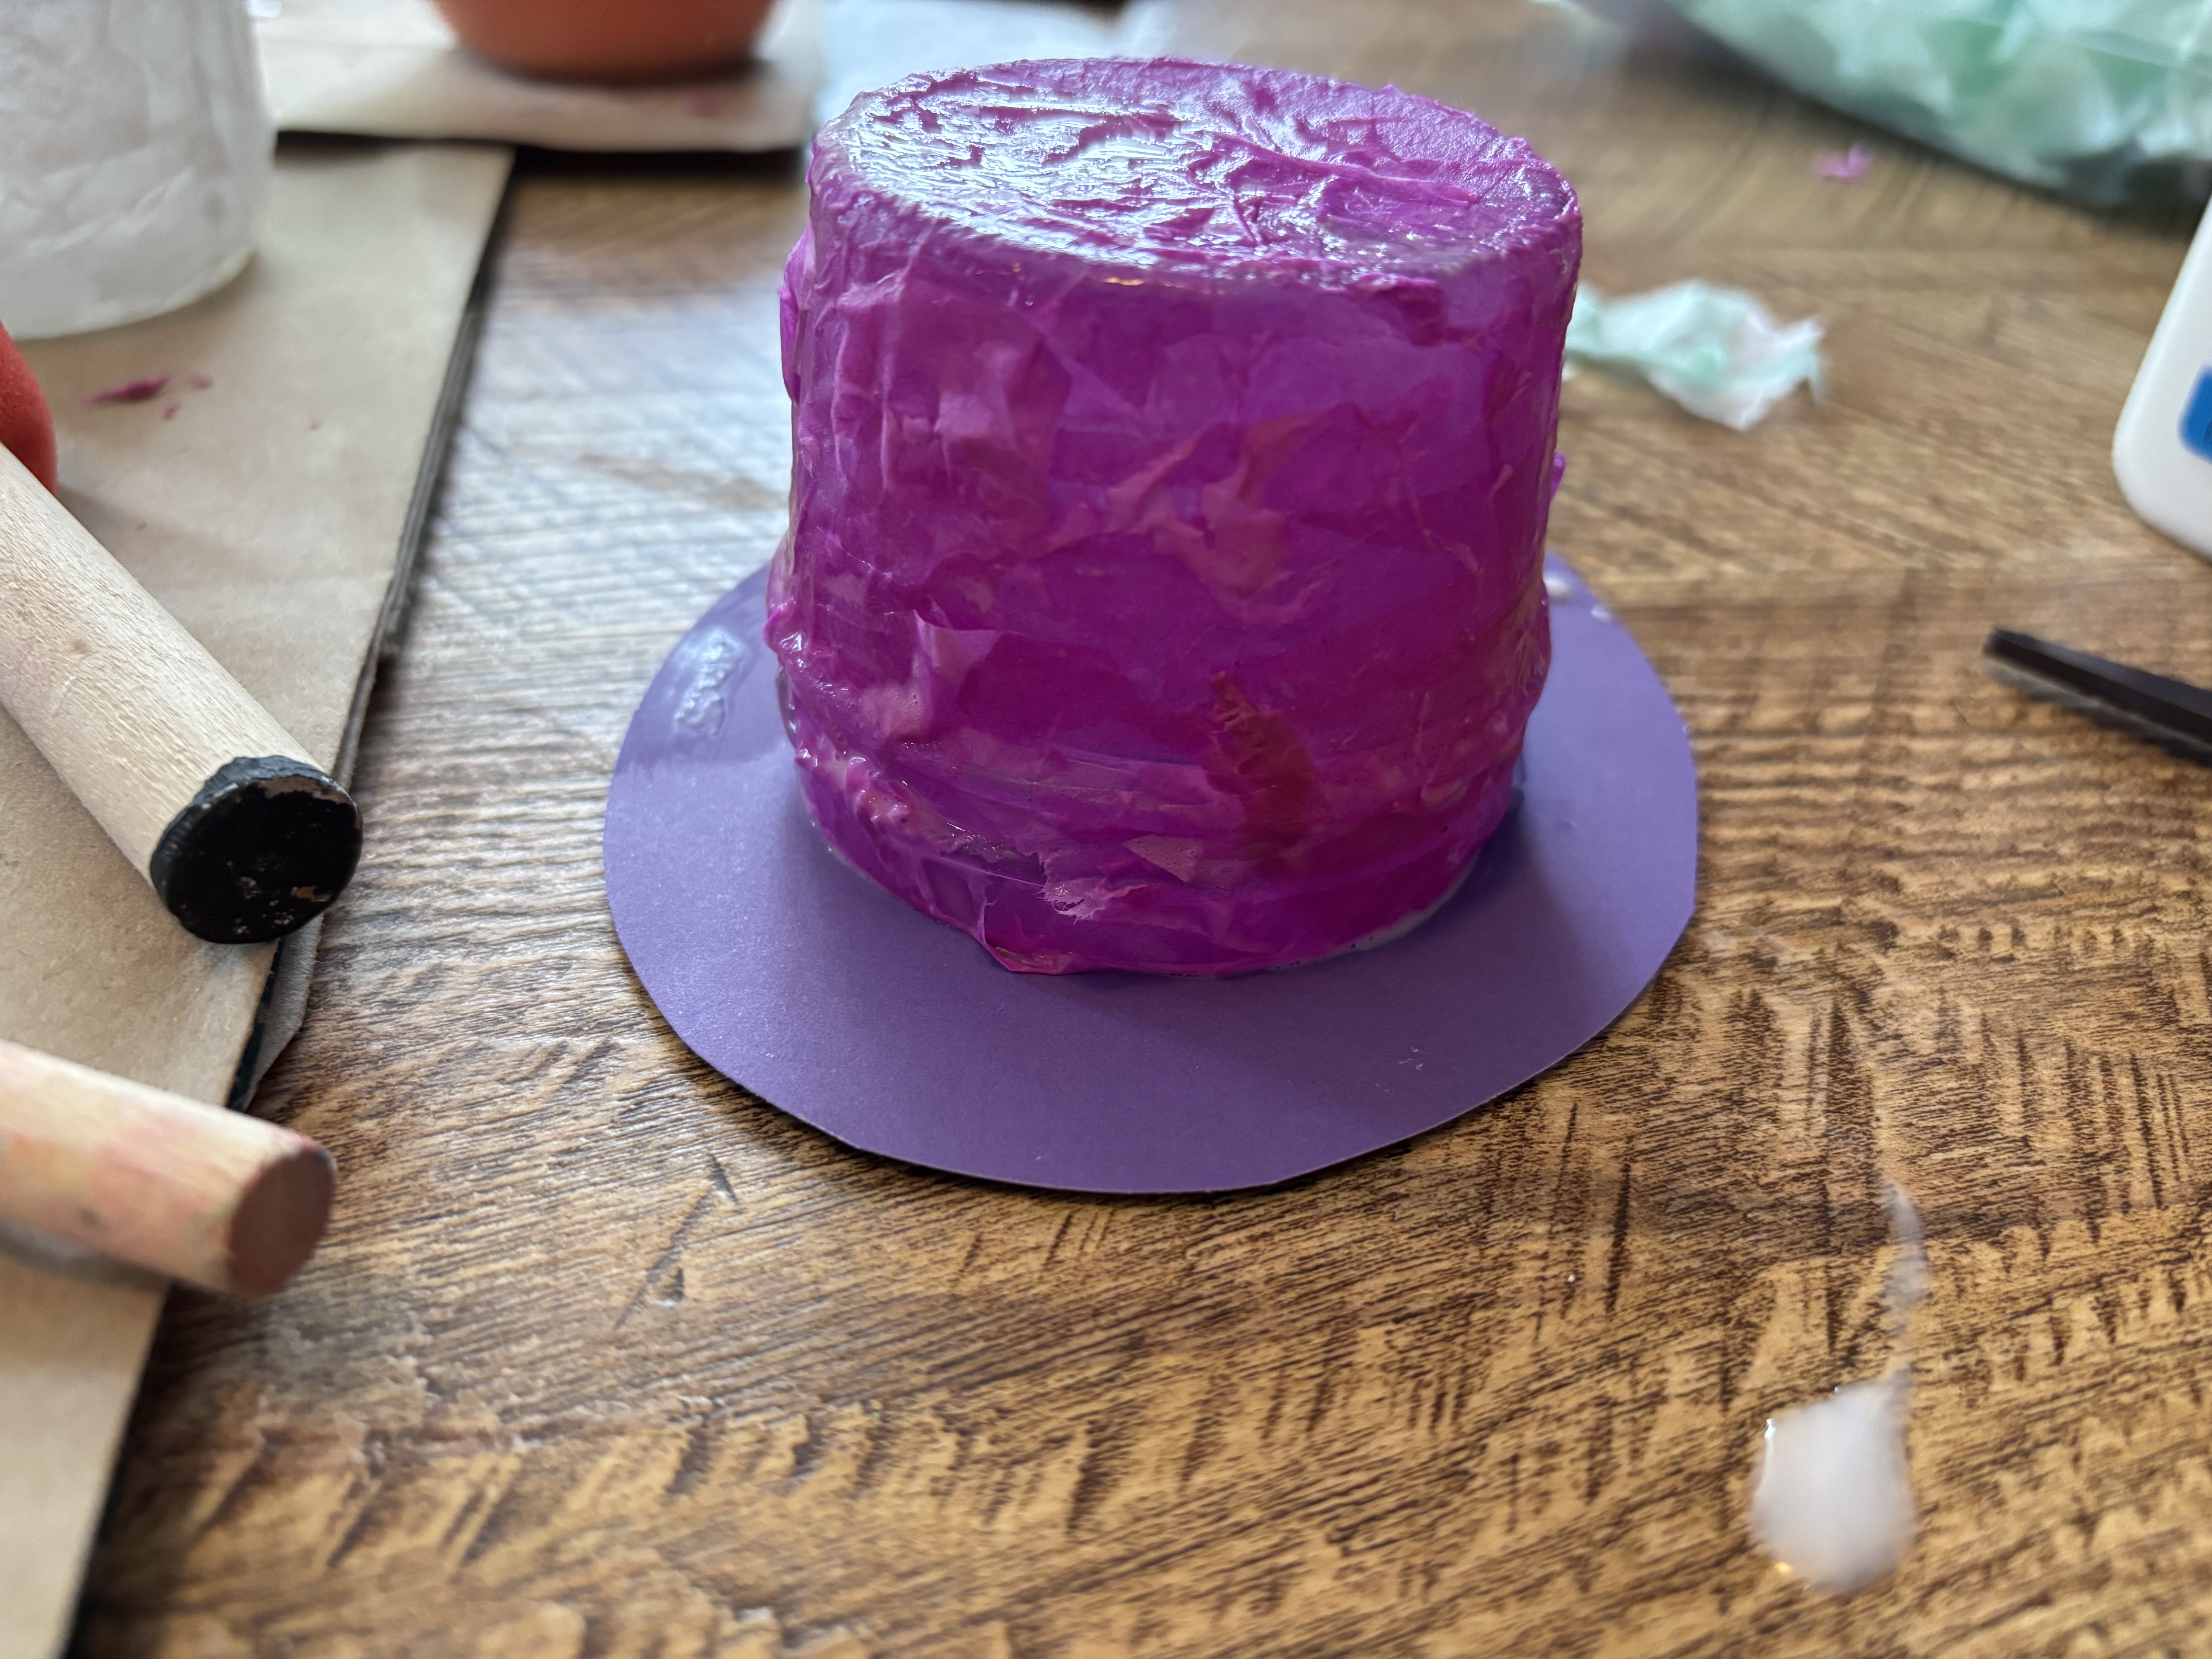
    We wanted to give our witch character a hat. We used a much smaller jelly jar and covered it in tissue paper just like we did for the witch's face. Then, we turned it upside down and glued it to a piece of construction paper that we cut into a circle for the brim.

    Step 8: Light them up!

    Add a LED candle inside to make your jars glow! They look great in a windowsill on a spooky night.
  3. 3

    Clean up

    Put things away so your space is tidy for next time.

    Tidy up our space

    Put away our supplies

    Check off each supply when it is put away — and any clean-up tips underneath are done too. You might find a fun surprise!

    • A cartoon of Googly Eyes
      Where they belong:
    • A cartoon of White Glue
      Where they belong:
      • — Don't forget! Close glue lids.
    • A cartoon of Foam Brushes
      Where they belong:
      • — Don't forget! Rinse your foam brushes well and let them dry before storing them.
    • A cartoon of Tissue Paper
      Where they belong:
    • A cartoon of Construction Paper
      Where they belong:
    • A cartoon of Decoupage Medium
      Where they belong:
      • — Don't forget! Close the Mod Podge (or similar medium) lid tightly.
    • A cartoon of Glass Jars
      Where they belong:
    • A cartoon of Water
      Where they belong:
    • A cartoon of String
      Where they belong:
    • A cartoon of LED Tea Lights
      Where they belong:

    Update what we have left

    Did we run out of anything while making this project? Update our supply cupboard so that we know exactly what we have for next time.

    This project could unlock 4 creative buddies. Sign in to unlock them.

  4. 4

    Save

    Your creative buddy says:
    "Way to stick with it!"

    Create a free account to save your digital masterpiece to the Art Gallery.

Use what’s already at home

Snap a junk-drawer photo and GlueStick finds projects you can start in minutes — no store trip, less expense, more creative afternoons.

+ 350 more
Supply Snap

About the Author

Abby Allen

Abby Allen is a mom, software engineer, and founder who loves to inspire kids to do more arts, crafts, and science experiments at home. When she's not busy building GlueStick, you can find her leading her Girl Scout troop or somewhere exploring with the family on their latest RV adventure.

More projects by this author