Milk Carton Easter Basket

Milk Carton Easter Basket

30-45 minutes
Ages 3-10
0
steps may need help

About This Project

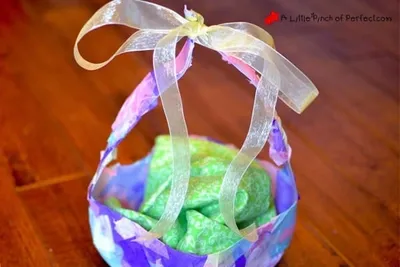
Make a cute Easter basket from an old milk carton!

Easter indoor budget-friendly eco-friendly Recycling Recycling Center basket

Steps

A photo showing how to complete this step

Remove the Label

Take the label off the milk carton. You can soak it in water with a little bit of dish soap to make it easier. Then, rub the label off with a sponge.

A photo showing how to complete this step

Mark the Milk Carton

Before you cut the milk carton, draw lines to show where to cut. Draw a line around the bottom part for the basket. Then, draw two strips on the sides to make the handle.

Cut the Milk Carton

Ask an adult to help you cut the milk carton along the lines you drew. Start cutting at the top of the carton.

A photo showing how to complete this step

Decorate the Basket

Use tissue paper and Mod Podge to decorate your basket. Dip the tissue paper squares in the glue and stick them onto the basket. Let it dry completely.

Connect the Handle

Once the basket is dry, use a rubber band to connect the two handle pieces together.

A photo showing how to complete this step

Add Ribbon (Optional)

If you want, tie a ribbon around the top of the basket to make it look extra pretty.

A screenshot showing the science lab in GlueStick
GlueStick Mascot

Ready to start your kids' creative journey?

Sign in or Join GlueStick to

  • View step-by-step, ad-free instructions for this project and many more
  • Snap a photo of your family's favorite supplies to search for other projects you can do right now
  • Share family masterpieces in our Art Gallery
  • Inspire kids from set-up to clean-up with supply scavenger hunts and unlockable avatars

About the Author

GlueStick's projects are created by our community of paid Activity Authors. Are you a creative grown-up with a passion for inspiring kids? Learn more and apply to join our author community.

Learn More