About This Project

A 60–90 minutes craft for ages 3–12, using supplies you likely already have — Cooling Racks, Vegetable Oil, and Eggs.

GlueStick supports kids from setup to cleanup. After they choose a project, we guide them through gathering the supplies, making it, and cleaning up when they're done. We'll even help them share it safely with trusted family and friends.

Ad-free and kid-safe library — designed by a mom who wants kids to explore and create independently.
Project Tags
  1. 1

    Find Supplies

    Do you have everything you need?
    Create a free GlueStick account to track supplies and see if you have what you need at a glance. Leave your kids tips about where supplies are stored in your household so they can set up and clean up their creative spaces independently.

    00:00
    A cartoon of Cooling Racks
    Unknown cupboard quantity You have: unknown
    A cartoon of Vegetable Oil
    Unknown cupboard quantity You have: unknown
    Allergen
    A cartoon of Eggs
    Unknown cupboard quantity You have: unknown
    Allergen
    A cartoon of Food Coloring
    Unknown cupboard quantity You have: unknown
    A cartoon of Paper Towels
    Unknown cupboard quantity You have: unknown
    A cartoon of Vinegar
    Unknown cupboard quantity You have: unknown
    A cartoon of Crayons
    Unknown cupboard quantity You have: unknown
    A cartoon of Plastic Cups
    Unknown cupboard quantity You have: unknown
    A cartoon of Water
    Unknown cupboard quantity You have: unknown
  2. 2

    Make Perfect Marbled Easter Eggs

    Your creative buddy says:
    "I can't wait to make a project with you!"

    Heads up! Some supplies may trigger allergies. Check with a grown-up before using them.
    Step 1: Cook your eggs

    May need grown-up help
    If you haven't already hard-boiled your eggs, make them now and let them cool. Our favorite, fool-proof 5-5-5 egg recipe uses a pressure cooker. Put the eggs in an egg trivet in the pressure cooker and set it to cook for 5 minutes. Let the steam naturally release for 5 minutes, then put in an ice bath for 5 more minutes.

    Step 2: Protect your work surface

    May need grown-up help
    Dying eggs is messy! Lay down some paper towels, old newspapers, or parchment paper to protect your table. Put on old clothes or a painting smock so you don't dye your favorite t-shirt. Set out wire cooling racks so your eggs will have somewhere to dry. Placing wet eggs back in a paper egg carton can cause them to stick.

    Step 3: Prepare your colors

    May need grown-up help
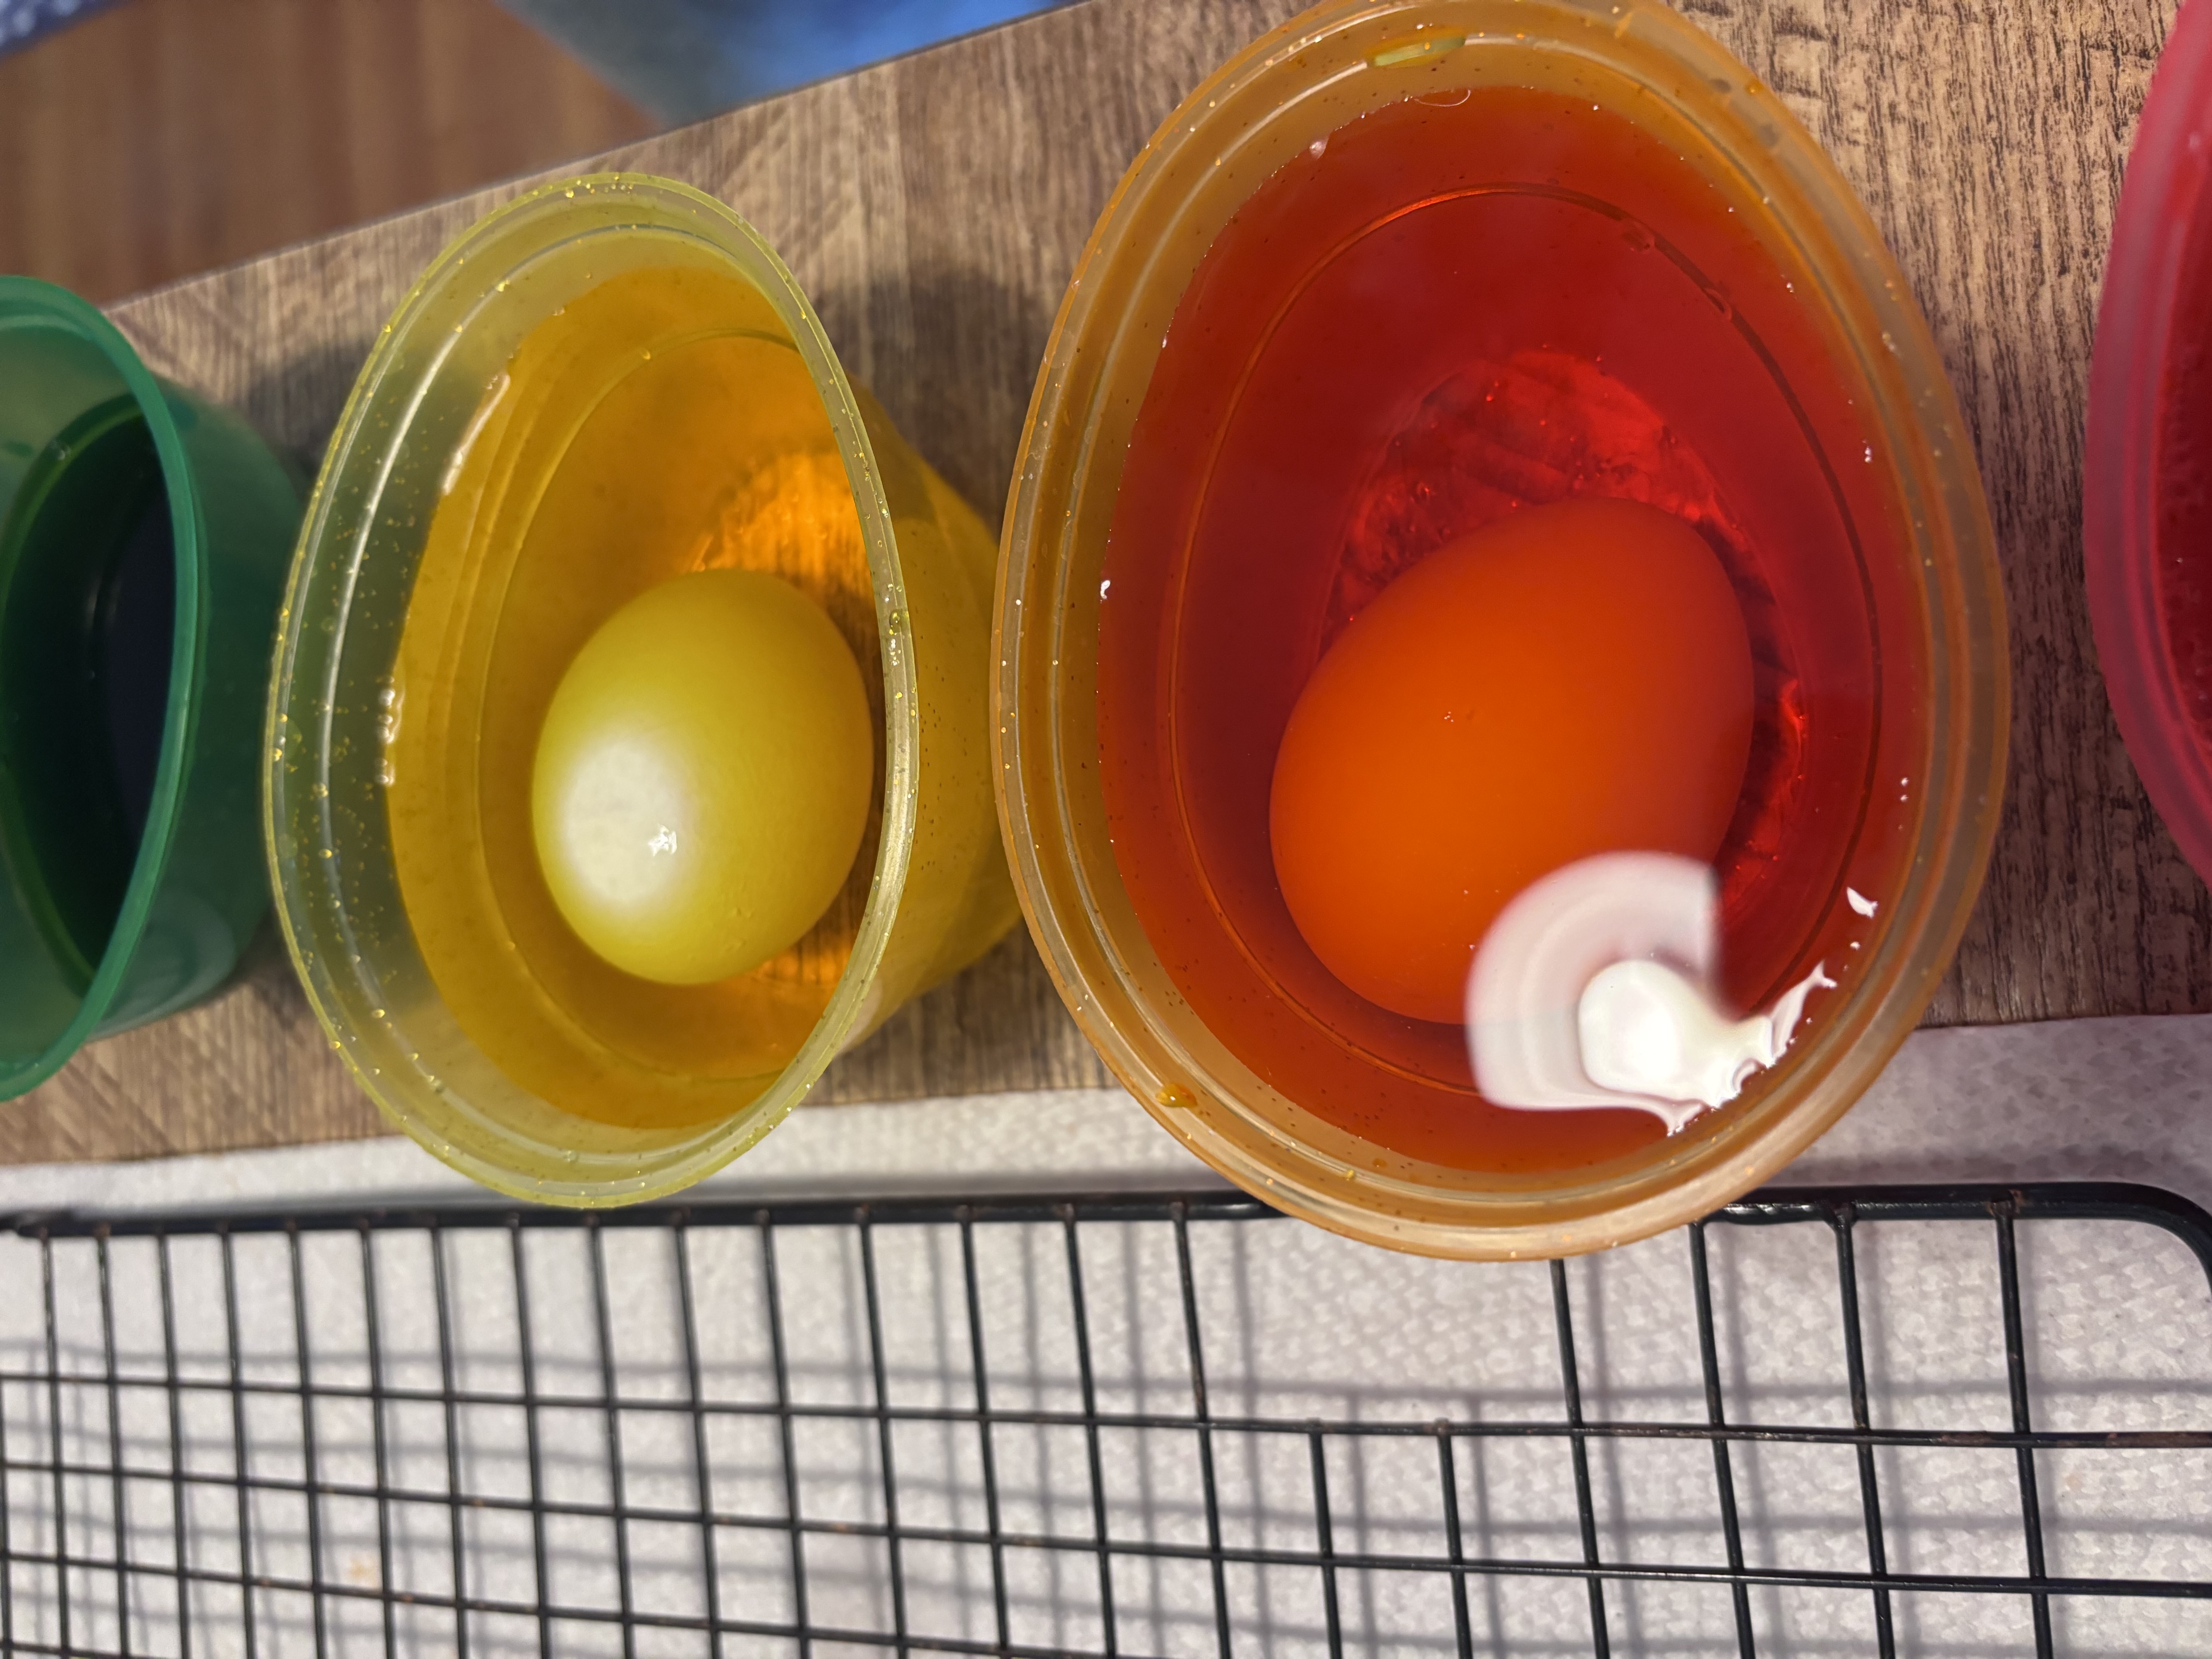
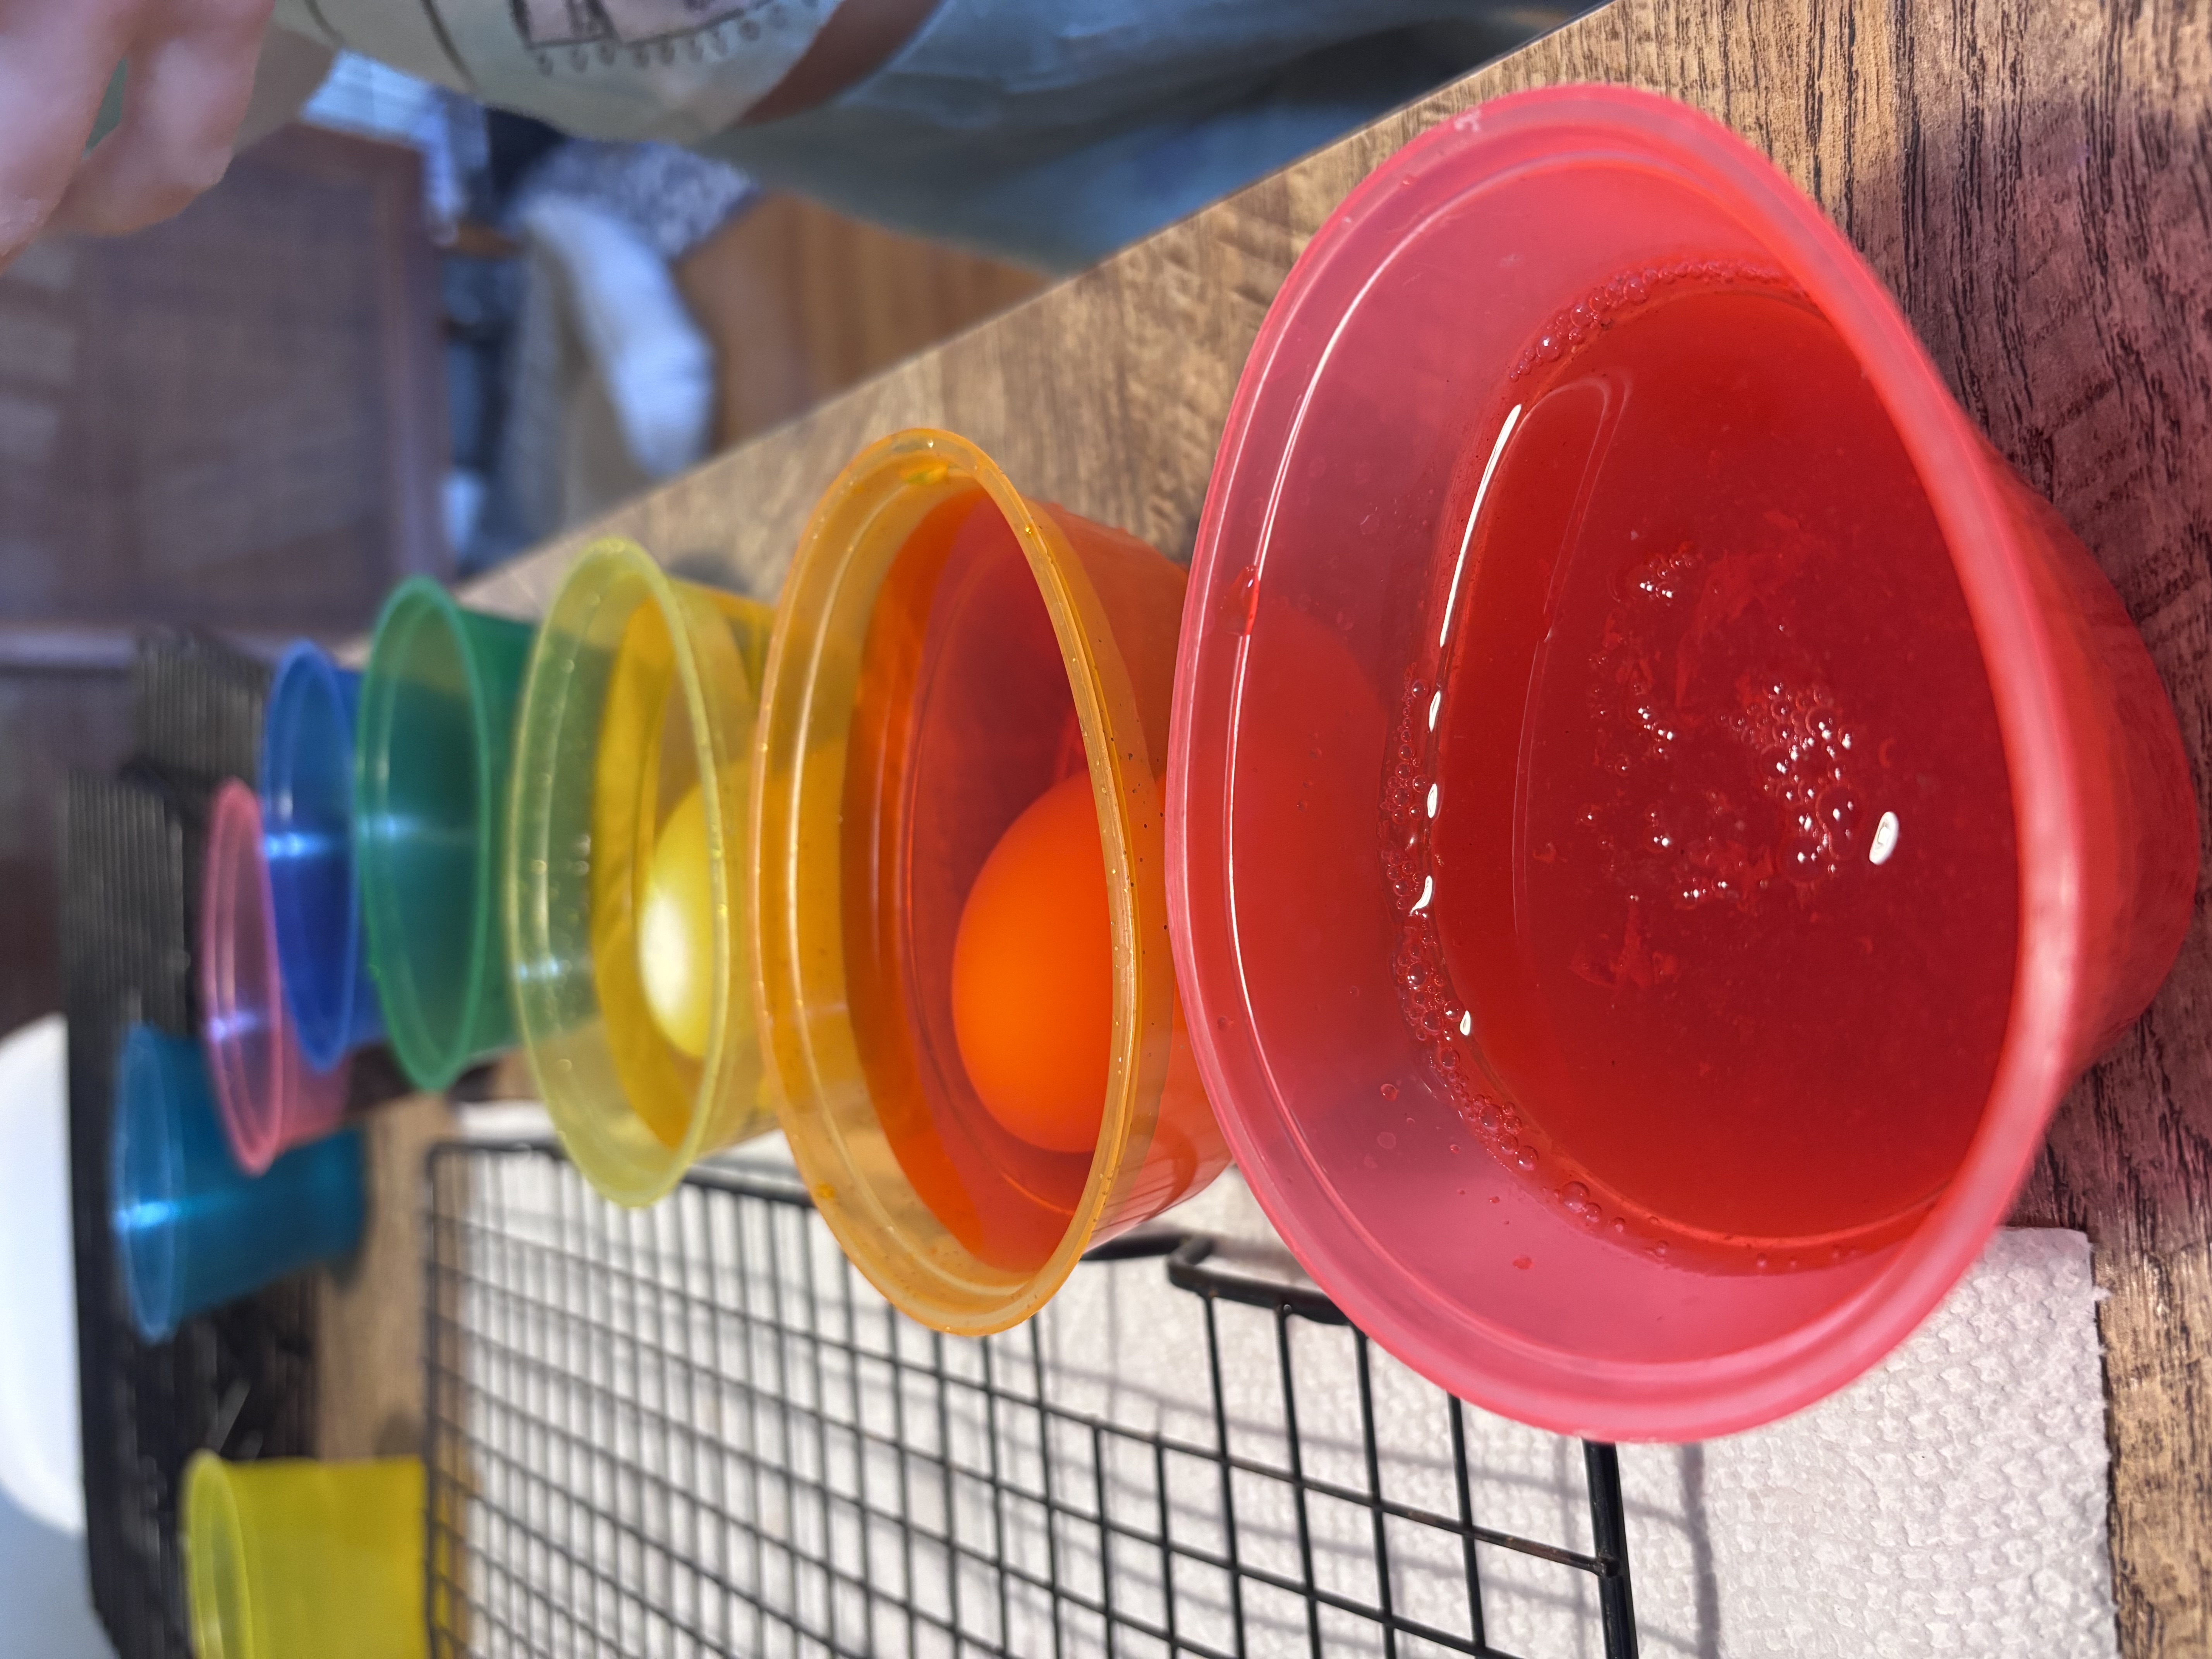
    Fill each plastic cup with enough water to fully cover an egg. This is usually about 1/2-3/4 cup of water per color, but it will vary depending on the size of the cups you are using. Splash about 1 tsp of vinegar into each cup. The vinegar helps the colors stay vibrant. Then, add at least 5-8 drops of food coloring in each cup. For a softer, pastel color, use less coloring. For a bolder color, put more food coloring and plan to leave the egg in the dye longer.

    Step 4: (Optional) Add a Message

    May need grown-up help
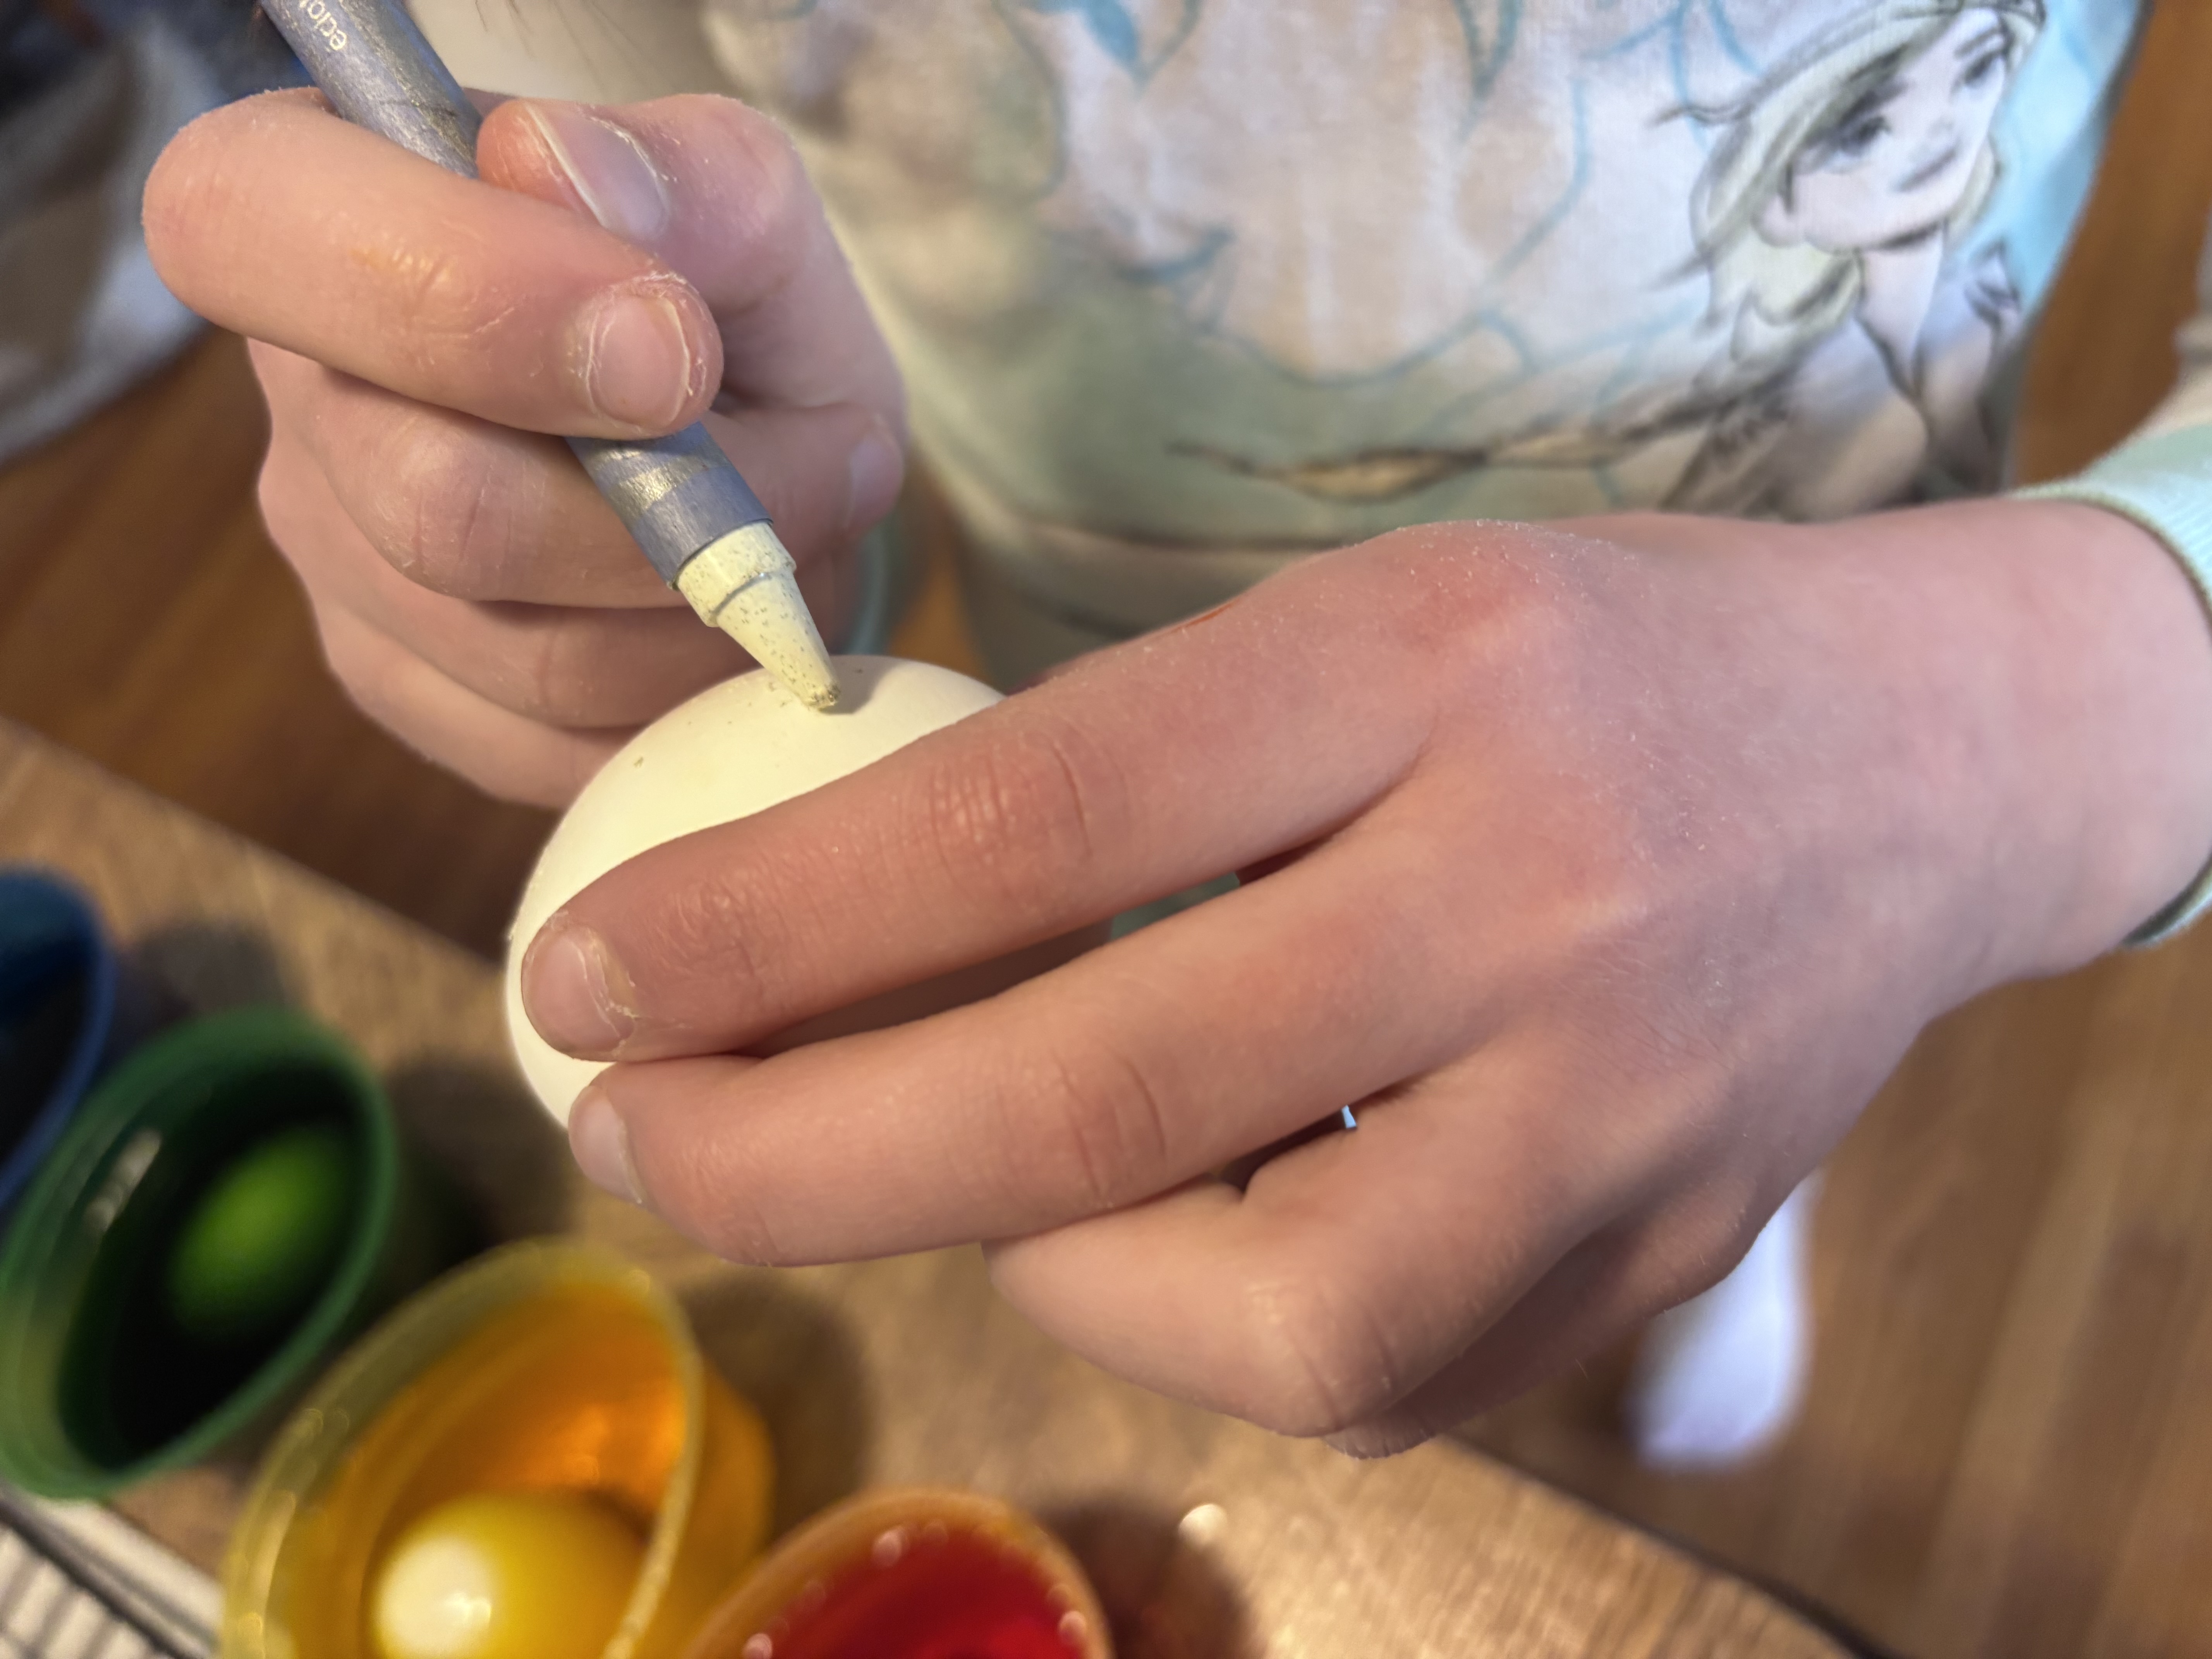
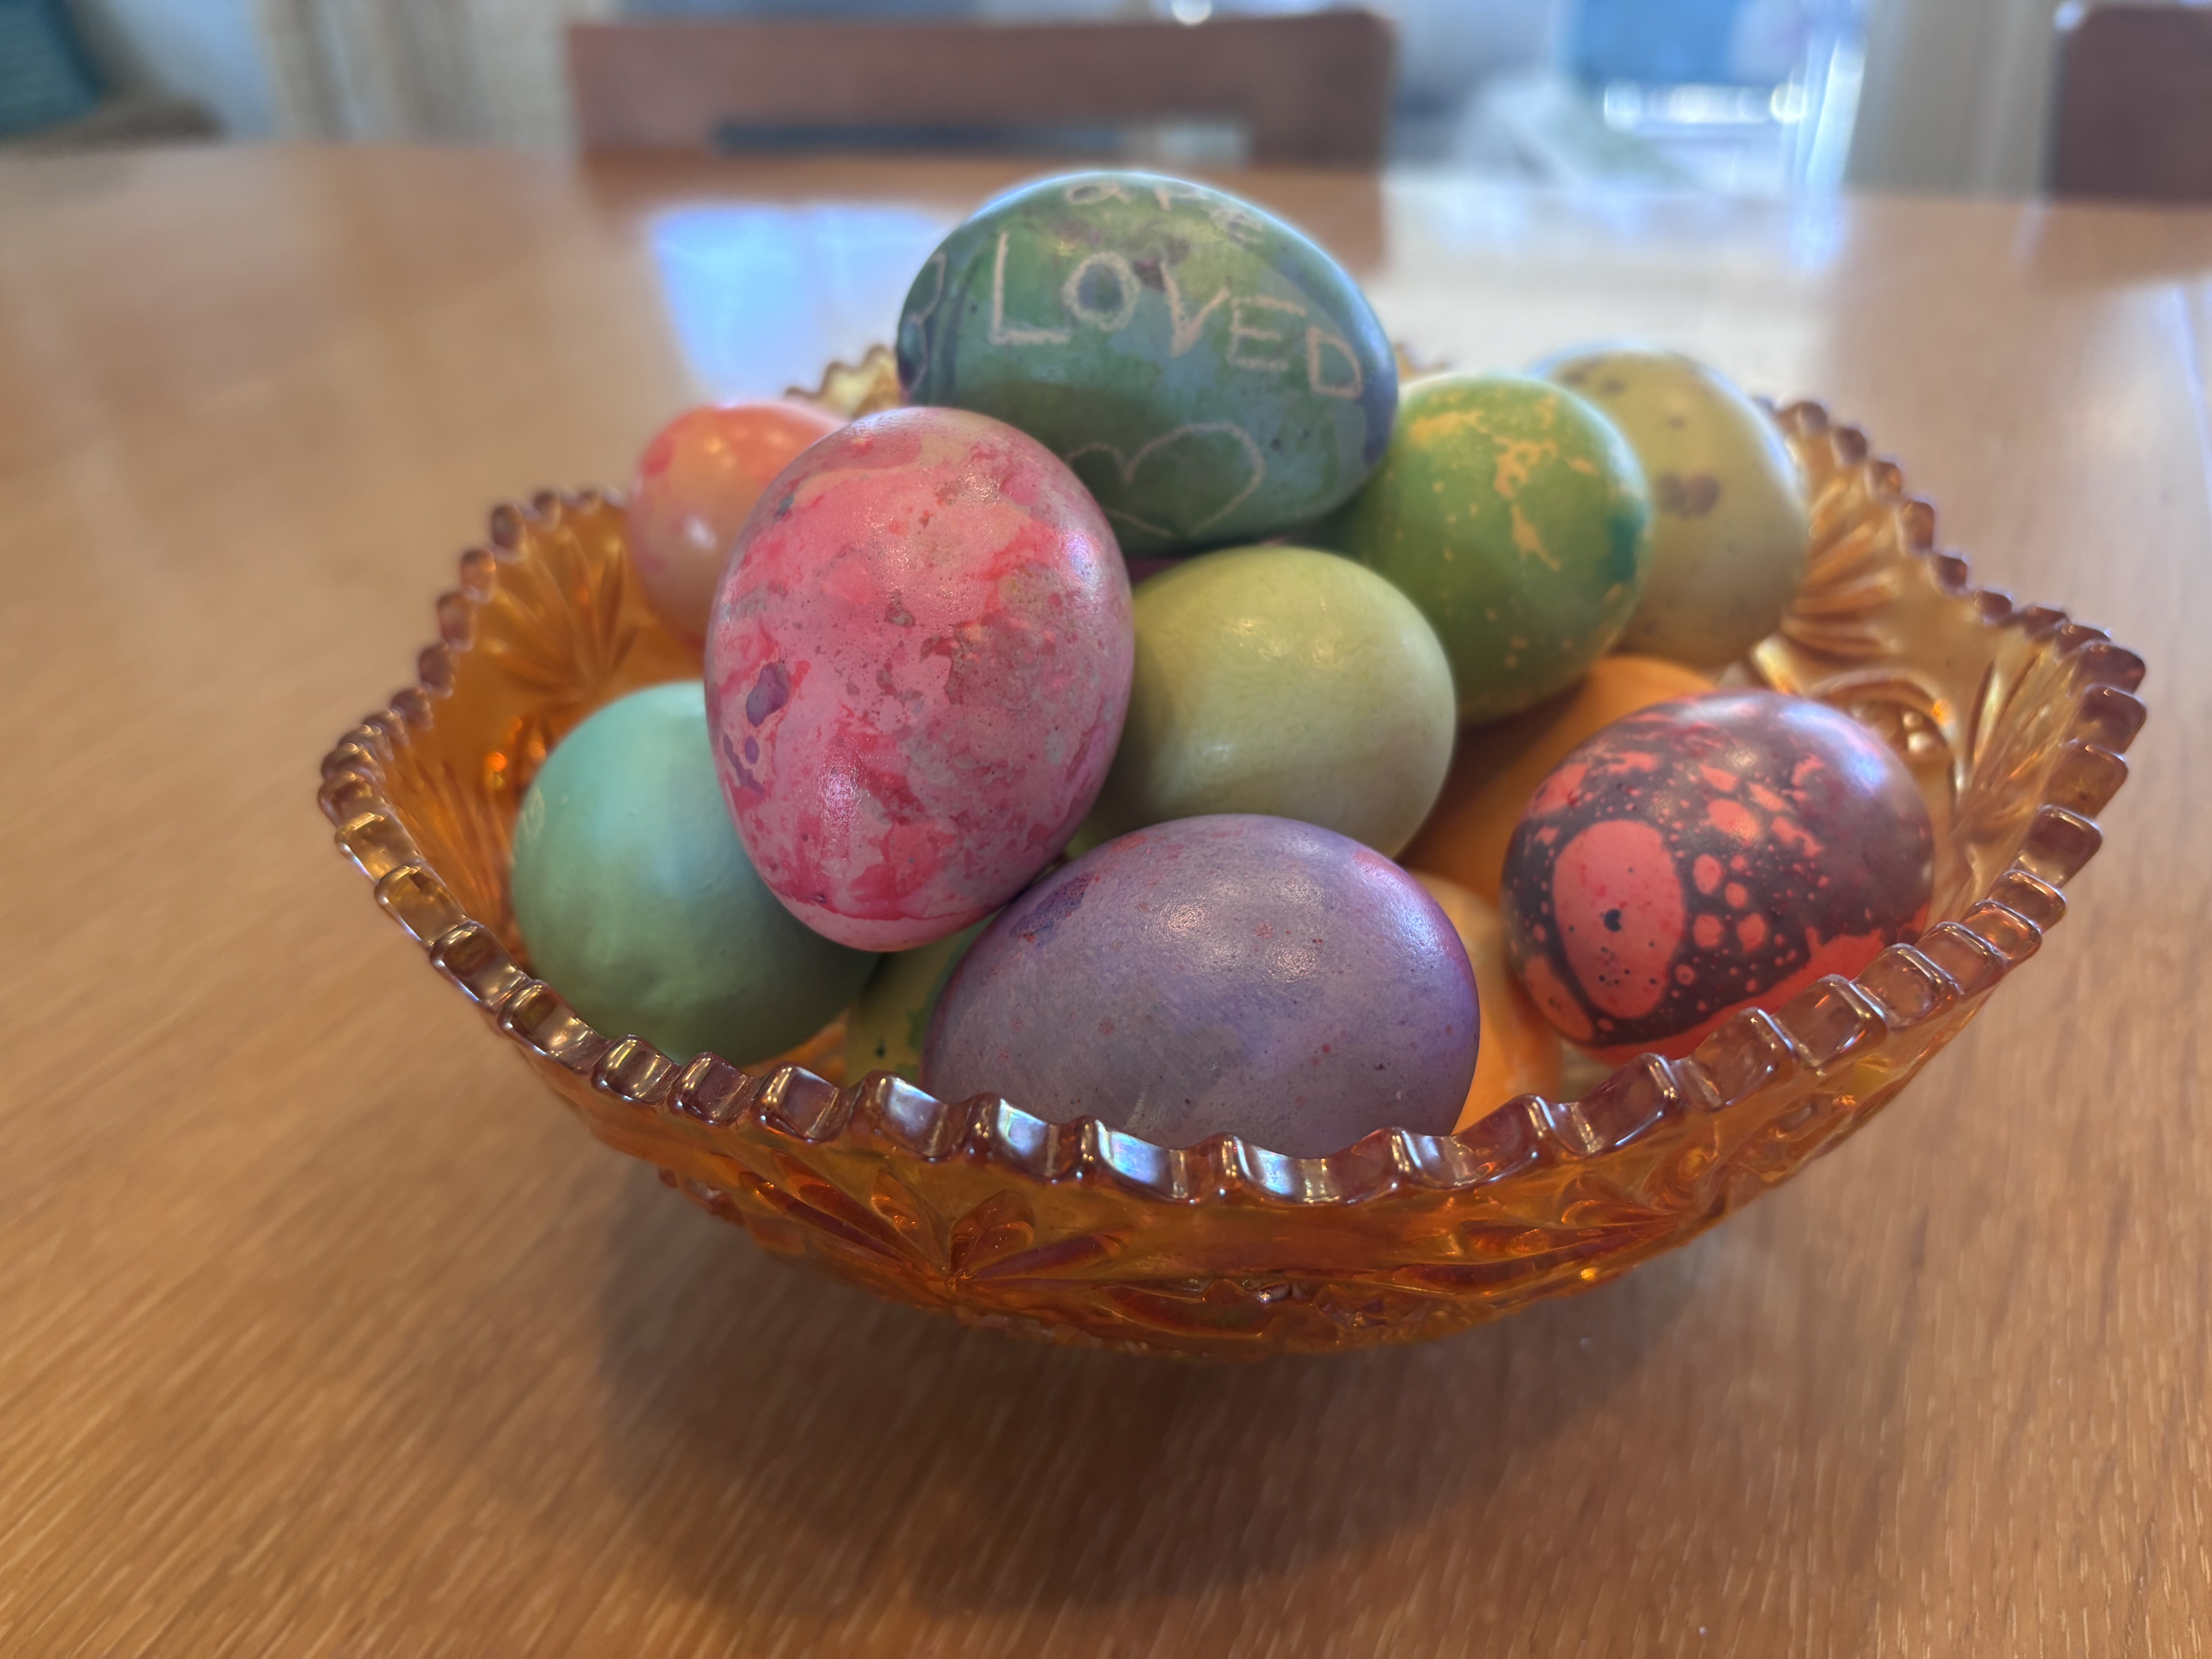
    Use a white crayon to draw a picture or write a message onto your egg. The waxy crayon will prevent the dye from sticking to the egg, leaving your message behind.

    Step 5: Dye the base coat

    May need grown-up help
    Starting with ligther colors, dye each egg a base color by placing it in the plastic cup. The longer you leave it in the dye, the darker it will become.

    Step 6: Add oil and more food coloring

    May need grown-up help
    Once all of your eggs have been dyed a base color and are mostly dry, add about 1/2 tsp of oil to each of your dye cups. It doesn't have to be precise. Darker colors marble best, so add a few more drops of food coloring to each cup. Stir.

    Step 7: Dye again

    May need grown-up help
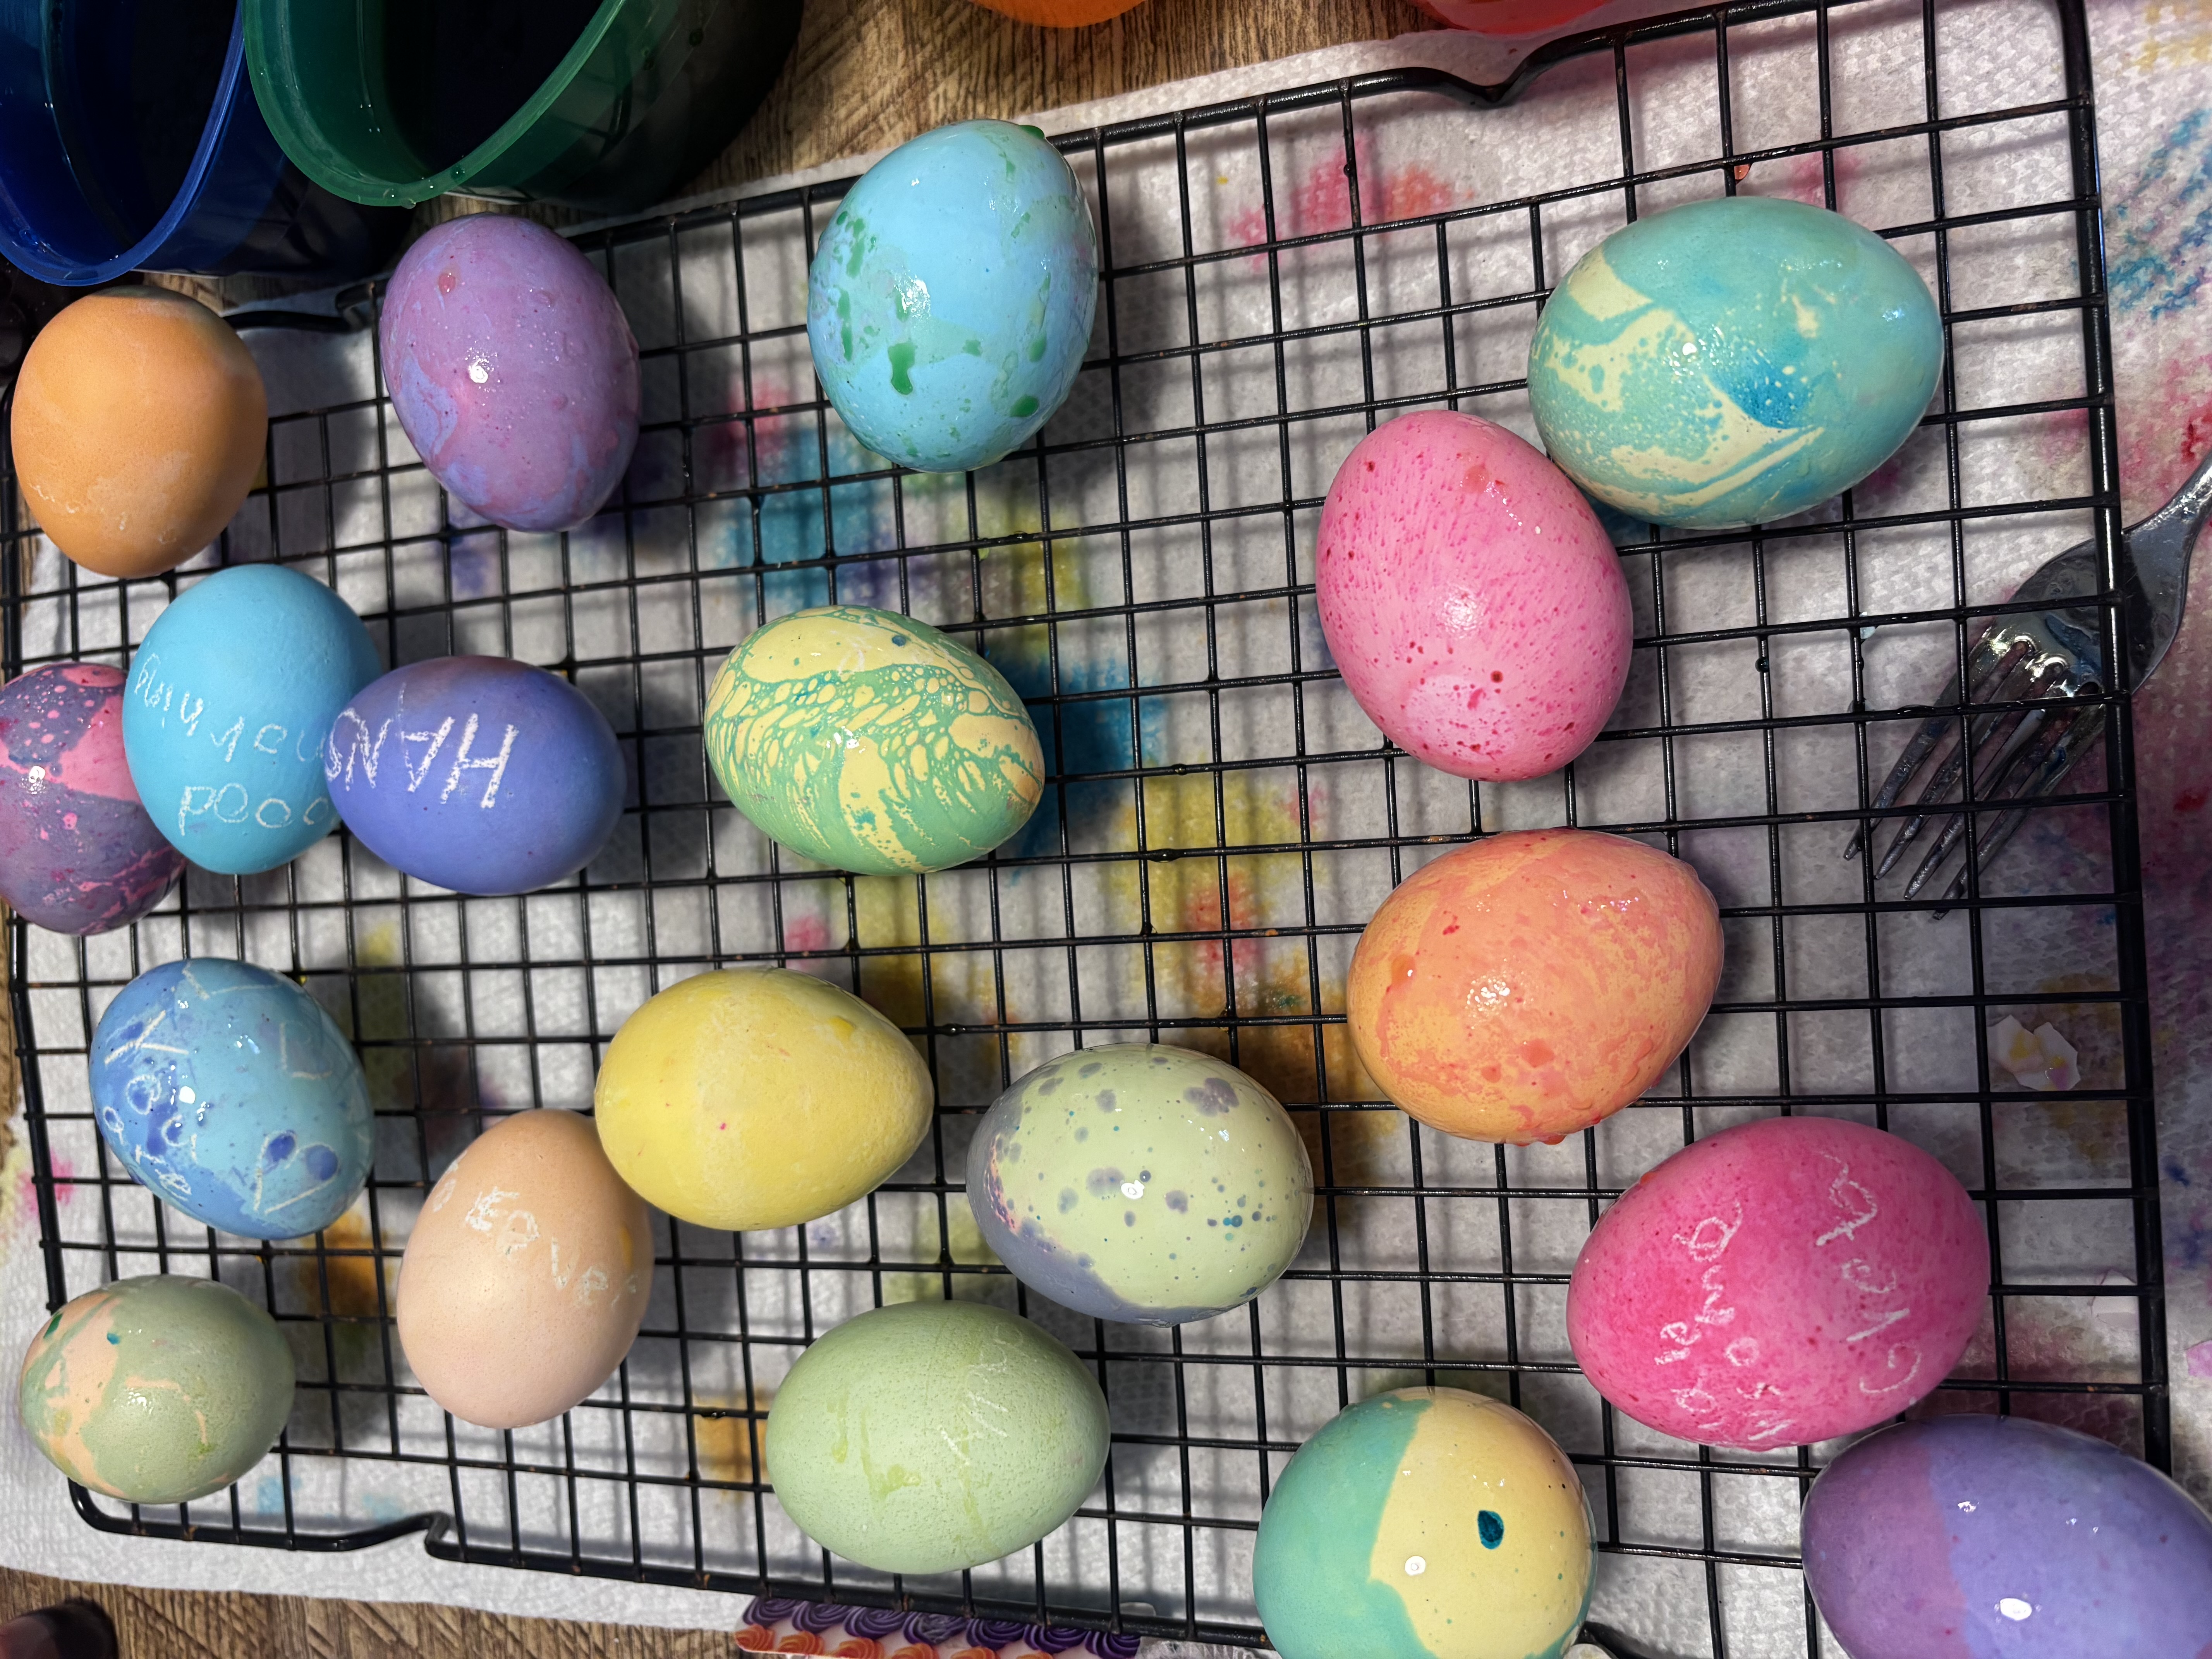
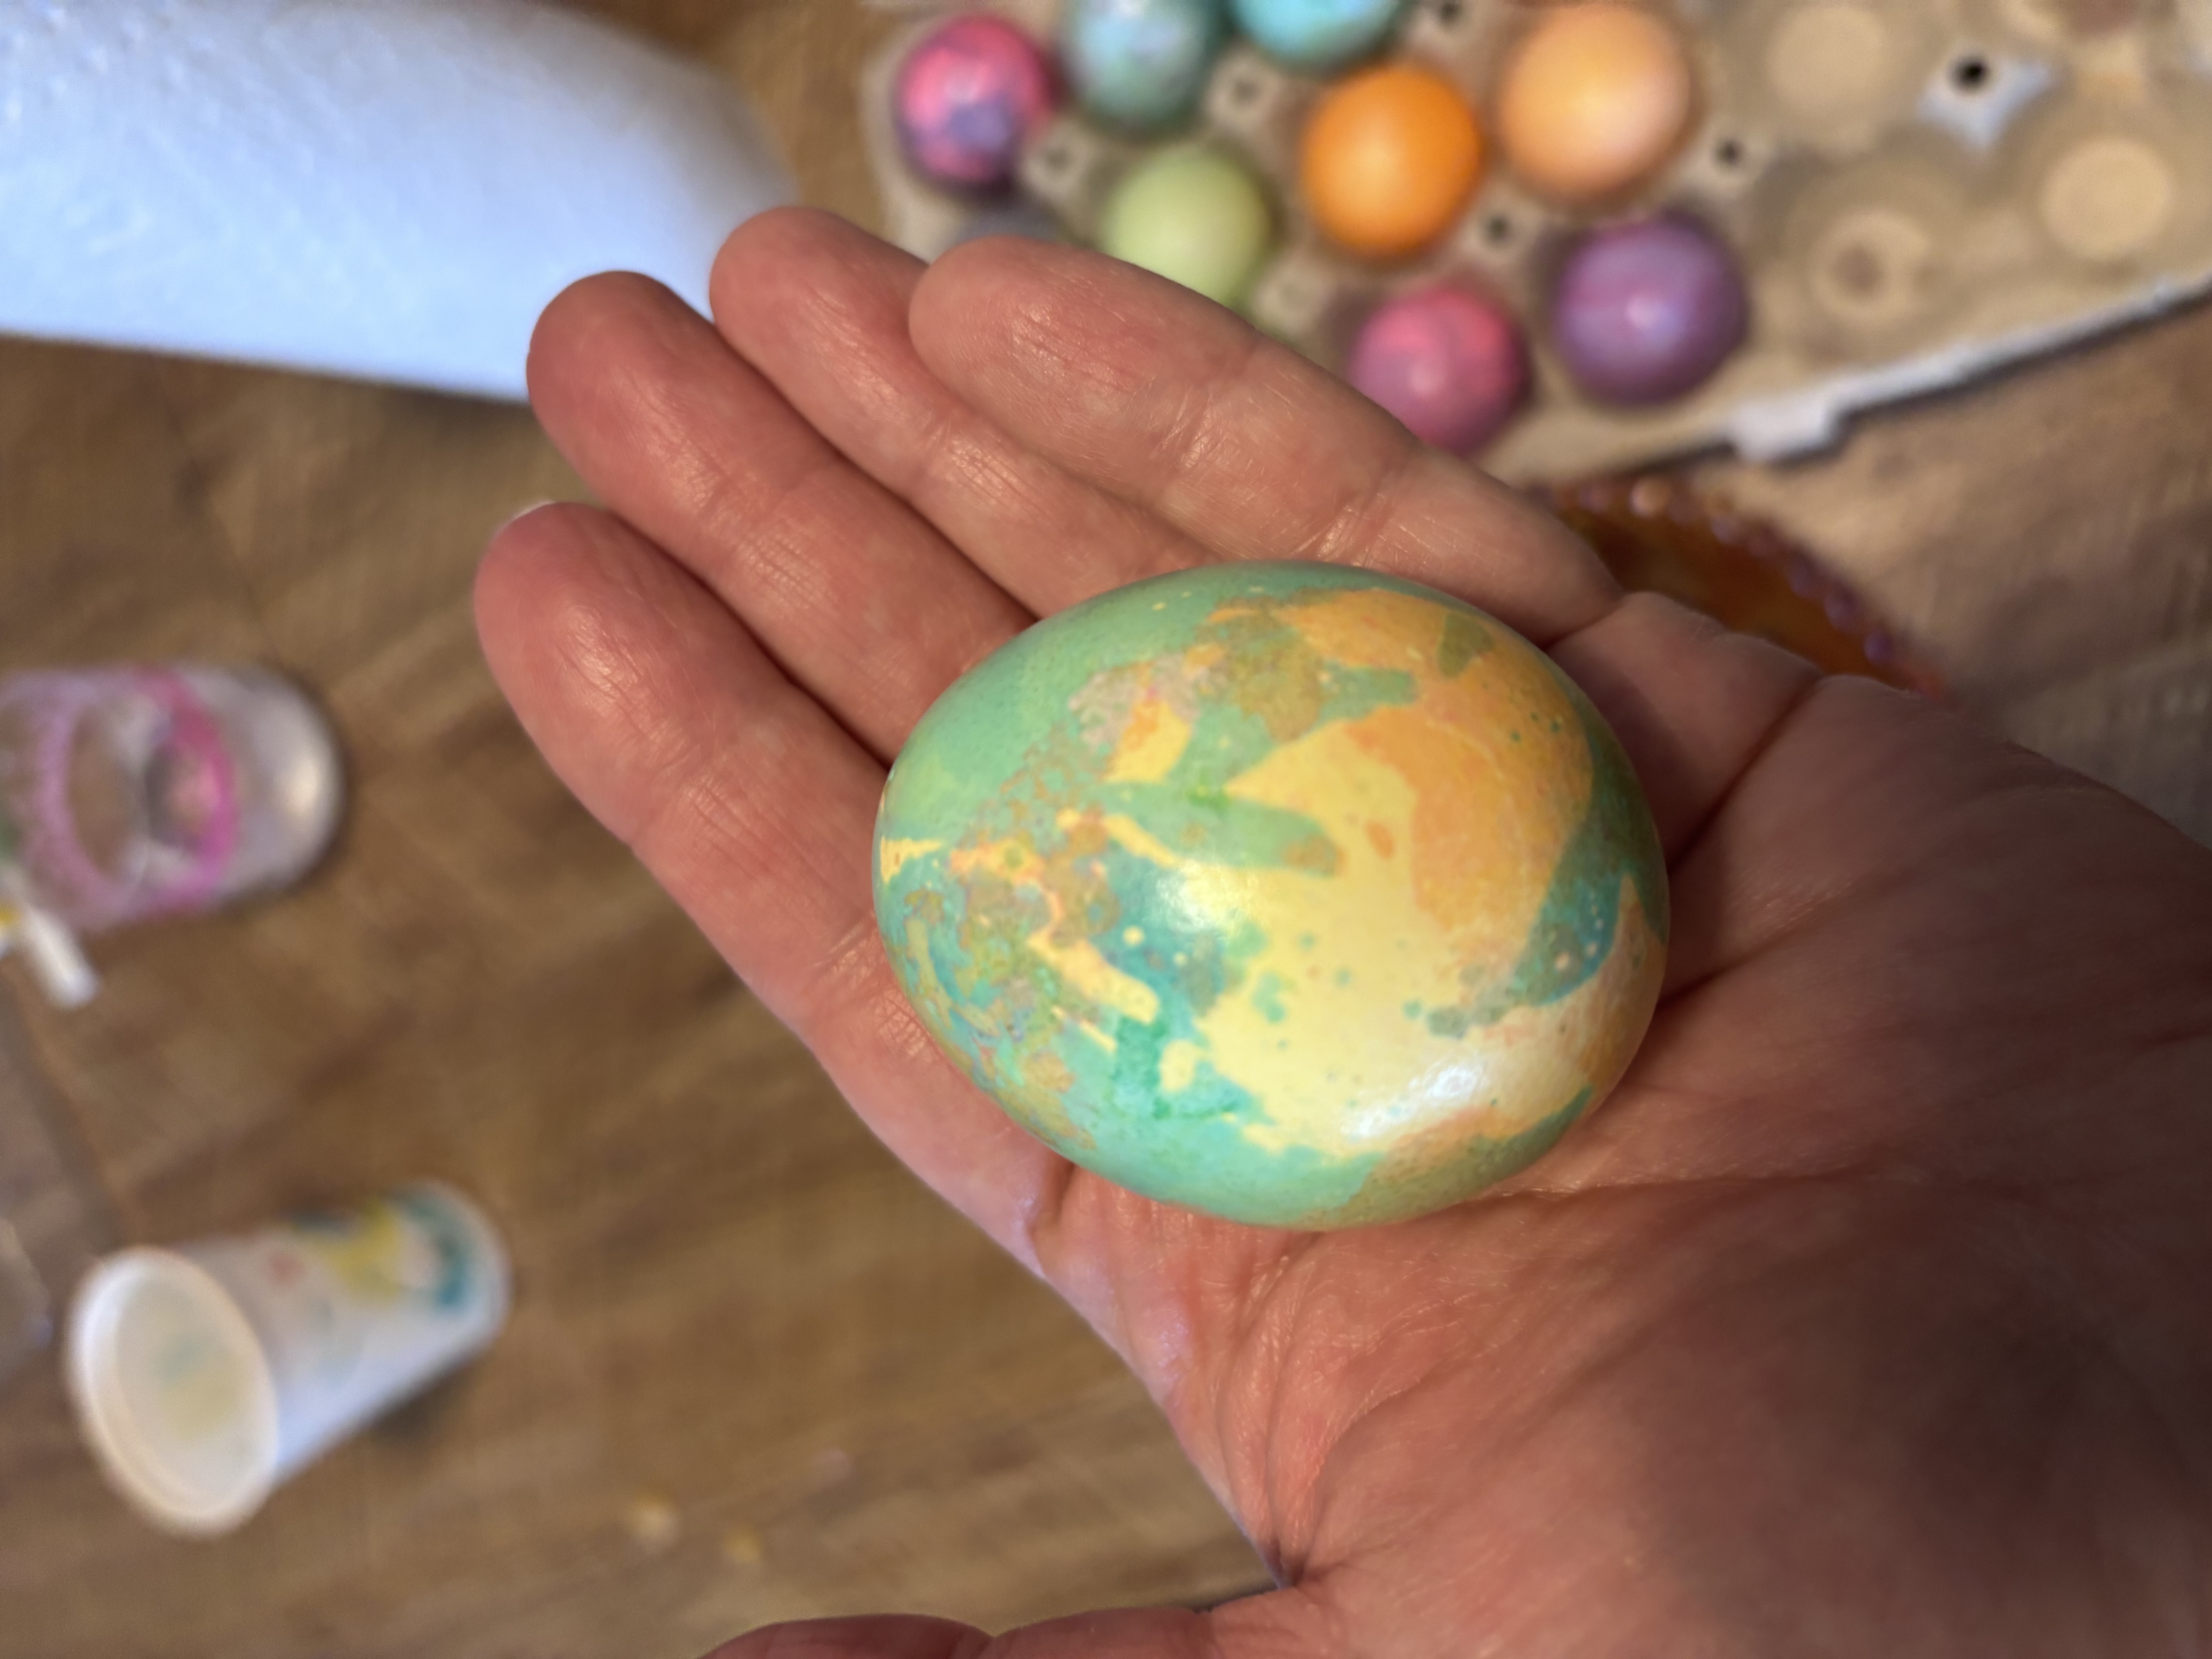
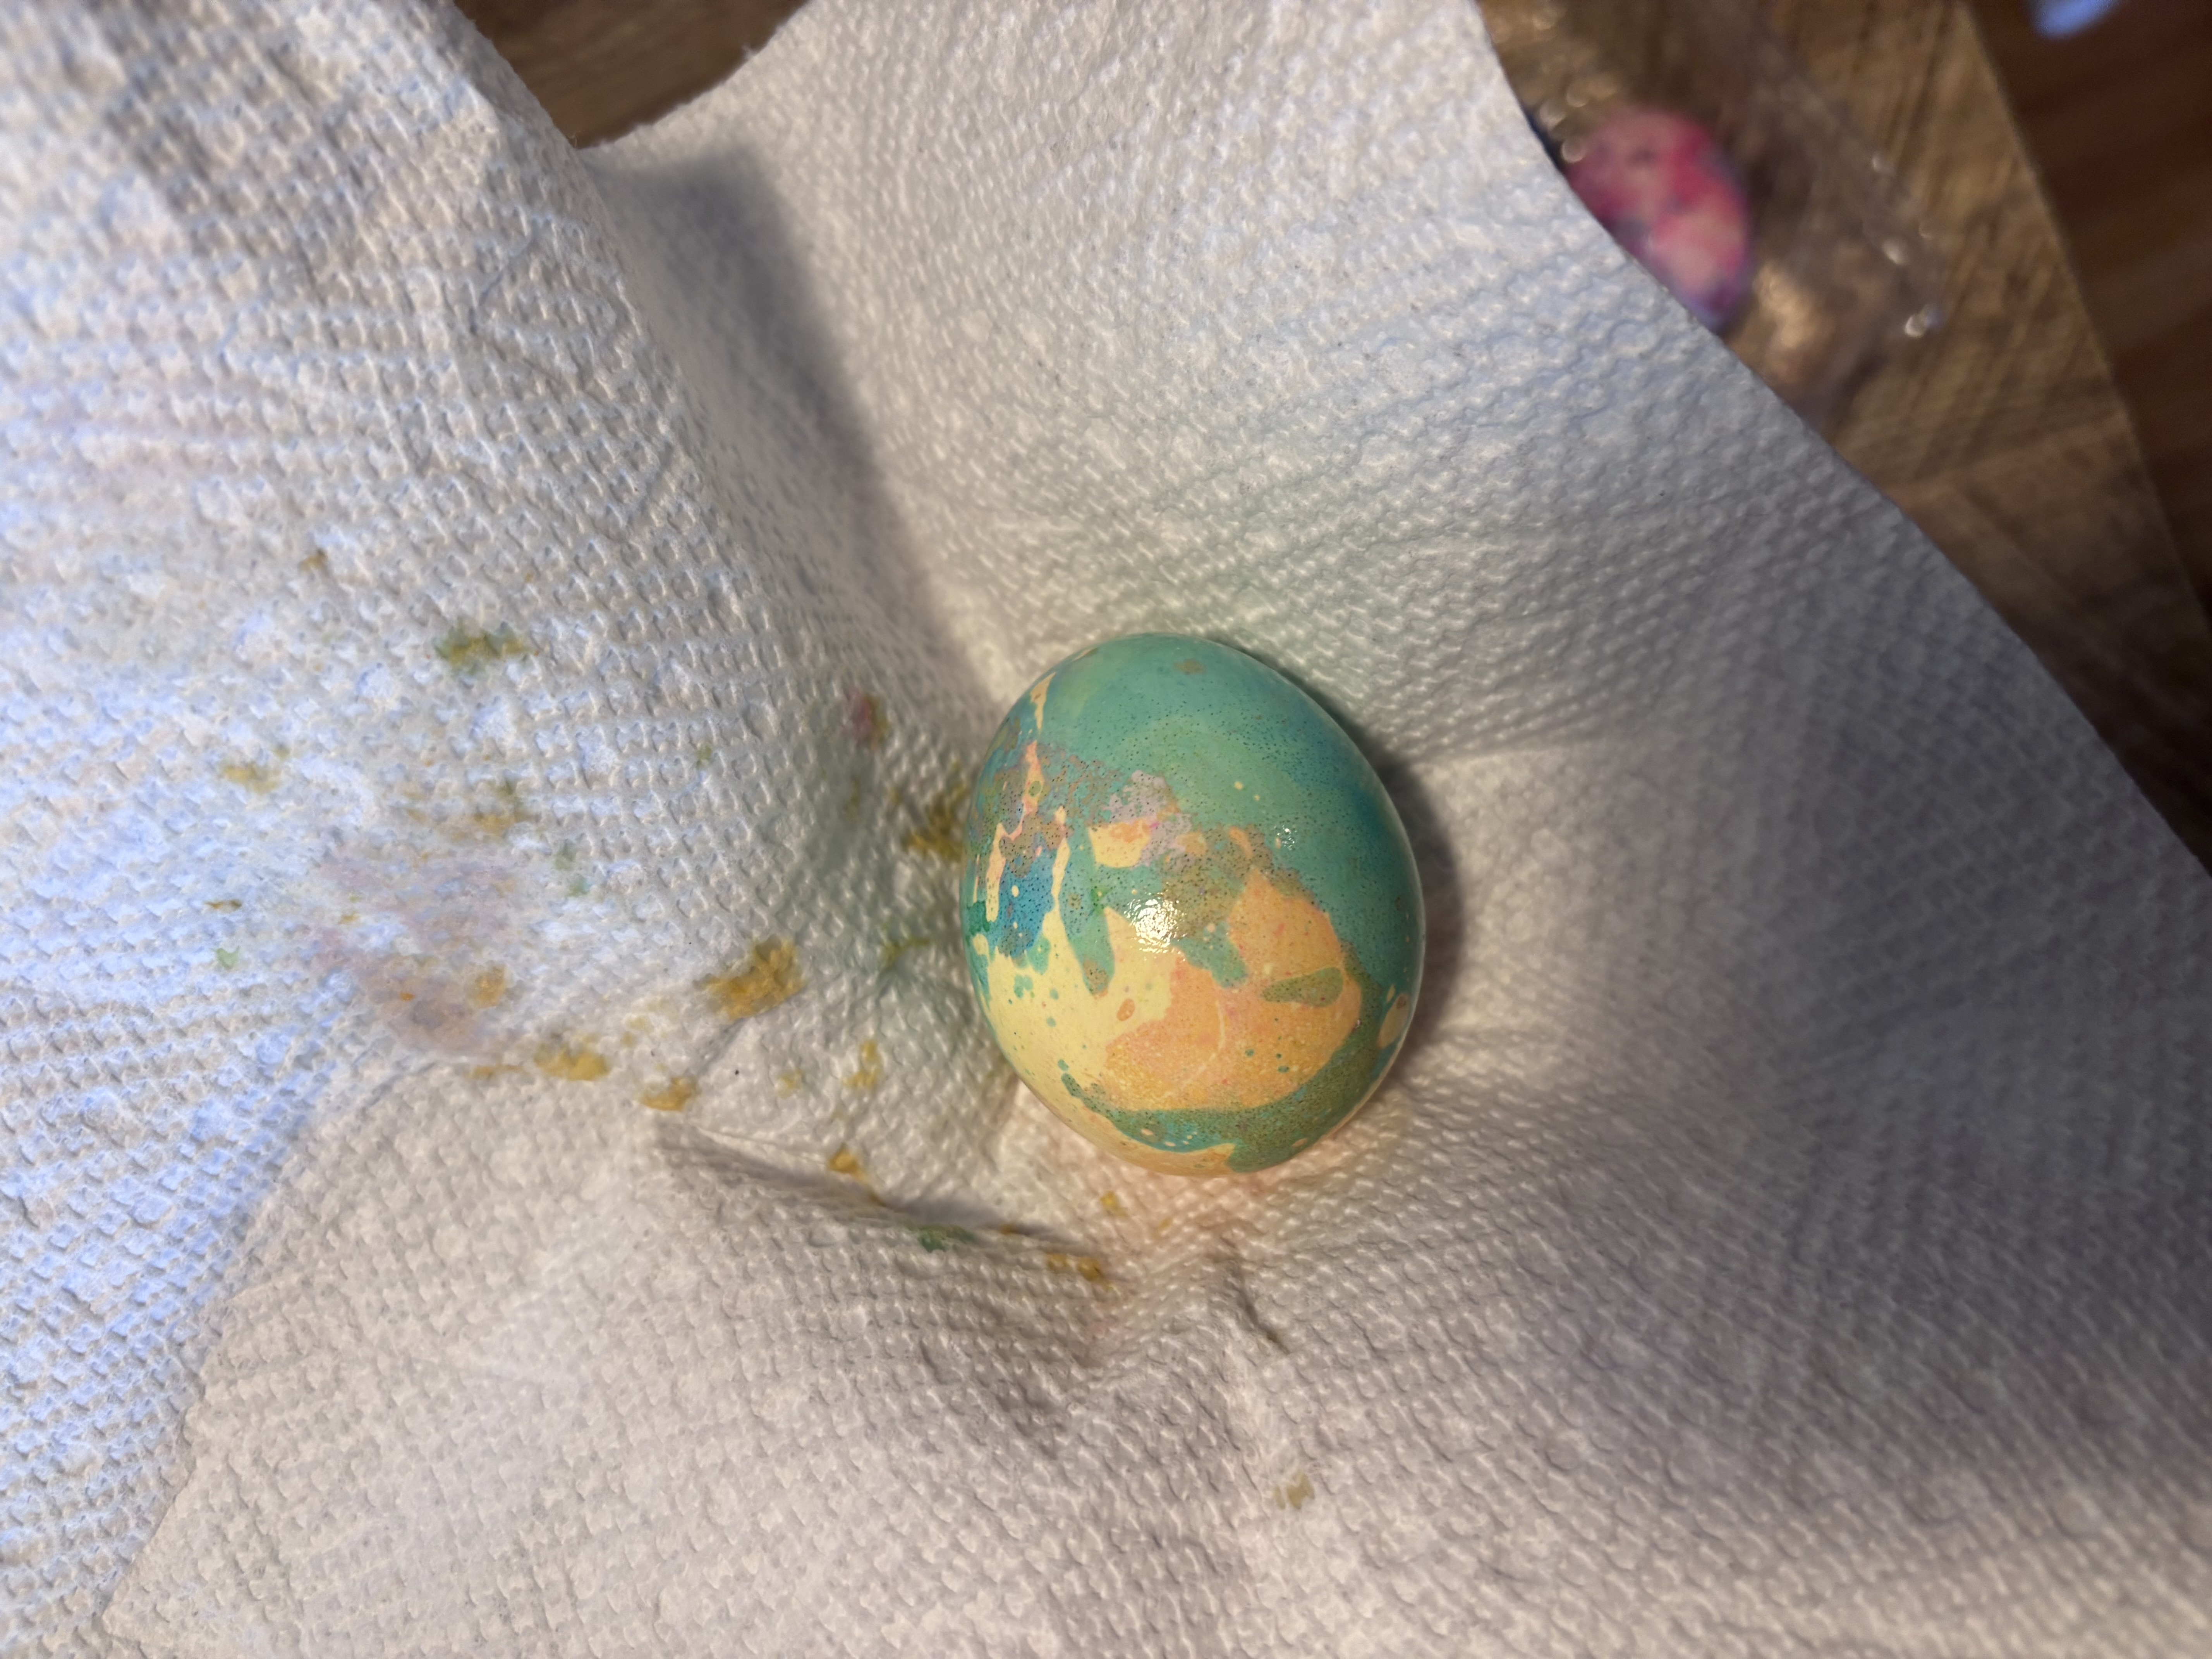
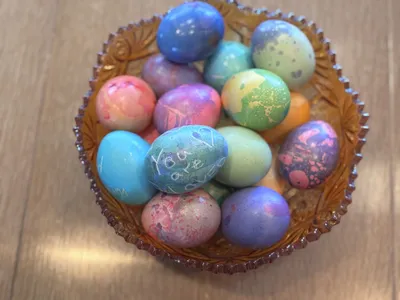
    Dip your eggs into the oily dye again. The oil will prevent the dye from sticking to all of the egg, leaving awesome marble patterns. Set your eggs on the wire rack to dry between coats.

    Step 8: Add multiple dye coats

    May need grown-up help
    You don't have to stop at just one color! Dip your eggs into the oily dye multiple times for beautiful, tie-dyed effects. This works best if you let the eggs dry between each step.

    Step 9: Wipe off excess oil

    May need grown-up help
    The oil on the eggs will keep them from drying completely. Once the color is set, use a paper towel to wipe off extra oil.

    Step 10: Display

    Put your completed eggs in a beautiful bowl and enjoy them on Easter morning!
  3. 3

    Clean up

    Put things away so your space is tidy for next time.

    Reminder, this project used supplies that may trigger allergies. Store them safely!

    Tidy up our space

    Put away our supplies

    Check off each supply when it is put away — and any clean-up tips underneath are done too. You might find a fun surprise!

    • A cartoon of Vegetable Oil
      Where they belong:
    • A cartoon of Eggs
      Where they belong:
    • A cartoon of Food Coloring
      Where they belong:
      • — Don't forget! Replace all the food coloring caps.
    • A cartoon of Paper Towels
      Where they belong:
    • A cartoon of Vinegar
      Where they belong:
    • A cartoon of Crayons
      Where they belong:
    • A cartoon of Plastic Cups
      Where they belong:
    • A cartoon of Water
      Where they belong:
    • A cartoon of Cooling Racks
      Where they belong:

    Update what we have left

    Did we run out of anything while making this project? Update our supply cupboard so that we know exactly what we have for next time.

    This project could unlock 5 creative buddies. Sign in to unlock them.

  4. 4

    Save

    Your creative buddy says:
    "What a fabulous project!"

    Create a free account to save your digital masterpiece to the Art Gallery.

Use what’s already at home

Snap a junk-drawer photo and GlueStick finds projects you can start in minutes — no store trip, less expense, more creative afternoons.

+ 350 more
Supply Snap

About the Author