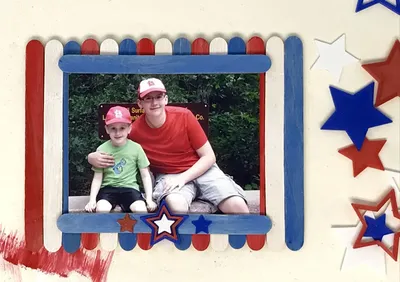
Project Supplies

Log in to GlueStick to track your supplies and seeif you have everything you need.

About This Project

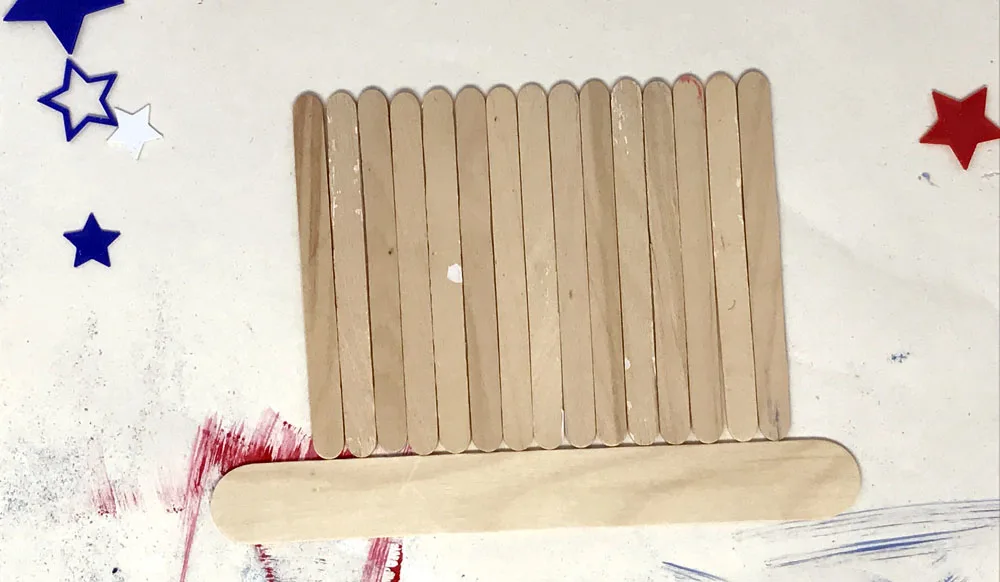
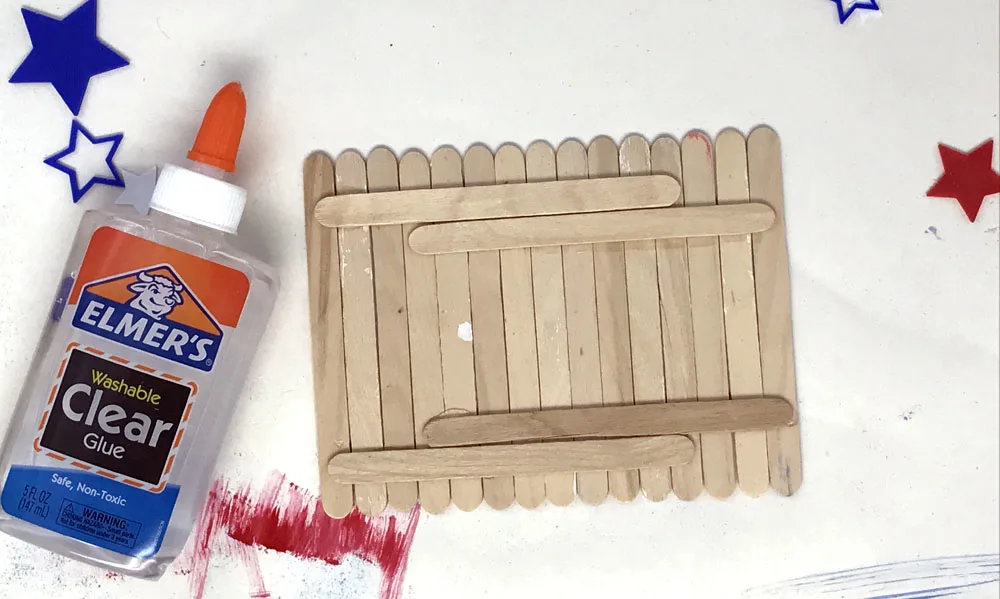
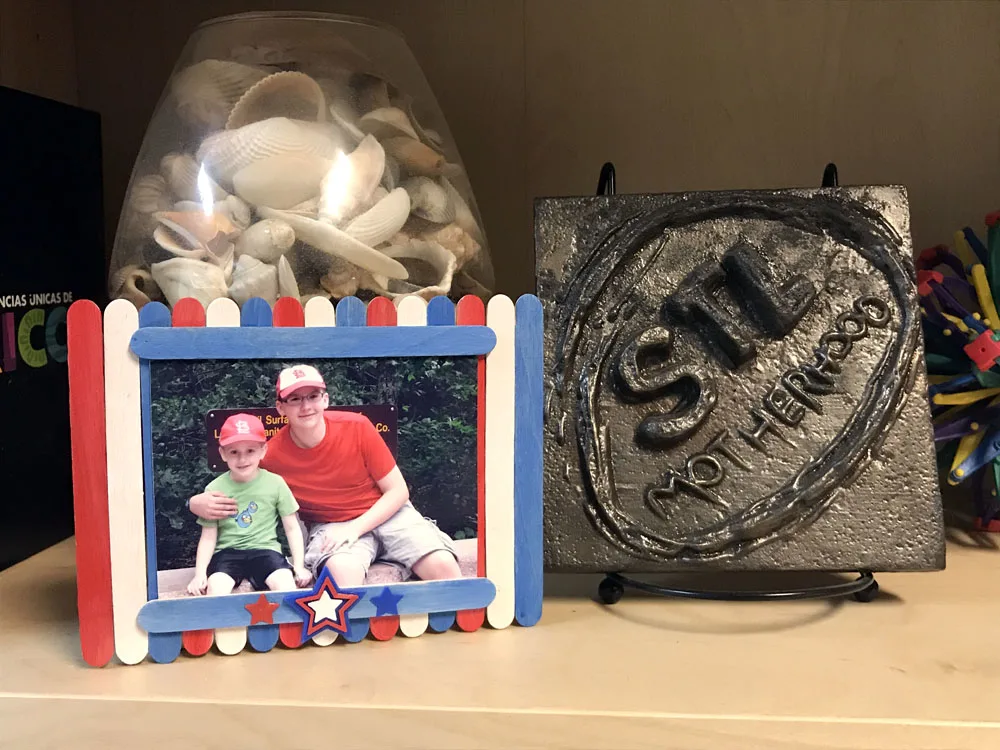
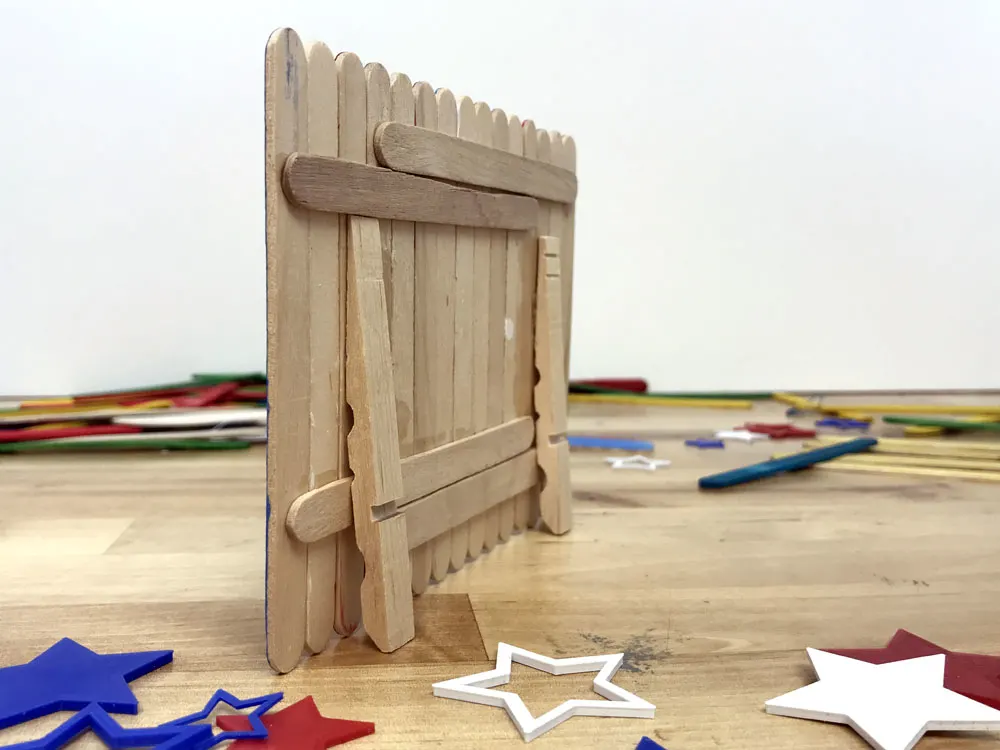
Popsicle stick photo frames are one of the simplest crafts kids can master! All you need are craft sticks from the hobby shop and acrylic paint to create beautiful frames for displaying favorite photos. They're perfect for any holiday - try red, white, and blue for Fourth of July, or swap out the colors for an easy gift for any season. This beginner-friendly project helps kids create personalized keepsakes while developing fine motor skills and creativity!

This project is perfect for:
Project Tags

Steps

Paint the sticks

Cover your workspace to keep it clean. Using a paint brush and acrylic paint, paint 15 sticks. A light coat of paint not only dries quicker, it looks more rustic. If you want more BOLD colors, give the sticks two or even three coats of paint. You only need to paint one side. For our frame, we painted 5 sticks in each of the three colors for the background, then two more in blue for the top and bottom. Mess free tip: Use a pliers to hold the wet sticks to keep your fingers from getting messy.

A photo showing how to complete this step

Line up your popsicle sticks

Flip over your popsicle sticks and then use an extra stick to line them up into a perfect row. We used a giant stick from another package. A chopstick, piece of cardboard, or other straight edge would also work.

A photo showing how to complete this step

Glue your sticks together

Use four popsicle sticks along the back side to hold the remaining popsicle sticks in place. Hot glue works best with older children. Use white glue with younger children and allow for plenty of time to dry.

A photo showing how to complete this step

Glue the photo down

Use a glue stick to glue the photograph to the frame. Then, glue the last two painted popsicle sticks to hold it in place. Decorate with stickers and other embellishments.

A photo showing how to complete this step

Display your creation!

There are a few ways to display your frame. 1) Attach strong magnets to the back and put it on the fridge 2) Take apart a clothespin and glue it to the back to make a small stand 3) Use command adhesive to stick the frame in your favorite spot.

Save the Memory with a GlueStick Account

Save your work in our Art Gallery and get personalized recommendations for your next project.

Join GlueStick

About the Author

STL Motherhood

I’m a boy mom, crafter and former reporter who loves taking my kids to superhero movies. Join me for a mix of traditional kid crafts, STEM fun and 3D printing.

More projects by this author