About This Project

A 15–60 minutes craft for ages 5–12, using supplies you likely already have — Paper Bags, Tape, and Scissors.

GlueStick supports kids from setup to cleanup. After they choose a project, we guide them through gathering the supplies, making it, and cleaning up when they're done. We'll even help them share it safely with trusted family and friends.

Ad-free and kid-safe library — designed by a mom who wants kids to explore and create independently.

Project Tags
  1. 1

    Find Supplies

    Do you have everything you need?
    Create a free GlueStick account to track supplies and see if you have what you need at a glance. Leave your kids tips about where supplies are stored in your household so they can set up and clean up their creative spaces independently.
    00:00
    A cartoon of Paper Bags
    Unknown cupboard quantity You have: unknown
    A cartoon of Tape
    Unknown cupboard quantity You have: unknown
    A cartoon of Scissors
    Unknown cupboard quantity You have: unknown
    A cartoon of Markers
    Unknown cupboard quantity You have: unknown
    A cartoon of Notebooks
    Unknown cupboard quantity You have: unknown
    A cartoon of Glitter Glue
    Unknown cupboard quantity You have: unknown
  2. 2

    Make Enchanting Spell Books

    Your creative buddy says:
    "I can't wait to make a project with you!"

    Step 1: Cut Open the Gift Bag

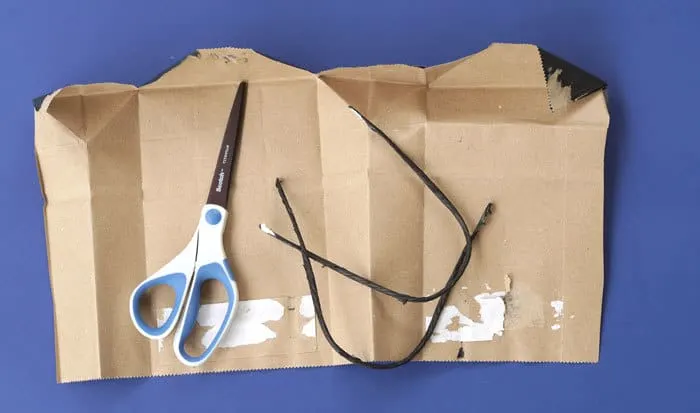
    First open up the gift bag and remove the handles–but save them for later! You might want to use them for decorating your spell book later. This is a good time to add extra folds and crinkles to your paper to add an aged look to the finished book.

    Step 2: Fold the book cover

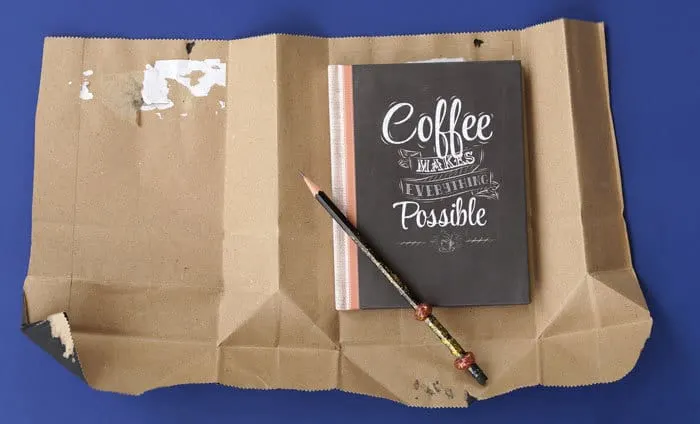
    Flatten out the bag and place your book on top. Use a pencil to mark the top and bottom of the book. Remove the book and fold on these top and bottom lines. This will form a pocket that the book cover slides into. Put the book in the center of the paper bag and open the cover. Fold the side along the edge of the cover. Flip the book over and repeat.

    Step 3: Slide the notebook in the cover

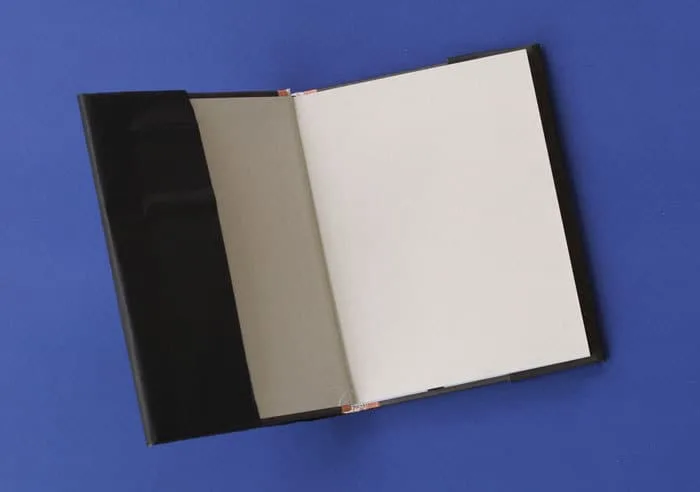
    Slide the book into the folded flaps. Taping if necessary.

    Step 4: Decorate your book cover

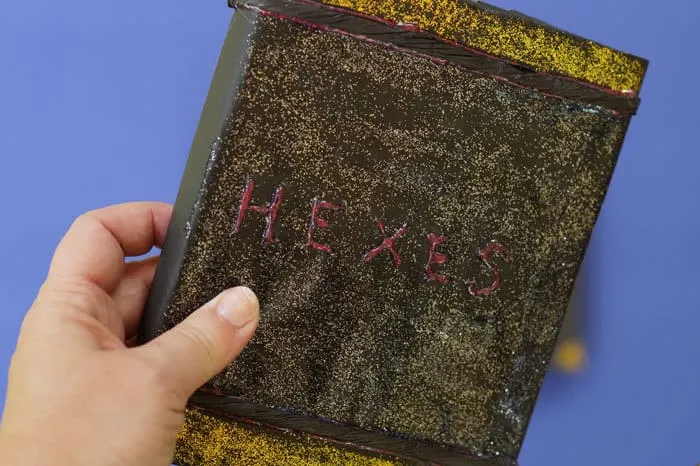
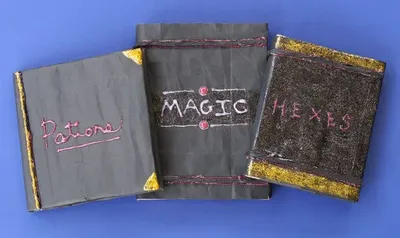
    Now for the fun part! Decorate the covered journal to resemble your favorite spell or potion book. We used glitter glue to “draw” the books new magical title on to the cover and glued the gift bag handles on to add dimension to the cover.
  3. 3

    Clean up

    Put things away so your space is tidy for next time.

    Tidy up our space

    Put away our supplies

    Check off each supply when it is put away — and any clean-up tips underneath are done too. You might find a fun surprise!

    • A cartoon of Paper Bags
      Where they belong:
    • A cartoon of Tape
      Where they belong:
    • A cartoon of Markers
      Where they belong:
      • — Don't forget! Close all marker caps tightly.
    • A cartoon of Notebooks
      Where they belong:
    • A cartoon of Glitter Glue
      Where they belong:
    • A cartoon of Scissors
      Where they belong:

    Update what we have left

    Did we run out of anything while making this project? Update our supply cupboard so that we know exactly what we have for next time.

    This project could unlock 1 creative buddy. Sign in to unlock them.

  4. 4

    Save

    Your creative buddy says:
    "Way to stick with it!"

    Create a free account to save your digital masterpiece to the Art Gallery.

Use what’s already at home

Snap a junk-drawer photo and GlueStick finds projects you can start in minutes — no store trip, less expense, more creative afternoons.

+ 350 more
Supply Snap

About the Author